Last updated November 18, 2026






Free written scope consultation - allowances, timeline, and change-order rules on paper before a single trade is scheduled
Bathroom Remodeling Troubleshooting: Common Problems and How to Fix Them
Grout cracking at the tub-to-tile junction isn’t a grout problem. It’s a movement joint problem, and re-grouting it will fail again in six months for the exact same reason the first application failed. We’ve walked into Inglewood bathrooms a year after a remodel and found the same three failures over and over: bad waterproofing, improper ventilation, and caulk or grout smeared over joints that were always going to move. Each one leaves a signature. This guide teaches you to read those signatures, decide whether you’re looking at a warranty call, a weekend fix, or a full redo, and know what each path costs before anyone touches your tile.
Quick Answer
Most post-remodel bathroom failures trace to three root causes: failed waterproofing behind the tile, an exhaust fan that’s undersized or ducted wrong, and rigid grout or caulk applied over movement joints that were never meant to be sealed tight. Diagnose the symptom first (where is it cracking, where is it damp, where is it musty), then trace it to the cause. Cosmetic failures run $50 – $300 to fix. A failed shower pan or missing surface waterproofing runs $3,000 – $9,000 to rebuild correctly. Getting the diagnosis right is what keeps a small problem from becoming a demolition.
Styles & brands we work with
- Kitchen remodeling
- Bathroom remodeling
- Home additions & ADU
- Roofing
- Windows & doors
- Driveway & pavers
- Fence
Table of Contents
- Symptom-to-Root-Cause Map: The Five Post-Remodel Failures
- Why Does Grout Keep Cracking? (It’s Not the Grout)
- The Waterproofing Failure Diagnostic: Leak, Pan Liner, or Surface?
- Ventilation Failure: Why Mold Grows at Ceiling Corners and Grout Lines
- Tile and Stone Problems: Lippage, Hollow Tiles, and Efflorescence
- Caulk Failure at Fixtures and the Running Toilet After Valve Replacement
- Warranty Call, DIY Fix, or New Contractor? A Decision Framework
Symptom-to-Root-Cause Map: The Five Post-Remodel Failures
Before you pick up a caulk gun, identify what you’re actually looking at. Nearly every bathroom complaint we hear in Inglewood falls into one of five buckets, and each one points to a specific cause. Reading the symptom correctly saves you from fixing the wrong thing.
- Grout cracking at the tub or shower base: movement joint failure, not weak grout. The tub flexes, the tile doesn’t, and rigid grout in between has nowhere to go.
- Tile lippage (one tile edge sits proud of its neighbor): the substrate or thinset bed wasn’t flat before tile went down. It’s an installation defect, not a settling issue.
- Musty odor that never fully clears: moisture has nowhere to vent. Usually the exhaust fan, sometimes a slow leak behind the wall.
- Caulk pulling away at the sink, tub, or shower trim: wrong caulk for a wet, moving joint, or applied over a damp surface that never cured.
- Toilet running right after a valve or fill valve replacement: a misadjusted fill valve, a warped flapper, or debris caught in the new valve seat.
Two of these are cosmetic. Two are installation quality issues. One can signal hidden water damage. The map below the surface is what matters, and that’s where the next sections dig in.
Why Does Grout Keep Cracking? (It’s Not the Grout)
Grout cracking at the tub-to-tile junction, at inside corners, and where wall meets floor is a movement joint problem. Cementitious grout has almost no flexibility. When two planes of a bathroom move differently (the tub shell flexes under a person’s weight, the wall doesn’t), the joint between them opens and closes in fractions of an inch. Rigid grout hairline-cracks the first time, then widens.
We see this constantly in older Inglewood housing stock, where cast iron tubs and original framing move more than the newly tiled surround does. The failure always shows up at the same spots:
- The horizontal joint where tile meets the tub deck or shower base
- Vertical inside corners where two walls meet
- The junction where a tiled wall meets a tiled floor
- Around a window or niche cut into the wet area
Re-grouting these joints is the wrong fix. Grout will fail again because the movement is still there. The correct repair is to rake out the old grout or caulk at those joints and replace it with a flexible sealant color-matched to the grout. That flexes with the movement instead of fighting it. If the grout is cracking across the face of tiles, not at joints, that’s a different signal. It usually means the substrate has deflected or the thinset lost bond, and it’s worth a professional look before you seal it over.
Grout and sealant matching is also where a lot of DIY repairs go sideways. A mismatched bead at the tub line is visible from the doorway. Get the joint raked clean, dry, and filled with the right product and the repair disappears.
The Waterproofing Failure Diagnostic: Leak, Pan Liner, or Surface?
Moisture behind tile is the most expensive bathroom problem because you can’t see it. The symptom is a soft spot, a loose tile, efflorescence, or a musty smell that returns after cleaning. The cause is almost always one of three waterproofing failures, and each has a very different repair cost.
1. A plumbing leak
Water is escaping from a supply line, drain connection, or valve body. You’ll often find a damp spot on the ceiling below the bathroom, or a stain on an adjacent wall. This is the cheapest to fix once found (a $150 – $600 plumbing repair), but it’s the most urgent because it damages framing. Shut off the water and call a plumber.
2. A failed shower pan liner
Traditional shower pans use a vinyl liner under the mortar bed. If the liner was punctured during installation, not sloped properly, or the weep holes at the drain were clogged with mortar, water pools and soaks into the mud bed. The symptom is persistent damp grout, a powdery white crust at the base, or a loose tile at the shower floor. Fixing it means removing the shower floor tile, mud bed, and liner and rebuilding. In Inglewood that’s typically $3,000 – $6,000 for a shower rebuild.
3. Missing or inadequate surface waterproofing
Modern tile showers rely on a bonded sheet or liquid membrane applied directly behind the tile. If the installer skipped it, spot-applied it, or applied it over a dusty surface, water penetrates the grout, saturates the thinset, and sits against the backer board. The tell is a musty smell with no obvious plumbing leak and grout that darkens in the shower and stays dark. Rebuilding the shower with proper surface waterproofing is $4,000 – $9,000 in Inglewood depending on size and finish.
How to narrow it down
- Damp ceiling below or wall stain = plumbing leak. Call a plumber first.
- Powdery crust at the shower base + loose floor tile = pan liner.
- Grout stays dark, musty smell, no ceiling stain = surface waterproofing.
- Any soft or crumbly framing when probed = stop using the shower and get a pro out.
We’ve torn out enough Inglewood showers to know the difference between an easy fix and a rebuild. A free estimate and a moisture meter settle it in an hour. If you’re planning a full replacement rather than a repair, see our Bathroom Remodeling in Inglewood service page for what a correctly waterproofed rebuild includes. The waterproofing is the part you never see. It’s also the part that decides whether you’re doing this again in five years.
Ventilation Failure: Why Mold Grows at Ceiling Corners and Grout Lines
Mold at ceiling corners, along grout lines, and on the back of the shower curtain is a ventilation signature, not a cleaning failure. A bathroom needs to move moisture out fast. When the exhaust fan is undersized, ducted wrong, or run only while someone’s showering, warm humid air sits in the room and condenses on the coolest surfaces: ceiling corners and the grout lines where tile meets darker grout.
What the California code requires
California Residential Code (and the mechanical code that governs Inglewood) sets the exhaust fan at a minimum of 50 cubic feet per minute (CFM) for intermittent operation, or 20 CFM continuous. That’s the floor, not the target. For a typical 8-by-10-foot bathroom, we spec 80 – 110 CFM. A large primary bath with two shower heads or a soaking tub deserves 110 – 150 CFM. Undersized fans are the number one reason Inglewood bathrooms grow mold, especially in tightly built units near the beach where outdoor humidity is already high.
The three ventilation failures we see most
- Undersized fan: a 50 CFM builder-grade fan in a room that needs 110. It runs, but it can’t clear the moisture. Upgrade to a properly sized unit.
- Improper ducting: the fan is correctly sized but the duct is too long, crushed, elbow-stacked, or discharging into the attic instead of through the roof or wall. Every 90-degree bend and every foot of flex duct cuts airflow. If a fan sounds loud but works poorly, suspect the duct.
- No timer or humidity sensor: the fan stops the second the shower does, before the moisture clears. A 20 – 30 minute timer or a humidity-sensing switch does more for mold control than a bigger fan.
The test you can run yourself
Hold a piece of toilet paper to the fan grille. It should pull tight and stay. If it sags or falls, the fan isn’t moving air. Then check the duct termination: if it vents into the attic, that’s a code violation and a moisture source that will rot the roof sheathing. Roof and attic moisture issues are worth a look at our Roofing in Inglewood page; a soffit or roof penetration is the right place for that discharge.
Tile and Stone Problems: Lippage, Hollow Tiles, and Efflorescence
Tile defects fall into three categories: insta… no, let’s be specific. Lippage is installation. Hollow tiles are bond failure. Efflorescence is moisture moving through natural stone or grout. Each carries a different message about how the job was done.
Lippage: one tile edge proud of its neighbor
Lippage is when one tile sits higher than the tile next to it, creating a catchable edge. The industry threshold is generally 1/32 inch for grout joints under 1/4 inch and up to 1/16 inch for wider joints, depending on the tile standard. Anything worse and you’ll feel it underfoot and see it in raking light. The cause is almost never the tile. It’s a substrate that wasn’t flat before installation (the tile standard calls for 1/4 inch in 10 feet), a thinset bed applied unevenly, or a large-format tile set with the wrong trowel or without back-buttering.
There’s no good fix short of removing the offending tiles and resetting them on a flattened substrate, which is why lippage needs to be caught at install. In older Inglewood homes, floor framing often needs leveling compound before large-format tile can go down, and that step gets skipped more than it should.
Hollow-sounding tiles: adhesive failure
Tap each tile with a coin or the handle of a screwdriver. A solid tile sounds dull; a hollow one rings. A loose tile here and there is common and often minor. A grid of hollow-sounding tiles in a wet area signals the thinset didn’t bond, which means water can get behind the tile. In a shower, hollow tiles plus a musty smell is your surface waterproofing warning from the section above. In a dry area, you have more time but should still get them reset.
Efflorescence on natural stone and grout
That white, powdery bloom on travertine, marble, or grout lines is efflorescence: dissolved salts pushed to the surface as water evaporates. It’s a moisture signature. The bloom itself wipes off with a dry brush, but if it keeps returning, moisture is cycling through the material. The fix isn’t a stronger cleaner. It’s stopping the water source (grout porosity, a failing sealant, or a slow leak behind the stone) and then sealing correctly. Acidic cleaners on marble or travertine will etch the surface, so use a stone-safe cleaner only.
Caulk Failure at Fixtures and the Running Toilet After Valve Replacement
Caulk pulling away from a tub, sink, or shower trim is common and often self-inflicted. The most frequent cause is the wrong caulk: rigid painter’s caulk or 100% silicone applied over a damp joint. Silicone won’t adhere to a wet surface, and a wet joint is exactly where bathroom caulk goes.
Getting caulk to actually hold
- Remove all old caulk with a plastic scraper. Don’t gouge the tile or the fixture.
- Clean the joint with isopropyl alcohol and let it dry completely. Overnight, not an hour.
- Use 100% silicone in wet areas (shower, tub, sink rim), not paintable latex. Match the color to the fixture or grout.
- Lay a smooth bead, tool it with a damp finger or a caulk tool, and leave it alone for 24 hours.
- Skip the bathtub for those 24 hours. Water reintroduced too soon breaks the bond.
The pairing of the right caulk with the right fixture matters. Fixtures from Moen and Delta have tight tolerances at the escutcheon and tub deck, and a sloppy bead is visible up close. A trim kit that gets replaced during a remodel is a good time to re-caulk the whole surround properly. We specify fixtures from the Moen and Delta lines we use in Inglewood remodels for exactly this reason: consistent dimensional tolerances make a clean, long-lasting bead easier to achieve.
The running toilet after valve replacement
A toilet that runs right after a fill valve or flush valve replacement usually has one of three simple problems. The fill valve float is set too high, so water runs continuously into the overflow tube. A new flapper isn’t seating correctly (warped, the wrong size, or debris on the seat). Or mineral debris from Inglewood’s water supply got caught in the new fill valve seat and it won’t shut off. Turn the water off, check the flapper first, then the float height, then remove and rinse the fill valve cap. If it still runs, the valve seat may need replacing. A running toilet can waste hundreds of gallons a day, so this isn’t a fix worth postponing.
Warranty Call, DIY Fix, or New Contractor? A Decision Framework
You’ve found the problem. Now the question: who fixes it, and who pays? Here’s the framework we walk customers through when they call about a bathroom remodel that’s misbehaving.
Call the original contractor (warranty) if:
- The failure is a workmanship issue within the warranty period (waterproofing, tile bond, grout at movement joints, ventilation ducting).
- The defect is in more than one place or affects a whole plane, like a grid of hollow tiles or mold recurring at multiple ceiling corners.
- You have the original paperwork and the fix is clearly their responsibility.
DIY-fix it if:
- The repair is cosmetic and contained: re-caulking a joint, re-setting a piece of trim, cleaning efflorescence, resetting a running toilet float.
- The cost of the fix is under $300 and the risk of making it worse is low.
- You know it’s a movement-joint fix (flexible sealant, not grout) and you can get the joint dry and clean.
Hire a new contractor if:
- The original contractor is gone, or the warranty period has passed.
- The problem is behind the tile: plumbing leak, failed pan liner, missing surface waterproofing.
- You’re seeing structural movement, soft framing, or anything you can’t visually assess.
- The job needs a permit and inspection you don’t have. In Inglewood, permits for bathroom remodels and any shower rebuilds involving plumbing or electrical changes are pulled and inspected. Skipping that can cost you more at resale than the fix itself.
If you land in the third column, get a free estimate from a contractor who’ll put the warranty in writing. That’s where a program like the Groundwork Construction Co. of Inglewood home serves as a starting point: every project comes with the 730-Day Done Right Promise and one of the longest workmanship guarantees in residential construction. If it’s not done right, we make it right, and that matters most precisely when you’re paying to correct someone else’s work.
Common Mistakes to Avoid
- Re-grouting a movement joint. Grout at the tub-to-tile junction is the wrong material for a joint that moves. Use a flexible color-matched sealant or you’ll be back at it in six months.
- Ignoring a musty smell as a cleaning problem. Persistent musty odor in an Inglewood bathroom usually means a ventilation or waterproofing failure. Decode it before you seal it.
- Applying silicone to a damp joint. Silicone won’t bond to wet surfaces, and bathroom joints are the wettest in the house. Dry overnight, then caulk.
- Choosing a fan by price, not CFM. A 50 CFM builder fan in a bathroom that needs 110 is a mold machine. Match the fan to the room volume and add a timer.
- Sealing over hollow tiles. A hollow-sounding tile in a wet area is an early waterproofing warning. Grouting or sealing over it traps the moisture.
- Re-tiling over a failed shower pan without addressing the waterproofing. New tile on a bad pan fails again on the same timeline. The pan and surface membrane are the fix.
- Skipping the permit. Inglewood inspections catch waterproofing and electrical problems a homeowner can’t see, and unpermitted work surfaces at resale. Pull the permit.
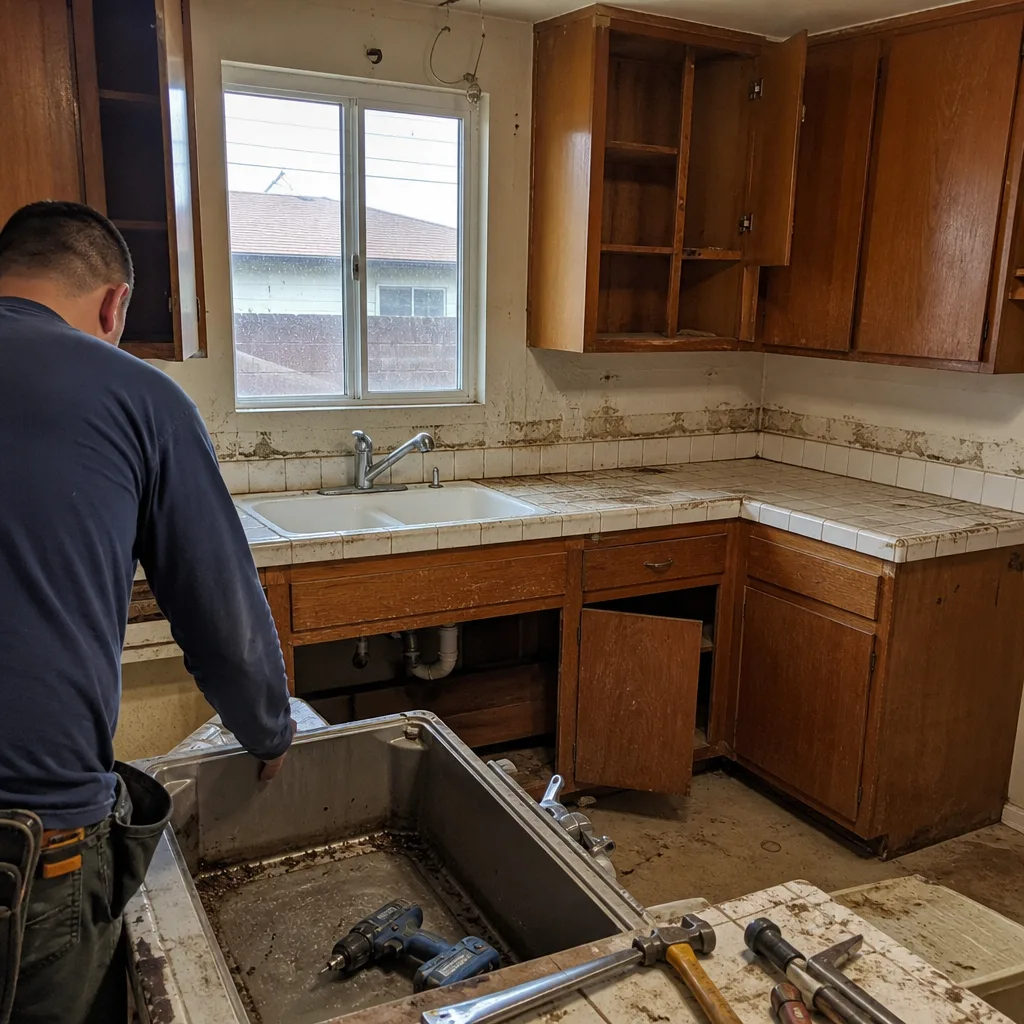
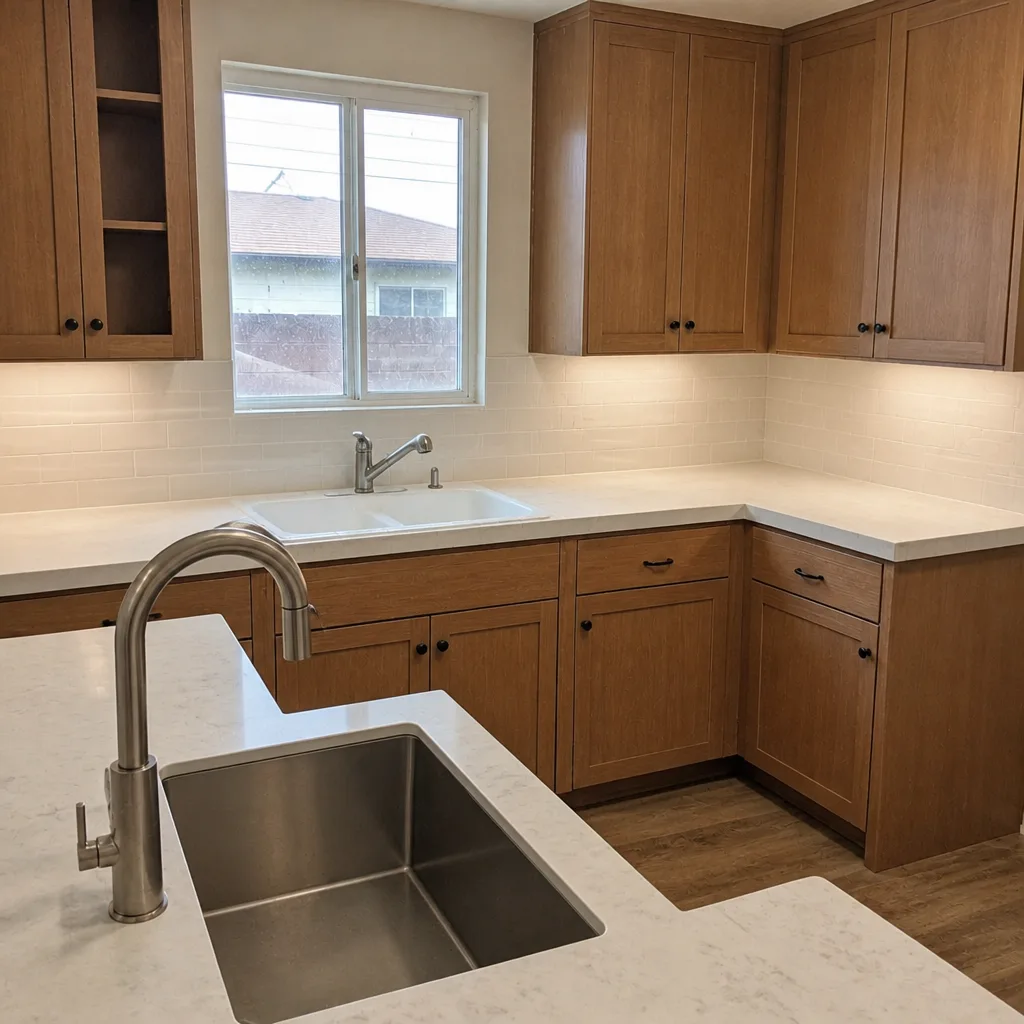
See the difference
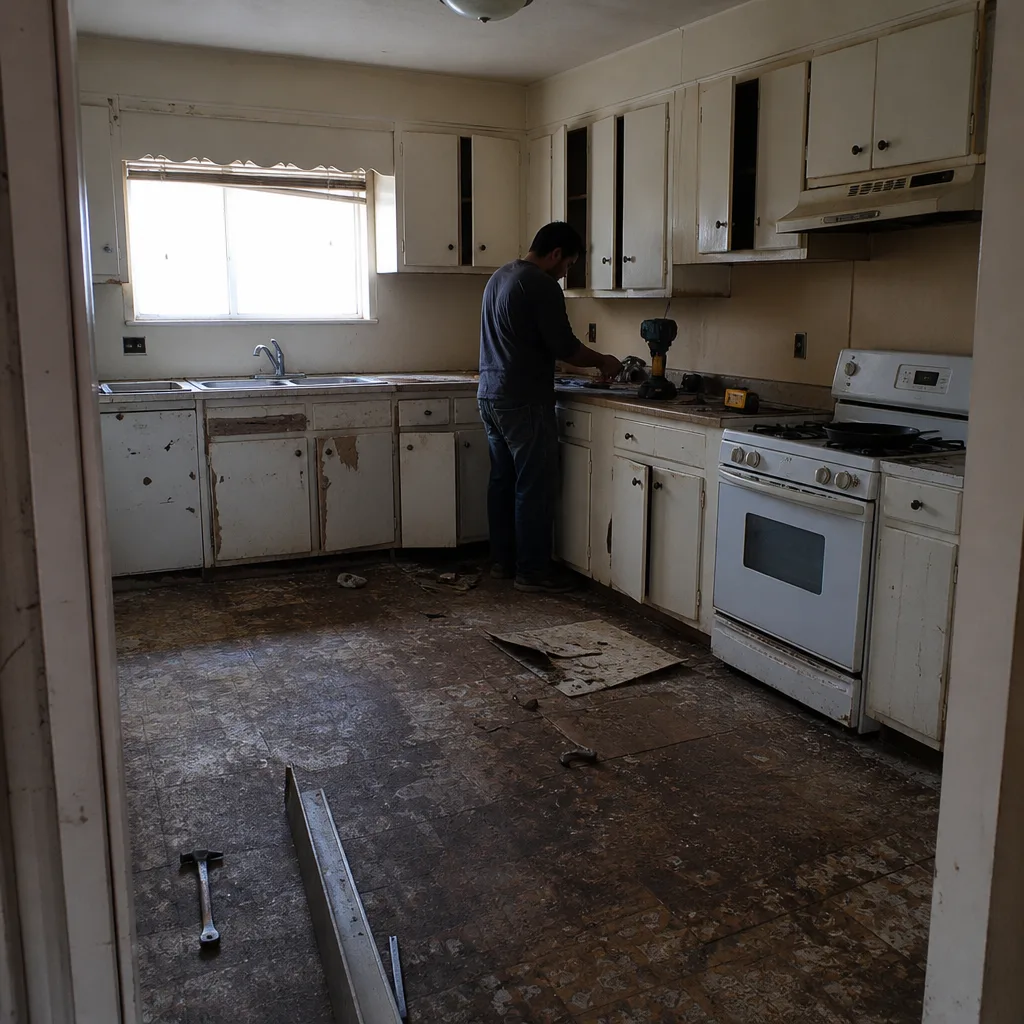 Before
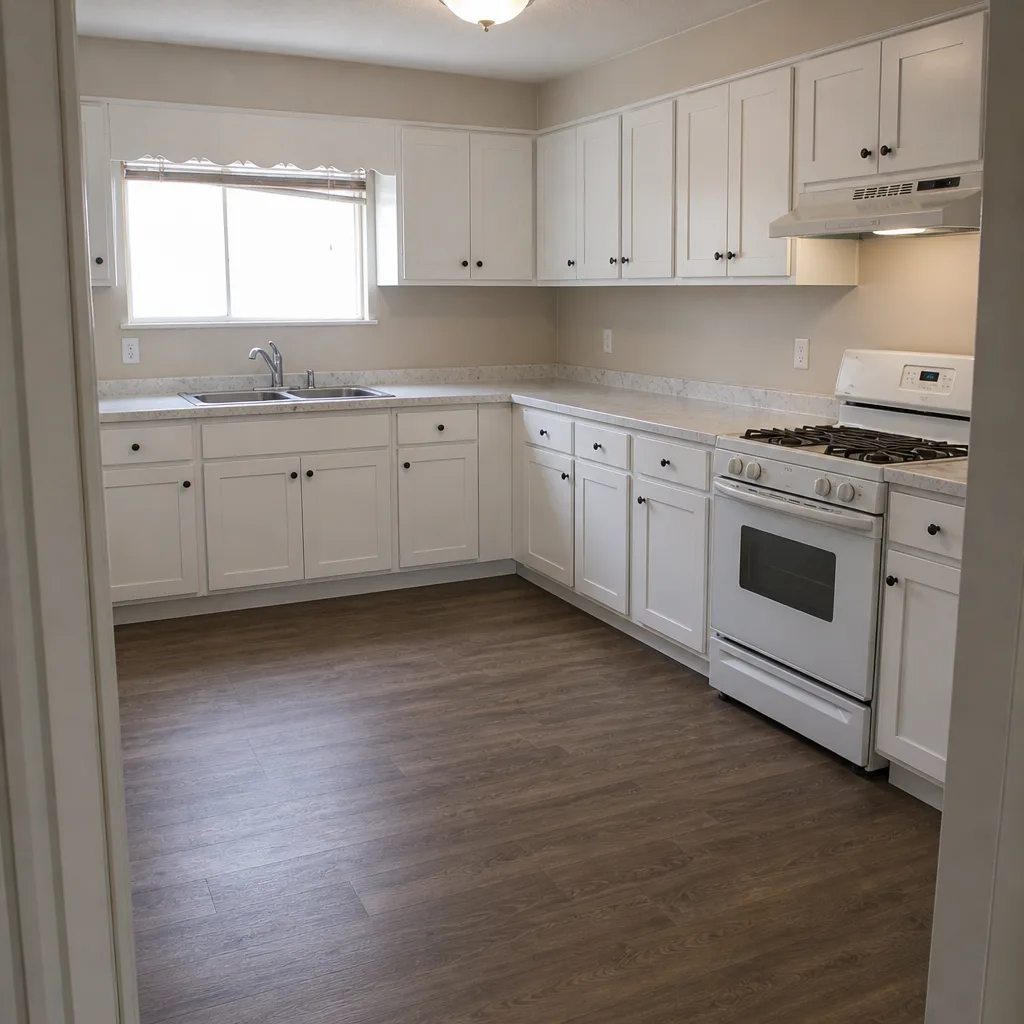 After
 Before
 After
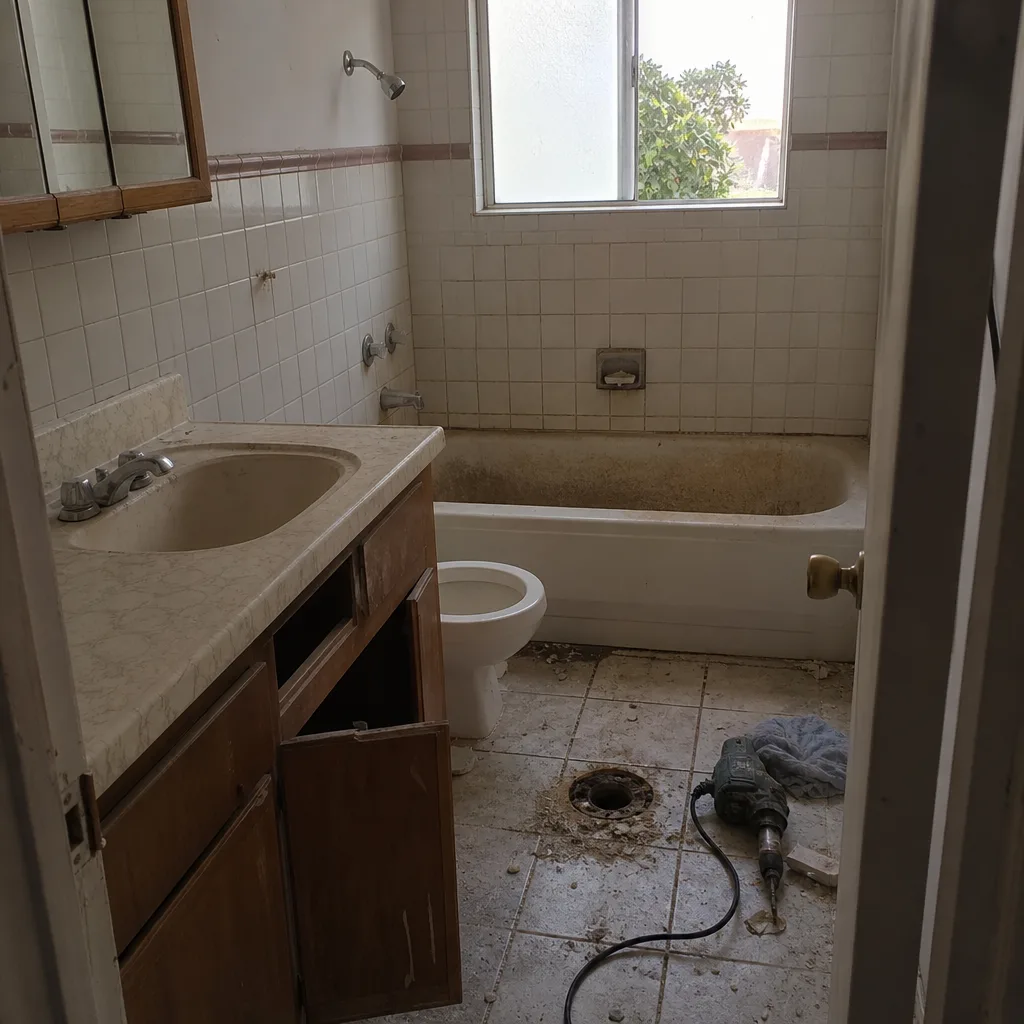 Before
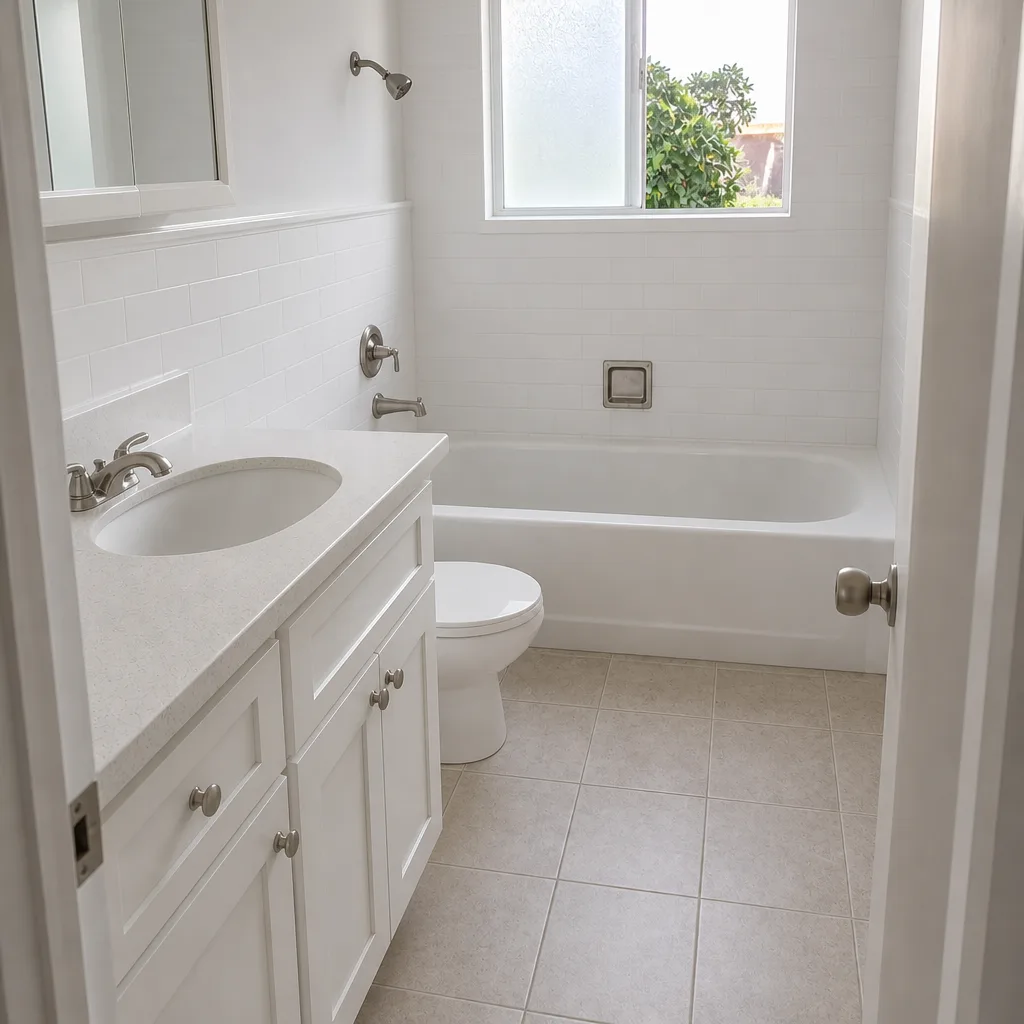 After
When to Call a Professional
Some bathroom problems are weekend fixes. Others need a licensed contractor, a moisture meter, and a permit. Call a professional when the problem is behind the tile (plumbing leak, pan liner, missing waterproofing), when mold keeps returning after cleaning, when a running toilet persists after you’ve checked the flapper and float, or when you’re facing a shower rebuild and want it done right the first time. If you’re in Inglewood and you want a straight diagnosis, Groundwork Construction Co. of Inglewood offers free estimates in Inglewood at (833) 842-7204. Calls are answered by a live person around the clock, and upfront pricing means the number you see is the number you pay.
If your bathroom problem is part of a larger project, the same team handles the work set out in our Home Additions & ADU in Inglewood guide, and single-contractor coordination keeps trades from pointing at each other when something goes wrong. The same goes for exterior work like Fence Installation in Inglewood or Driveway & Pavers in Inglewood where the same standards apply.
Frequently Asked Questions
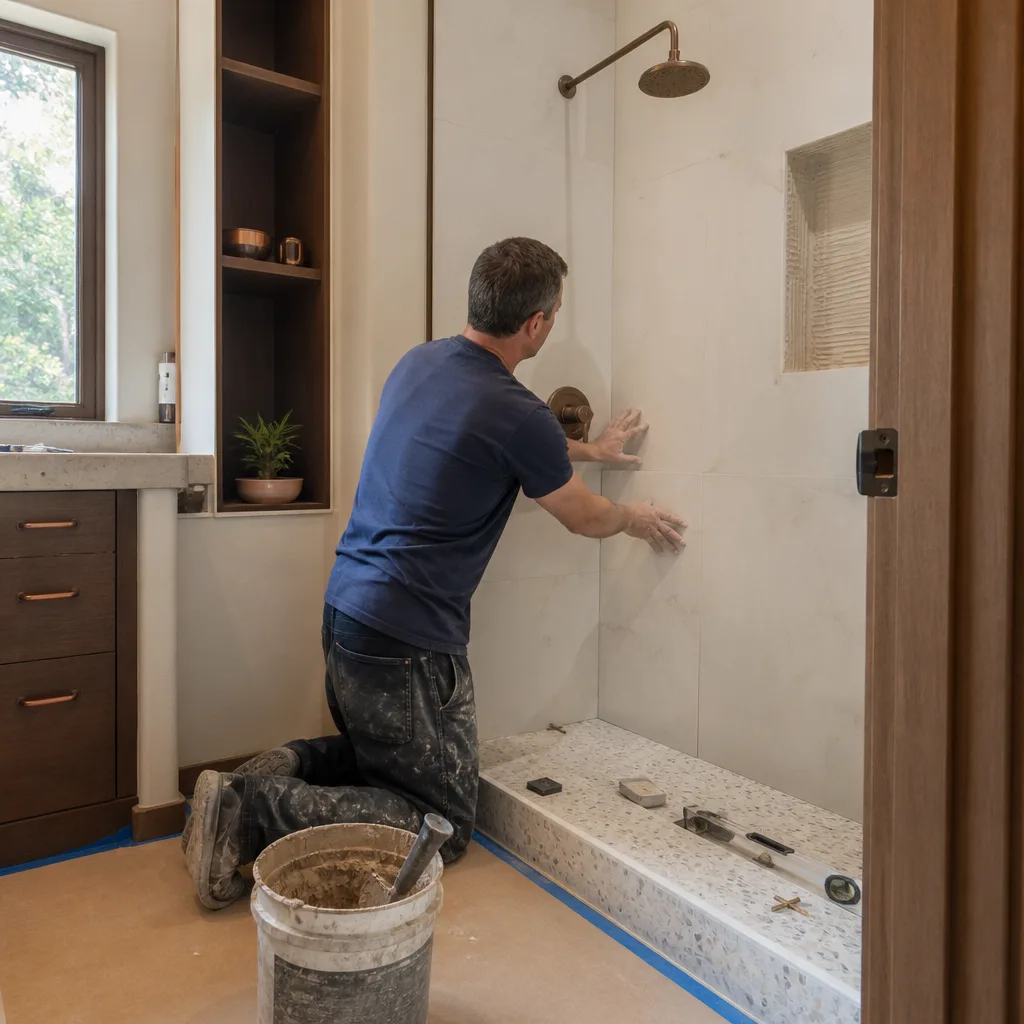
It’s a movement joint problem, not a grout problem. The tub flexes when it’s used and the tile wall doesn’t, so rigid grout in that joint has to fail. The lasting fix is to rake out the old grout and fill that joint with a flexible color-matched sealant. Call (833) 842-7204 for a free estimate if the cracking is widespread or you also see loose tile.
A plumbing leak usually shows a damp ceiling below the bathroom or a stain on an adjacent wall. A waterproofing failure shows as grout that stays dark in the shower, musty odor, or efflorescence on the grout with no ceiling stain. A failed pan liner shows a powdery crust at the shower base and loose floor tiles. Each has a different repair and a different cost, so get a professional moisture check before you tear anything out. Call (833) 842-7204 for a free estimate.
California’s mechanical code sets the minimum at 50 CFM for intermittent operation or 20 CFM continuous. For a typical 8-by-10 bathroom, we spec 80 – 110 CFM, and larger primary baths with double showers deserve 110 – 150 CFM. Undersized and improperly ducted fans are the top cause of mold in Inglewood bathrooms. If your fan can’t hold a piece of toilet paper to the grille, call (833) 842-7204 for a free estimate on replacing it.
Lippage is an installation problem, not a cosmetic one, and it can’t be fixed without removing and resetting the tiles on a flattened substrate. That’s a professional job because it touches the waterproofing and thinset bond. Catch it at installation; fixing it after the fact means partial demo. Call (833) 842-7204 for a free estimate if you’re weighing a repair.
It should, if the failure is within the warranty period and stems from workmanship. That’s why a written workmanship warranty matters. The 730-Day Done Right Promise is our standard: if it’s not done right, we make it right. If your original contractor is gone, get a fixed-price estimate with the warranty in writing before any demo. Call (833) 842-7204 to schedule a free estimate.
Yes, most do. Any remodel that changes plumbing, electrical, or the mechanical exhaust requires a permit and inspection in Inglewood, and a shower rebuild that involves the drain, pan, or waterproofing is typically inspected too. Skipping it can cost you at resale and hides problems you can’t see. The local pro pulls the permits and passes inspection as part of the job. Call (833) 842-7204 for a free estimate.
The Bottom Line
Most bathroom failures that surface a year after the remodel trace to three causes: waterproofing, ventilation, and movement joints treated with rigid grout. Read the symptom first. Cracking at a joint is movement. Mold at ceiling corners is ventilation. Damp grout and musty odor point behind the tile. Hollow tiles and lippage are installation. Caulk pulling away is a dry-joint or wrong-product problem. Once you know the cause, the decision is simple: warranty call, small DIY fix, or a new contractor for the structural work. Budget $3,000 – $9,000 for a shower rebuild done right, and demand the warranty in writing. The proper fix is the one that doesn’t come back.
Call (833) 842-7204 to schedule your free estimate in Inglewood.
Written by the team at Groundwork Construction Co. of Inglewood.