Last updated November 18, 2026
Free written scope consultation - allowances, timeline, and change-order rules on paper before a single trade is scheduled
DIY vs Professional Driveway & Pavers: What’s Safe to Do Yourself
Laying pavers is learnable in a weekend. Building the compacted base that keeps them stable for 20 years is a different skill entirely, one that needs equipment most homeowners don’t own and can’t rent effectively. Here’s the uncomfortable stat we see play out constantly: the paver itself is rarely what fails on a bad driving surface. It’s the six inches of gravel, sand, and subgrade underneath, installed in too-thick lifts, compacted with a hand tamper, and never proof-rolled. By the time the surface shows it, you’ve lost the whole job. This guide draws a hard line at skill, not pride, and it’s written from Inglewood, where driveways take a specific beating from sun, winter rain, and the county’s inspection rules.
Quick Answer
Most driveway and paver work isn’t safe or smart to DIY. You can genuinely handle paver replacement, joint re-sanding, and sealing yourself, and doing so is a fine weekend project. Full driveway installations, new base construction, and anything involving a permit or a slope correction need a trained professional, because the failure point is almost always base compaction, excavation depth, and drainage, not the surface pattern. In Inglewood, structural driveway work that touches the public right-of-way or stormwater flow generally requires a licensed contractor of record.
Styles & brands we work with
- Kitchen remodeling
- Bathroom remodeling
- Home additions & ADU
- Roofing
- Windows & doors
- Driveway & pavers
- Fence
Table of Contents
- What You Can Genuinely Do Yourself
- Why Base Compaction Is the Line You Shouldn’t Cross
- The Real Cost Comparison Nobody Shows You
- Permits and Inspections: When Inglewood Requires a Pro
- What a Botched DIY Base Costs to Fix
- Choosing Pavers and Materials for an Inglewood Climate
- Drainage, Slopes, and the Rain You Forgot About
- Frequently Asked Questions
What You Can Genuinely Do Yourself
Plenty of paver upkeep is fair game for a careful homeowner, and we’d rather tell you honestly what’s safe than upsell a full driveway you don’t need. The dividing line is simple: work that only touches the surface layer and doesn’t disturb the compacted base underneath is DIY-friendly. Work that requires opening up the base, re-grading, or setting new edge restraint is not.
Tasks That Are Reasonable DIY Projects
- Paver replacement (spalling, cracked, stained, or settled singles). You can lift a damaged paver with two flat pry bars, reset it on fresh bedding sand, and tap it back to match the neighbors. Budget half a day for a handful of pavers and about $15 to $40 per replacement paver, depending on the style.
- Joint re-sanding. Polymeric sand breaks down over time, and in Inglewood’s dry season the joints open up. A 50-lb bag of polymeric sand runs about $30 to $45 and covers roughly 40 to 60 square feet at a 1-inch joint depth. Sweep it in, mist it, let it cure. This is a Saturday job.
- Sealing. A penetrating or film-forming sealer applied with a roller protects color from the Inglewood sun and slows joint sand loss. A 5-gallon pail runs $150 to $250 and covers 400 to 600 square feet. Two coats, full sun, done.
- Power washing. A rented 3,000-psi unit and a surface cleaner attachment will strip years of grime safely, as long as you’re careful around joint sand.
- Minor weed and moss control. Pulling weeds, sweeping joints, and spot-treating organic growth keeps the surface from degrading.
Tasks a Capable DIYer Should Still Leave Alone
- A full new driveway installation of any size.
- Base removal or re-excavation.
- Adding or replacing edge restraint (that plastic or concrete border that keeps pavers from spreading).
- Any regrading tied to drainage or property-line stormwater flow.
- Fixing a settled area where the base has collapsed underneath.
A surface touch-up is a homeowner project. Anything that moves earth is a professional job, and it’s worth calling in a licensed local professional for a free estimate before you break ground in Inglewood.
Why Base Compaction Is the Line You Shouldn’t Cross
The paver is a lid on a box. The box is a compacted aggregate base, typically 4 to 6 inches of crushed stone installed in lifts, each lift thoroughly compacted, with moisture held at the right ratio the whole time. Miss any of those and the box settles unevenly. The lid cracks, the joints open, and no amount of re-sanding fixes it. We’ve seen this play out dozens of times on driveways around Inglewood, and it’s the single biggest reason surface work that looks fine in summer fails by the second wet season.
Here’s the actual physics a YouTube tutorial skips.
- Compaction requires machine pressure. A hand tamper delivers maybe a tenth of the compactive effort of a plate compactor. A 12-to-14-inch vibratory plate compactor weighing around 200 pounds is the minimum for a driveway base. A jump jack compactor is needed for edges and tighter areas. A hand tamper cannot produce the density a driveway actually needs.
- Lift thickness rules everything. Crushed base has to be installed in lifts of no more than 2 to 4 inches and compacted each time. Skip a lift, dump 8 inches at once, and the top will look compacted while the bottom stays loose and settles years later. This is why a full driveway base involves 3 or 4 separate pass-and-compact cycles.
- Moisture content matters. Aggregate compacts best at “optimum moisture,” which is a technical range that gets tested with a Proctor (moisture-density) curve. Too dry and the stone won’t knit. Too wet and it turns into mush. An experienced pro reads this by feel and by test; a homeowner with a garden hose and a guess does not.
- Pass count and pattern are specified. A real base job runs 4 to 8 passes per lift in overlapping patterns, and typically finishes with a proof-roll to catch soft spots. There’s a reason pavers on a properly compacted base hold for decades, and pavers on a hand-tamped base fail in three to five years.
- The edge restraint does the rest. Concrete or plastic edge restraint, pinned and set in concrete, is what keeps pavers from spreading. Skip it or set it shallow and the whole field walks outward over time.
A plate compactor rents for around $70 to $110 a day in the Inglewood area, plus fuel and delivery if you don’t have a way to haul it. The problem isn’t the rental price. It’s that a homeowner doing a driveway base has to run 4 to 8 passes over hundreds of square feet in multiple lifts, then get drainage correct, then hand-set every paver to consistent joint width. The equipment cost is real, but the real cost is time, error risk, and the fact that you get one attempt at the subgrade before you’re re-excavating.
The Real Cost Comparison Nobody Shows You
The “DIY saves you the contractor’s labor markup” math is misleading, because it pretends the only variable is labor. In reality, a DIY driveway has its own cost stack: tool rental, material waste factor, permits, disposal, time value, and the redo risk if the base fails. Here’s what a 600-square-foot driveway (a common size for a single-car pad in Inglewood) actually looks like when you total both sides honestly.
- Pavers and material. Concrete pavers run $3 to $8 per square foot for standard styles; premium clay or textured stone-look pavers run $6 to $14. For 600 square feet, that’s roughly $1,800 to $8,400 in pavers alone. Add base stone (about 1.5 to 2 tons per 100 square feet at 4-6 inches), bedding sand, polymeric sand, and edge restraint, another $500 to $1,200.
- Material waste factor. Pros expect a 5 to 10 percent waste factor for cuts, breakage, and future replacements. DIYers typically need 12 to 15 percent because cuts and layout mistakes are more frequent. Translate that into 40 to 90 extra pavers, $200 to $700 you’ll spend and never see.
- Tool rental. Plate compactor ($70-$110/day), diamond saw for cuts (rented, $60-$90/day), long-handled screed, hand tamper, broom, wheelbarrow, vibratory plate, and hose. Realistically $300 to $500 across the job, more if you hit rain delays and re-rent.
- Disposal. Excavation spoils can’t go in your curbside bin. Dump fees in the Inglewood and South LA area run roughly $500 to $900 for the spoil of a 600-square-foot driveway base, plus the trip.
- Permits. Inglewood’s permit fees vary by scope and right-of-way involvement, but on a driveway that touches the sidewalk, apron, or stormwater path, expect $200 to $800 in permit and inspection costs, whether you’re doing it yourself or hiring.
- Time value. A DIY build of a 600-square-foot driveway realistically takes 4 to 6 full weekends for someone with no prior experience, spread over weather windows. Two workers cut it, but the equipment cost doubles.
Total those up, and the DIY “savings” over a hired job is usually $1,500 to $4,000, not the $8,000+ that a naive labor-markup comparison suggests. It also doesn’t account for the base-failure redo, which we cover below, or the value of an Inglewood installation that comes with a written workmanship warranty.
Permits and Inspections: When Inglewood Requires a Pro
This is the part people skip, and it’s the part that can turn a perfectly executed DIY job into a compliance headache. Inglewood follows California Building Code conventions, which means two questions decide whether you can pull the permit yourself or need a licensed contractor of record.
- Does the work touch the public right-of-way? If your new driveway apron, sidewalk cut, or curb transition intersects the Inglewood street right-of-way, the city generally requires the work to be done under a permit with a licensed contractor. That’s a traffic and safety rule, not a control tactic.
- Does the work alter stormwater flow? Grading changes that redirect runoff onto a neighbor’s lot or the street trigger Inglewood stormwater requirements under state Public Resources Code (and local implementation). These are reviewed at plan check and inspected after installation.
- Does the work change the footprint of an existing curb cut? Widening or relocating a driveway apron is a right-of-way matter and needs the licensed-contractor pathway.
- Is it a simple replacement with no base, grading, or right-of-way change? Surface replacement of existing pavers with the same configuration is often a homeowner-viable permit path if the city determines no structural change is involved. Verify with Inglewood’s Building & Safety Department for your specific address.
What a homeowner almost never pulls themselves is a right-of-way zone driveway permit. When we connect Inglewood homeowners with a licensed local professional, part of what they’re paying for is an experienced contractor of record who pulls the permits, meets the inspector on site, and passes the inspection. If the plan is a new driveway or a resurfacing that changes how water flows, plan on the professional route. If it’s paver replacement and re-sanding, you’re clear.
For related exterior work that follows the same permit logic, our guide to fence installation in Inglewood walks through when a fence permit is or isn’t required.
What a Botched DIY Base Costs to Fix
Here’s the scenario that makes the original savings irrelevant. Six months after the DIY driveway went in, one corner of the pad has settled by a half inch. You compacted that corner with a hand tamper because the plate compactor didn’t fit, so the base never reached density. The pavers under the wheel path are now rocking and starting to spall at the edges. You call a pro.
The fix isn’t to pull up the affected pavers and re-set them. The fix is to remove the field of pavers in the affected zone, remove the base aggregate, re-excavate to the correct subgrade depth, re-establish slope and drainage, re-install the base in lifts with a plate compactor and proof-roll, re-set the edge restraint, re-install the pavers, re-sweep the joints with polymeric sand, and re-seal. In other words, the entire failure zone is redone from the dirt up. On a 600-square-foot driveway, a partial failure that covers roughly half the field typically costs $2,500 to $5,500 to correct, and a full-field failure starts at $6,000 to $12,000 depending on paver style and haul-away.
Compare that to the DIY savings of $1,500 to $4,000 on the original build. In the failure scenario, you lose money two ways: the original DIY labor is a sunk cost, and the redo costs more than the difference between DIY and a professional build. The math is brutal but honest. Base preparation is the one step where the pro cost is better understood as insurance than as markup.
Choosing Pavers and Materials for an Inglewood Climate
Inglewood sits in the LA Basin, hot dry summers, mild wet winters, a handful of hard rain events, and enough overnight coastal moisture to drive salt bloom and moss in shaded areas. That combination changes what pavers work and what they don’t. A paver that would thrive in Palm Springs may hold stains in Inglewood; a paver that performs in Seattle’s drizzle will fade faster under our UV.
- Concrete pavers with integral color are the workhorse here, widely available, dimensionally stable in our temperature swing, and easy to match for future replacement. High-quality lines from brands like Belgard hold up well against our sun.
- Clay pavers handle UV beautifully and won’t fade, but their higher cost means waste factor really hurts. Great match for a small entry paver job, less forgiving on a full driveway where cut waste matters.
- Travertine and natural stone can look stunning on a Southern California driveway but need sealing and careful joint sand selection to handle both the dry season and winter wet without staining from dropped leaves or vehicle fluids.
- Permeable pavers are worth considering where stormwater flow is a constraint or where Inglewood code pushes you toward infiltration. They still need a compacted base, but the base and drainage are often more involved, not less, which pushes the job further toward professional.
We’ve pulled material lists from brands like Belgard for Inglewood driveways time and again, and the honest advice is: spend your budget on the base before you upgrade the surface. A $5 paver on a failed base looks worse in three years than a $3 paver on a properly compacted base ever will. That’s the “built to last, backed in writing” logic, and it’s why we warranty workmanship with our 730-Day Done Right Promise. If the base work isn’t right, we make it right.
Drainage, Slopes, and the Rain You Forgot About
Inglewood averages under an inch of rain most months, then dumps the annual total into a small handful of atmospheric-river events. That means a driveway can look perfect from July to October and still fail in January if the slope and drainage were wrong. Drainage is the second invisible step that separates a 20-year driveway from a 3-year one, and it’s the second thing a DIY job most often misses.
The core questions a professional measures before they break ground:
- What is the slope away from the house? A driveway typically needs 1 to 2 percent fall away from the foundation to move water off the surface. A flat pad is a guarantee of ponding.
- Where does the water go? Onto the street? Into a channel drain that feeds a landscape drain? Onto a neighbor’s lot because you angled it that way? The wrong answer here can mean re-grading tied to stormwater code, and it can also mean a fight with your neighbor.
- Is there a low spot that needs a French drain or channel drain? A driveway that dips near the garage threshold needs drainage, not a sump built out of hope.
- Does the subgrade soil drain? Some Inglewood lots have clay-heavy subgrade that holds water, and a base that sits in a bathtub of trapped moisture will settle unevenly no matter how well it was compacted.
Drainage corrections belong in the base plan. If you’re doing paver replacement and re-sanding, drainage is already established and you inherit it. If you’re building a new driveway, drainage is the second half of the base work, and it’s the second half that drives most professional calls in Inglewood.
For a broader view of exterior projects that pair with a new driveway, our overview of driveway & pavers in Inglewood covers installation scope and material options, and the Groundwork Construction Co. of Inglewood home page lays out the full range of exterior and interior work under one contractor.
Common Mistakes to Avoid
- Compacting with a hand tamper. A hand tamper cannot deliver the density a driveway base needs. It’s fine for spot checks and post-hole backfill, and it’s the wrong tool for a paver pad.
- Dumping six inches of base and compacting once. Base must go in 2-to-4-inch lifts. Skip a lift and the subgrade settles later, and the pavement surface shows it.
- Skipping the polymeric sand cure. Polymeric sand needs a light mist and a set period; a heavy hose-down the next day turns it into a smear. In Inglewood’s dry heat, homeowners often overwater and blow the joint in the first week.
- Setting edge restraint shallow or skipping it. Concrete or pinned plastic edge restraint is not optional. Pavers without proper restraint spread outward within a season, and the joint width opens visibly.
- Cutting pavers without a proper diamond saw. A rented wet saw is the only safe way to cut concrete pavers. Angle grinders with dry diamond blades throw silica dust and produce chipped faces that fail in freeze-thaw and rain cycles.
- Ignoring the permit threshold on a right-of-way driveway. An apron that touches the Inglewood street right-of-way without a permit and a licensed contractor of record can be red-tagged after installation, and that’s a full redo plus a fine.
- Sealing too soon or in the wrong weather. Freshly installed pavers need to dry and settle for weeks before sealing, and Inglewood’s summer heat will flash-cure a sealer applied at midday, leaving streaks and a hazy finish.
See the difference
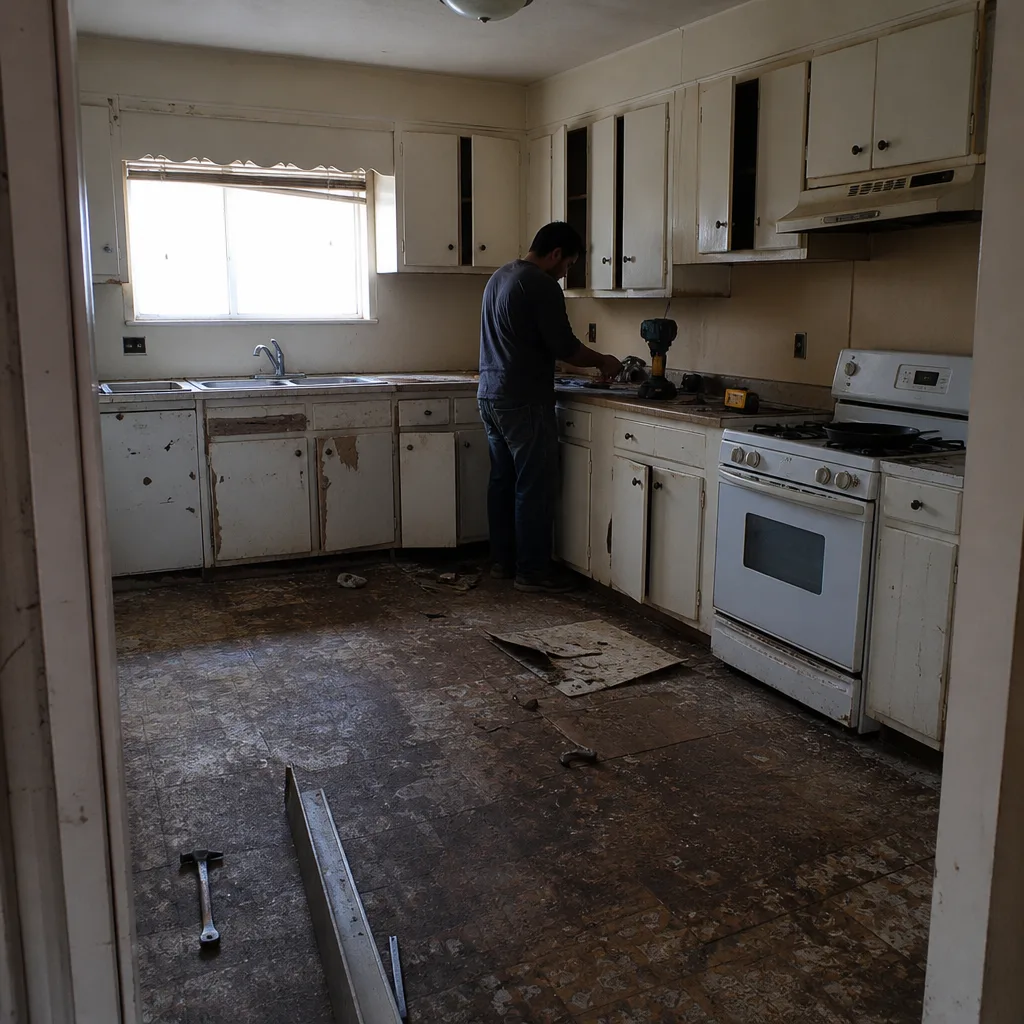 Before
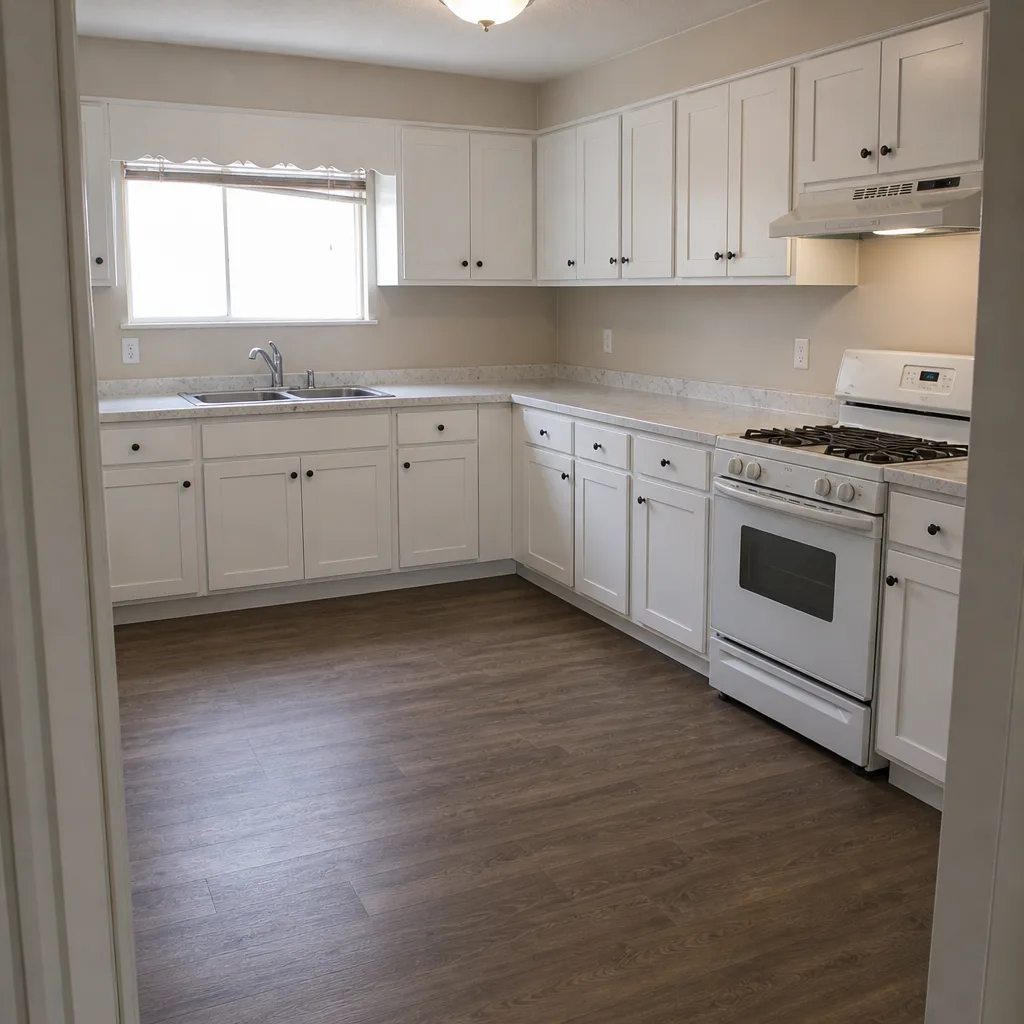 After
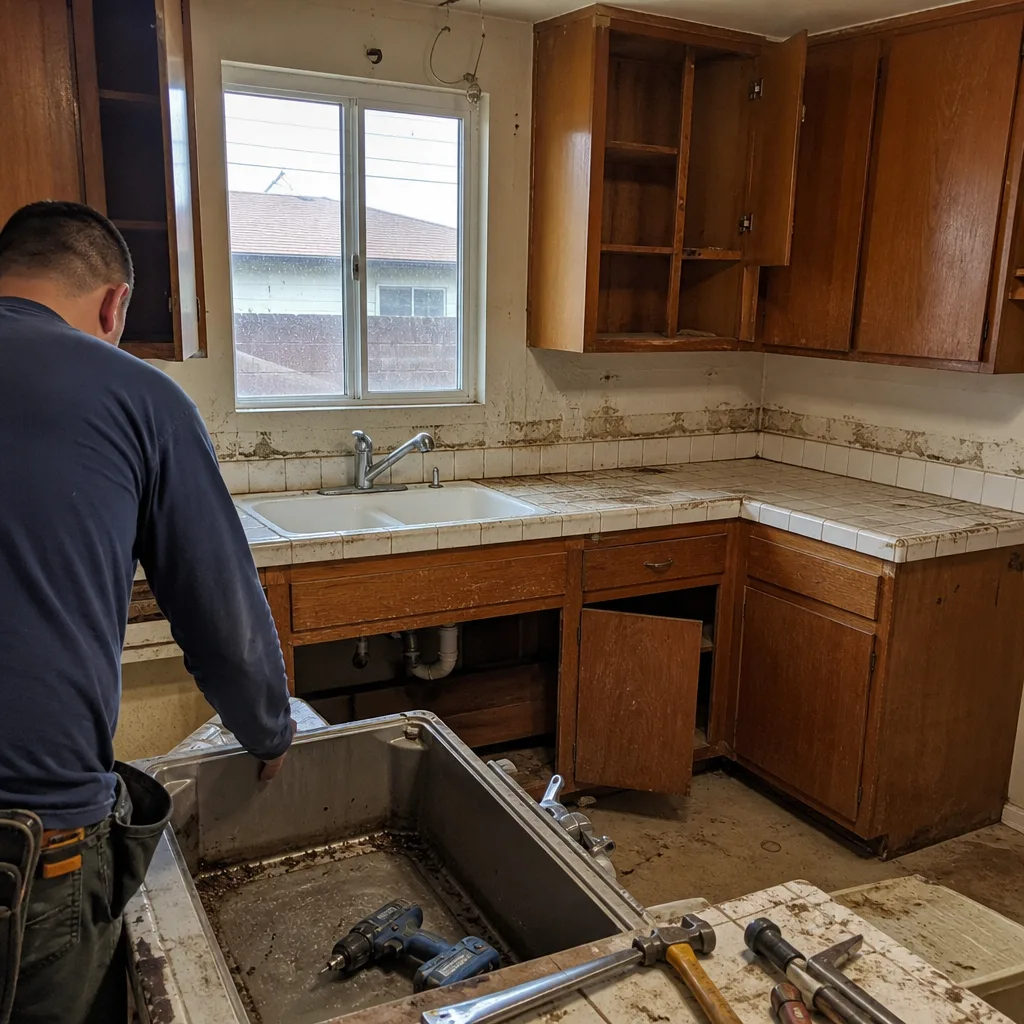 Before
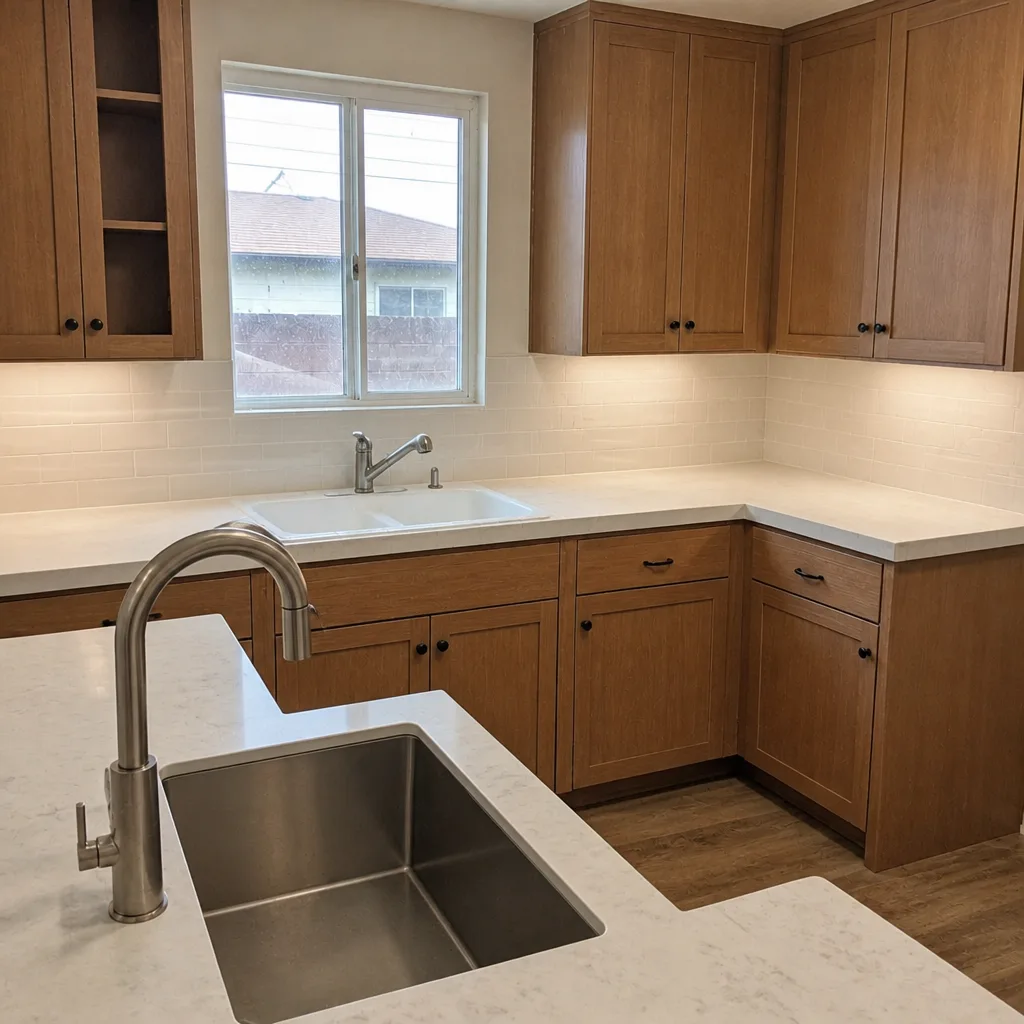 After
 Before
 After
When to Call a Professional
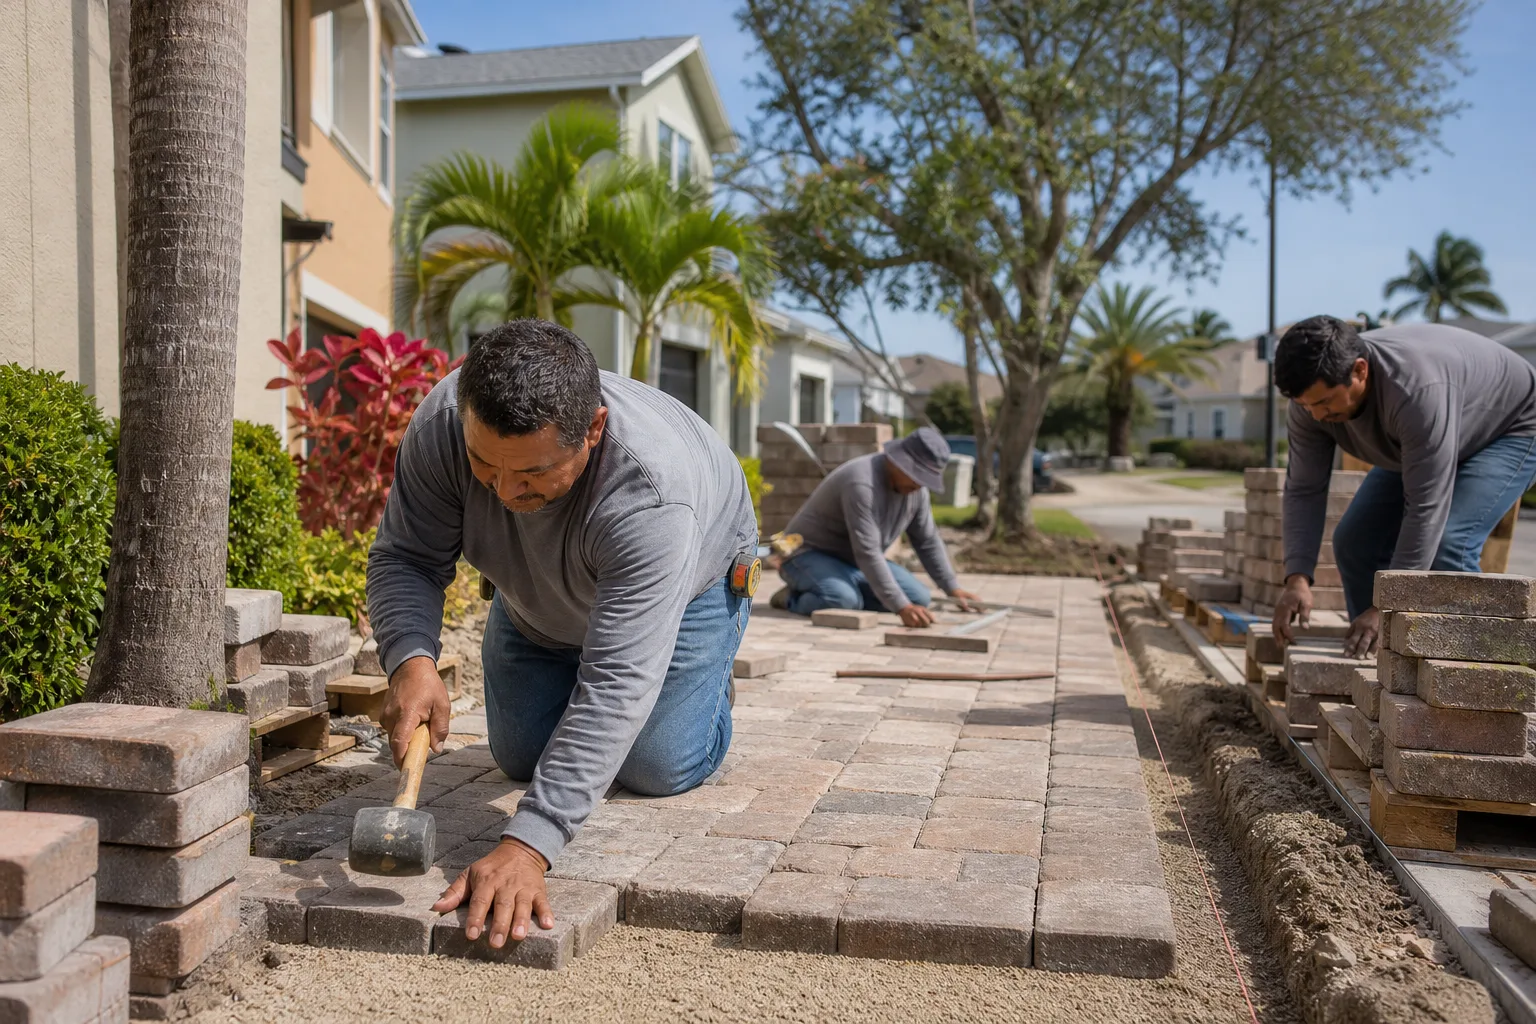
If you’re installing a new driveway, re-excavating a base, correcting a slope, adding edge restraint, or touching the public right-of-way near an Inglewood street, call a professional. Those are the project types where the cost of a base failure dwarfs any labor savings. If the pavers are on a properly compacted base and you’re replacing damaged ones, re-sanding the joints, or sealing the surface, your inner weekend-warrior can take it, and we’ll be the first to tell you not to pay us for it.
Groundwork Construction Co. of Inglewood offers free estimates on driveway and paver work in Inglewood. Our technicians have up to 12 years of experience, and every project is covered by our 730-Day Done Right Promise, the number you see for materials and installation is the number you pay, and calls are answered by a live person, 24/7, no voicemail. Call (833) 842-7204 to schedule your free estimate, or pair your driveway project with related exterior upgrades like a home addition or ADU in Inglewood if your plans are bigger than the drive.
Frequently Asked Questions
On a 600-square-foot Inglewood driveway, real DIY savings usually land between $1,500 and $4,000 once you count tool rental, material waste, disposal, permits, and time, not the $8,000+ that a labor-only comparison suggests. That savings evaporates entirely if the base fails and the driveway has to be redone. Call (833) 842-7204 for an exact quote, the estimate is free.
You can pull a permit and install a surface-only driveway replacement in some cases, but a new driveway or any work that touches the Inglewood public right-of-way (apron, sidewalk, curb, stormwater flow) generally requires a licensed contractor of record. Verify your specific address with Inglewood’s Building & Safety Department before you excavate. Call (833) 842-7204 if you want to talk through the scope first.
For a residential driveway, most Inglewood installations use 4 to 6 inches of compacted crushed aggregate base, installed in 2-to-4-inch lifts, each lift compacted with a vibratory plate compactor before the next is added. The exact thickness depends on subgrade soil and expected vehicle loads. Call (833) 842-7204 to have your driveway assessed; estimates are free.
Yes, re-sanding and sealing are genuinely DIY-friendly. A 50-lb bag of polymeric sand covers roughly 40 to 60 square feet at 1-inch joint depth for $30 to $45, a 5-gallon pail of sealer runs $150 to $250 and covers 400 to 600 square feet, and a full driveway can be re-sanded and sealed over one weekend. If the joints are opening because pavers are settling, the base is the problem, not the sand. Call (833) 842-7204 for an honest evaluation.
A partial-field redo after a base failure on a 600-square-foot driveway typically runs $2,500 to $5,500 because the pavers, base, edge restraint, and sand in the failure zone all have to be removed and rebuilt from the subgrade up. A full-field redo starts around $6,000 and climbs with premium paver styles. Call (833) 842-7204 for an exact assessment; the estimate is free.
At Groundwork Construction Co. of Inglewood, no. We give you a written, line-item upfront price before the work begins, and the number you see is the number you pay. Projects over $10,000 come with $1,000 off, and 0% financing for 18 months is available for qualified homeowners. Call (833) 842-7204 to lock in your free estimate.
The Bottom Line
DIY is the right call for paver replacement, joint re-sanding, sealing, and general upkeep, work that lives on the surface and doesn’t disturb the compacted base underneath. It’s the wrong call for base construction, re-excavation, slope correction, edge restraint, and anything that touches Inglewood’s public right-of-way. The savings from DIY are real but modest, $1,500 to $4,000 on a typical 600-square-foot driveway, and a botched base redo costs more than that to fix. Spend your money on the base, not the paver. The base is what makes the paver last 20 years instead of 3.
Whether you decide to tackle the surface work yourself or want the whole job handled under a written warranty, we’re around. Call Groundwork Construction Co. of Inglewood at (833) 842-7204 to schedule a free project estimate and design consult. Our technicians have up to 12 years of experience, all work is backed by our 730-Day Done Right Promise, and a live person answers the phone 24/7 to talk through your driveway and paver questions.
Written by the team at Groundwork Construction Co. of Inglewood.