Last updated November 18, 2026

Free written scope consultation - allowances, timeline, and change-order rules on paper before a single trade is scheduled
DIY vs Professional Fence Installation: What’s Safe to Do Yourself
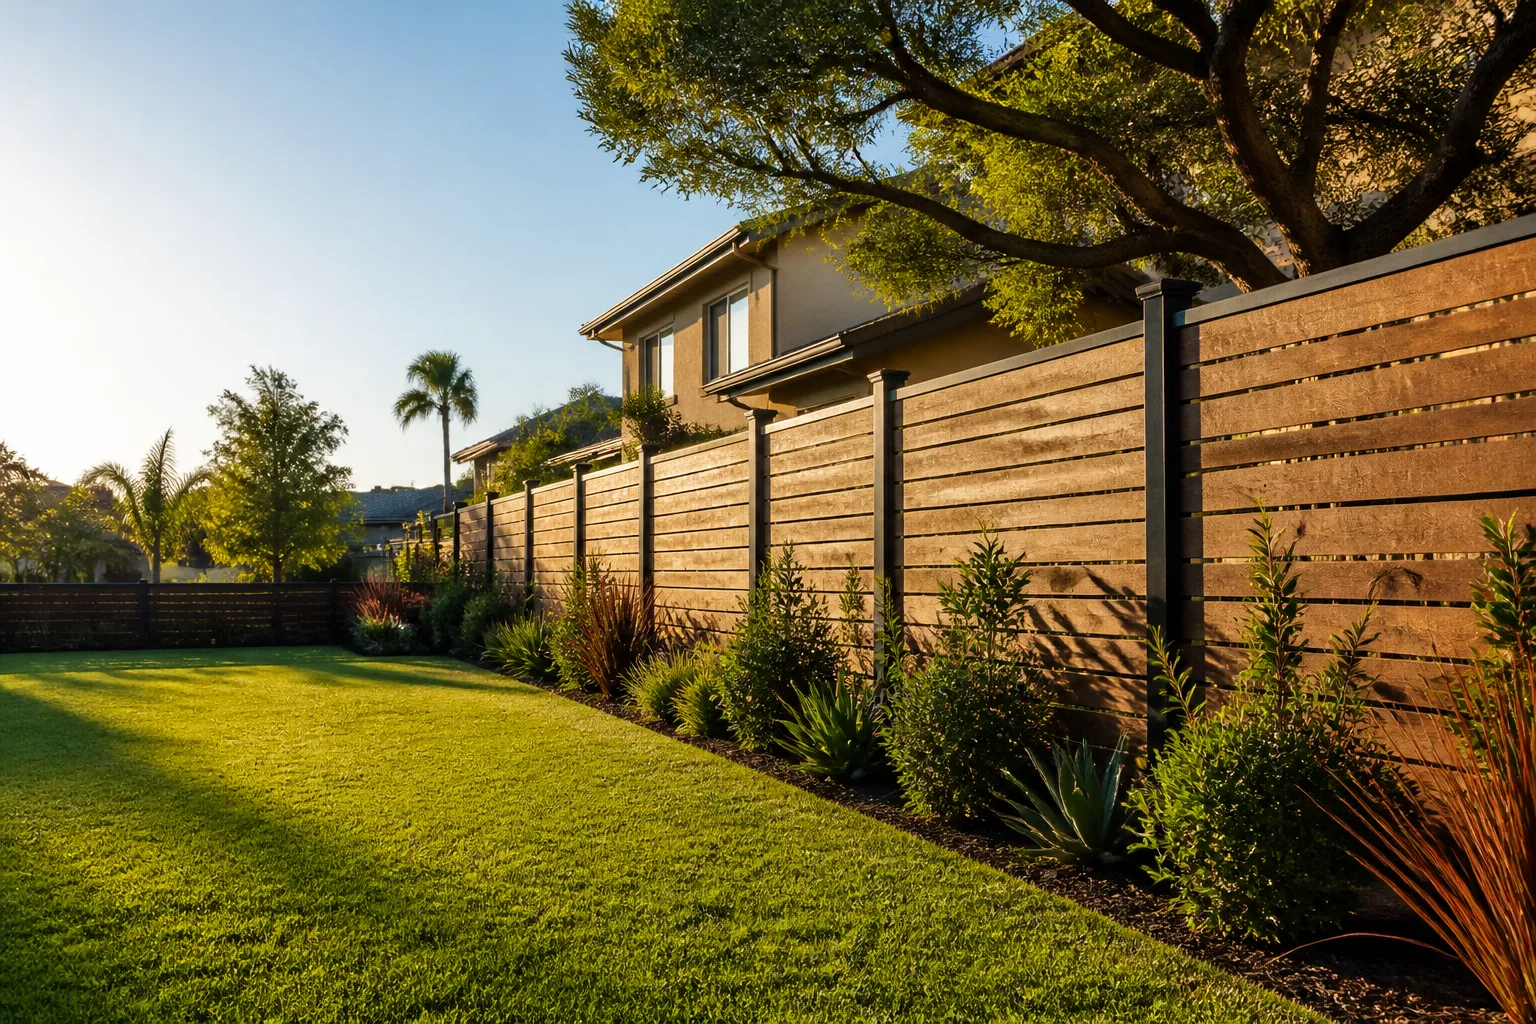
Attaching fence boards is legitimately DIY work. Setting posts in concrete to the correct depth, with the correct drainage crown, on a confirmed property line is where most DIY fences start losing years off their lifespan, usually invisibly, until year three or four. Here in Inglewood, we see this play out on blocks all over the city: a tidy-looking fence goes up in a weekend, holds strong through the first spring, then starts to lean after the second rainy season because the posts were set 18 inches deep in fast-draining sandy soil with no proper footing. This guide draws a hard line between the parts of a fence build most homeowners can execute well and the parts that quietly decide whether your fence lasts 5 years or 20.
Quick Answer
The safe DIY zone for a fence is the assembly: hanging boards, gates, pickets, lattice decor, and board replacement. The parts that determine longevity, meaning post depth, footing mix, drainage grading, and layout from a surveyed property line, are exactly where DIY fences fail most often and where a professional is worth paying for. A hybrid approach, where you pay a pro for layout and post setting and finish the rest yourself, gets most Inglewood homeowners a 20-year fence without full contractor pricing.
Styles & brands we work with
- Kitchen remodeling
- Bathroom remodeling
- Home additions & ADU
- Roofing
- Windows & doors
- Driveway & pavers
- Fence
Table of Contents
- Task-by-Task Breakdown: What’s DIY-Safe and What Isn’t
- The Property Line Reality: Surveys, Permits, and Neighbor Liability
- Post Setting: Why DIY Footings Fail and What Correct Looks Like
- Real Cost Comparison: Tools, Waste, Time, and Correction Costs
- Inglewood Soil, Climate, and What That Does to a Fence
- The Hybrid Approach That Actually Works
- Common Mistakes to Avoid
- When to Call a Professional
Task-by-Task Breakdown: What’s Safe to DIY and What Isn’t
Not every fence task carries the same risk. Some are paint-and-pry-bar work that any capable homeowner can handle with a weekend and a helper. Others require equipment, skill, or licensed labor, and knowing the difference is where most of your savings or regrets will come from. Here’s the honest split we’ve developed from jobs across Inglewood, from the tighter lots near Centinela to the larger yards in Morningside Park.
Safe to DIY
- Installing pickets or vertical boards once the rails are up. Level-cut work with a miter saw and a cordless drill.
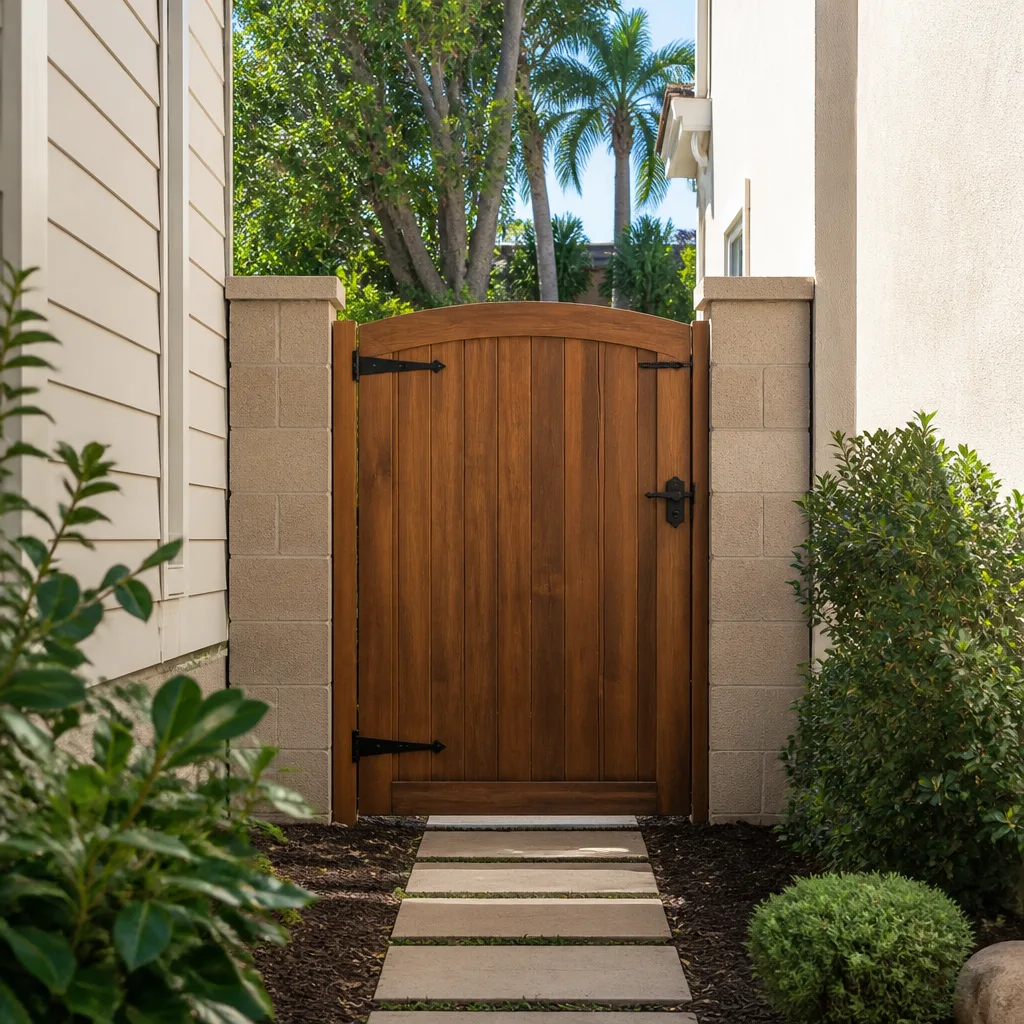
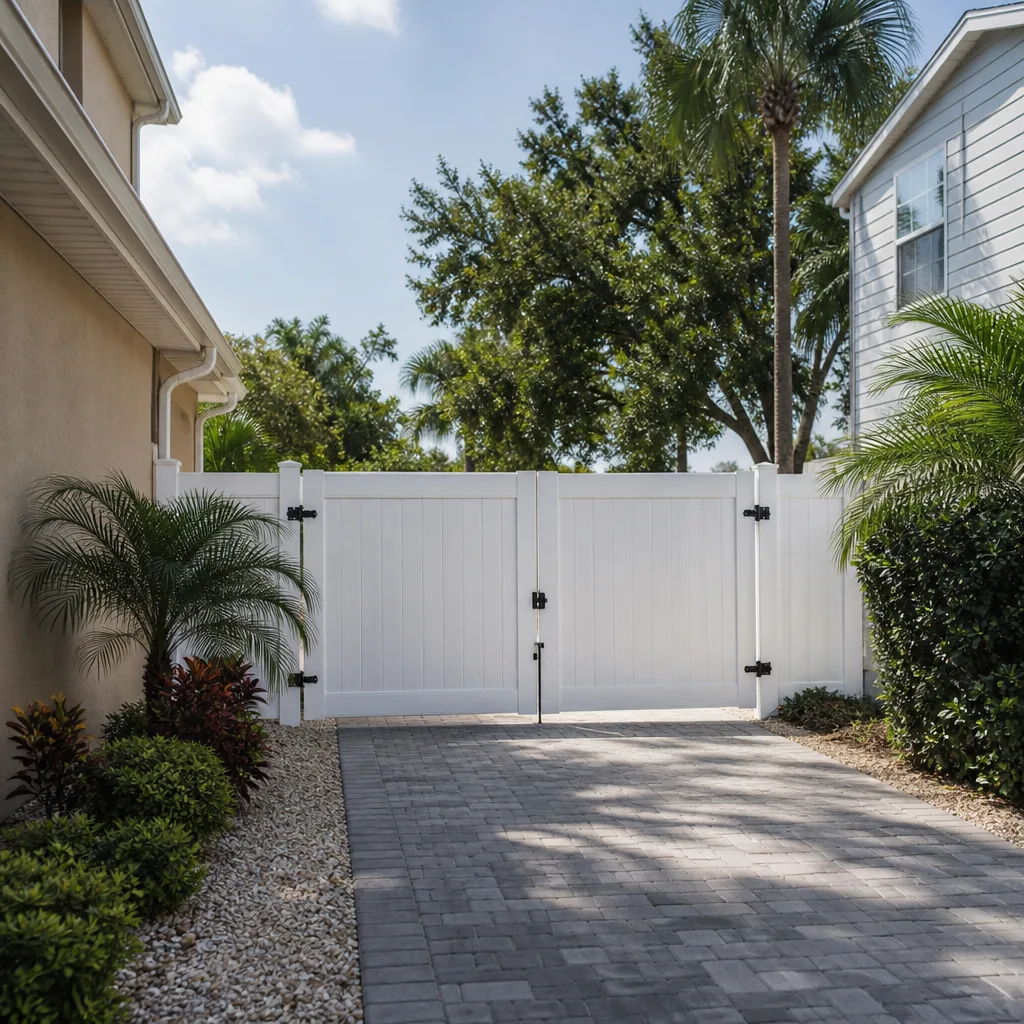
- Hanging a pre-built gate on posts that are already set, plumb, and cured.
- Staining or sealing a finished or existing fence.
- Replacing individual boards or pickets that are warped or broken.
- Small trim and cap work on an existing fence line.
- Attaching decorative panels, lattice, or privacy screens to sound structure.
- Painting metal or composite fence components.
Risky or Not DIY-Safe
- Setting posts in concrete footings. Requires depth, drainage, plumb checking, and cure timing that most guides skip past.
- Establishing the property line and layout. Requires a licensed surveyor or use of an existing survey, and legal exposure if you’re wrong.
- Removing mature trees or large root systems that intersect the fence line.
- Retaining-wall fence bases or sloped yard grading. Requires engineering and, in many cases, a permit.
- Holes near utility lines. Call 811 before you dig. Always. There is no shortcut here.
- Anything taller than 6 feet without an engineered design or wind-load consideration. This matters more in exposed Inglewood lots than people assume.
If you read that list and thought, “That’s a lot of ‘not DIY’ for a fence,” that’s the point. The tasks that show up on YouTube tutorials, like attaching boards and building gates, are the middle of the project. The bookends, layout and foundations, are where the real skill lives. For a longer look at what a full professional scope covers, our Fence Installation in Inglewood service page walks through the whole build sequence.
The Property Line Reality: Surveys, Permits, and Neighbor Liability
Fence disputes with neighbors in Inglewood are far more common than most homeowners realize, and the number one cause is a fence built without a confirmed property line. If your fence sits even a few inches over the line, your neighbor has the right to demand removal, and in most cases you’re the one paying for the correction. Worse, if a fence has been up long enough for a neighbor to claim adverse possession, you could be arguing about more than a foot of dirt.
Before You Cut a Single Board
- Locate your property corners. Pull the plat map from the Los Angeles County Assessor, and check for existing corner markers. If you can’t find them or they’re ambiguous, hire a licensed surveyor. Budget $500 to $1,200 for a residential lot survey in the Inglewood market, which sounds steep until you’re ripping out a 60-foot fence.
- Talk to the neighbor before you dig. A five-minute conversation before work starts prevents the dispute that happens after. In Inglewood, older homes often have informal boundary agreements that were never documented, so get anything you agree to in writing.
- Check your lot’s zoning and height limits. Inglewood generally caps residential front-yard fences at 3 feet and side and rear fences at 6 feet without a variance, but confirm against current city code because specifics vary by zone. A fence built higher than allowed can force removal, even if it’s on your property.
- Pull the permit if one is required. Basic fence replacement often skips the permit step in Inglewood, but new fences, fences over the standard height, and fences serving as retaining walls usually need one. Homeowners can pull their own permit for their primary residence, but the work must still pass inspection.
- Call 811 before digging. Free service, two business days’ notice, and non-negotiable. Every post hole is a potential gas line, irrigation line, or electrical conduit strike.
When a licensed contractor installs the fence, the survey, permit, and utility locate obligations still sit with the property owner of record, but the contractor handles the coordination, paperwork, and inspection scheduling. That coordination is half the value in a professional bid, and it’s the part most DIY guides never mention.
Post Setting: Why DIY Footings Fail and What Correct Looks Like
This is the section that matters most. Post footings are the single biggest determinant of how long your fence lasts, and they are also the part of fence building that DIY tutorials skip or get wrong. We’ve torn out hundreds of failed fences in Inglewood, and the failure pattern is remarkably consistent.
How DIY Footings Fail
- Too shallow. A 12- or 18-inch hole in fast-draining Inglewood soil doesn’t anchor a 6-foot privacy fence against wind load. The standard is a minimum of 24 inches below grade for a 6-foot fence, and 30 to 36 inches in exposed or sandy soil. Most DIY footings are far shallower.
- Wrong concrete mix or no concrete at all. Dry-set gravel or tamped soil works until about year two in dry weather, then starts to shift when the winter rains come. Concrete must be mixed to spec, poured all at once, and crowned so water sheds away from the post.
- No drainage crown. The top of the footing should slope so water runs off the post, not pool around it. Skip the crown and rot or rust starts at the ground line, invisibly, until the post snaps.
- Posts not plumb. Plumb checking has to be done before the concrete sets, and again before backfilling. A post set a half-inch out of plumb at the base moves a full inch at the top, and every subsequent post amplifies the drift.
- Holes backfilled with original soil instead of gravel or concrete up to grade. This creates a moisture trap at the base of the post.
- Not waiting for cure time. Concrete needs roughly 24 to 48 hours before load and 7 days before full strength in normal conditions. Hanging rails the same day the concrete was poured is a common shortcut that compromises the whole run.
The Correct Process, Briefly
- Dig holes to depth (24 to 36 inches) and width (about 3x the post diameter).
- Add 4 to 6 inches of gravel at the bottom of each hole for drainage.
- Set the post, plum and brace it in two directions.
- Pour pre-mixed concrete, tamping out air pockets as you go.
- Crown the top of the footing so water sheds away from the post.
- Wait 24 to 48 hours before hanging rails or pickets, longer in wet weather.
The reason this matters so much is that post-setting failures are nearly invisible at first. A fence with under-set posts looks fine for two, maybe three years, then starts to rack, sag, or lean after one heavy rain. That’s when the correction cost hits, and it usually means tearing out the run and starting over. If the scope of your overall project is growing, our team at Groundwork Construction Co. of Inglewood home handles fence installs alongside the driveways and landscaping they sit next to.
Real Cost Comparison: Tools, Waste, Time, and Correction Costs
Most DIY cost comparisons stop at materials. That’s misleading. The full picture includes tools you may only use once, waste from miscuts and misordered material, the time cost of a project that a pro can compress from three weekends into one or two days, and the correction cost if something goes wrong. Here’s what a real comparison looks like for a typical 100-foot, 6-foot privacy fence in Inglewood in 2026.
- Materials (DIY or pro): $2,200 to $4,000 depending on material. Cedar or composite runs higher than pressure-treated pine. Brand partners matter here; we install with James Hardie rated composite components and standard pressure-treated pine with equal confidence based on what the property calls for.
- Tool acquisition or rental: $300 to $700 for a post-hole digger, tamper, mix station, plumb line, braces, and a decent auger rental for the day.
- Waste and misordered material: 10 to 15 percent of material cost, higher if you’ve never laid out a fence run before. That’s $250 to $500 in real money.
- Time: 2 to 3 full weekends for a confident DIYer, more if weather interferes. In Inglewood, that means two weekends in the dry season and one weekend of rainy-season delay.
- Professional install (typical range): $3,500 to $7,000 for the same 100-foot run, all-in, including haul-off, permits if required, and a workmanship guarantee.
- Correction cost if post alignment or depth is wrong: $1,800 to $3,500 to tear out and rebuild, plus new material for the damaged sections. This is the number that flips the math.
Add the numbers up honestly and the DIY savings on a full fence build land between $500 and $1,500, once tool cost, waste, time, and correction risk are included. That’s real money, but it’s not the dramatic 40 to 50 percent savings the internet implies. The math flips completely when the DIY fence fails at year three and has to be rebuilt, because you’re now into the fence for more than the professional quote in the first place. A written line-item quote from a licensed pro eliminates that guesswork up front, and if you’re comparing options, our Driveway & Pavers in Inglewood page shows what transparent itemized pricing looks like across a similar scope of exterior work.
Inglewood Soil, Climate, and What That Does to a Fence
Inglewood sits on a mix of sandy loam and clay-heavy soils that behave differently depending on the neighborhood and the season. That local reality changes how deep posts need to go and how footing drainage should be handled, and it’s a detail almost no national DIY guide accounts for.
- Sandy loam in the western neighborhoods (closer to the 405 and the Westchester edge) drains fast but holds a post weakly. Footings here benefit from wider holes and more concrete, because the surrounding soil provides almost no lateral resistance.
- Clay-heavy soils in some of the older residential blocks expand and contract with moisture, which is the classic cause of leaning fences. Wider footings and a proper drainage crown matter most in these areas.
- The dry-wet cycle: Inglewood gets most of its rain between November and March, which means a fence installed in the summer meets its first real test in its first winter. Any post set too shallow will show rack in that first rainy season, not the second or third.
- The marine layer and coastal air push rust rates up on metal components and accelerate rot on untreated wood. Galvanized or stainless fasteners are not optional here; they’re the difference between 15 years and 25.
- Santa Ana wind events through the fall put lateral load on fences that most DIY footing designs don’t account for. A 6-foot privacy fence has a surprising amount of sail area.
The reason this matters is that a fence built to a generic YouTube template, with 18-inch post holes and no crown, gets through a first summer looking great, gets through a first winter with minor lean, and then crosses into real failure by the second or third rainy season. In Inglewood specifically, we see the highest failure rates on fences installed by previous homeowners in the 1980s and 1990s, because the standards were different then and the original footings were shallow.
The Hybrid Approach That Actually Works
The best cost-per-year outcome for a fence is almost always the hybrid build. You pay a professional for the parts that determine longevity, and you handle the parts that don’t. This gets you a 20-year fence at closer to 60 percent of full professional install pricing, without giving up the guarantee on the parts that matter.
Pay a Pro For
- Property line confirmation and layout.
- Permit application and inspection scheduling if the job needs one.
- Utility locate coordination (though you still call 811 yourself).
- Post holes, footings, and post setting. This is the piece that determines your lifespan curve.
- Top rail and structural framework. Getting the run plumb and level sets up everything downstream.
- Gate posts and gate hardware, the highest-load points in any fence.
Do Yourself
- Picket or board installation on finished structure.
- Trim, caps, and decorative elements.
- Staining, sealing, and painting.
- Ongoing maintenance and board replacement.
- Lattice, privacy screens, and finish details.
The hybrid approach isn’t a compromise; it’s what a lot of our cost-conscious customers in Inglewood actually ask for after seeing both sides of the math. It preserves the structural guarantee on the part that fails, and it keeps the finish work where a homeowner can genuinely save real money without any risk to the lifespan of the fence.
Common Mistakes to Avoid
- Skipping the survey and eyeballing the property line. A few inches of encroachment in Inglewood can cost you a full fence teardown plus neighbor relations you can’t put a price on. Get the line confirmed before you cut a board.
- Setting posts shallower than 24 inches. The most common failure point we see on Inglewood DIY fences. Shallow footings rack after one or two rainy seasons, and the correction cost wipes out every dollar saved on labor.
- Pouring concrete without a drainage crown. Water pools at the post base, rot or rust starts, and the fence is already on borrowed time by the time the homeowner notices.
- Using untreated pine or non-galvanized fasteners. Inglewood’s coastal air and dry-wet cycle punish cheap materials faster than most inland cities. A few hundred dollars in material upgrade gets you a decade more fence.
- Hanging rails or pickets before the concrete has cured. 24 to 48 hours minimum before load, 7 days for full strength. The urgency to see a finished fence is real; the cost of rushing the cure is not.
- Building higher than the zoning limit without a variance. Front yard and side yard height limits apply, and a fence over the limit can be ordered removed even if it’s fully on your property.
- Digging without calling 811. Free, takes two business days, and the alternative is hitting a gas line or an irrigation main. There is no version of fence work where this is optional.
When to Call a Professional
Call a professional when the fence line is disputed, when the lot has a slope or a retaining-wall element, when the fence needs a permit, when your property has mature trees or utility lines in the run, or when you don’t have a couple of weekends to give to the project. Those scenarios carry risk, cost, or legal exposure that no savings on labor justifies. Groundwork Construction Co. of Inglewood offers free estimates in Inglewood. Each project is backed by our 730-Day Done Right Promise, and every quote is written line-item so you can see exactly what the number covers before you sign. Our technicians have up to 12 years of experience, arrive in uniform, and are background-checked. Call (833) 842-7204 for a free estimate and design consult.
See the difference
 Before
 After
 Before
 After
 Before
 After
Frequently Asked Questions
A typical 100-foot, 6-foot privacy fence runs $3,500 to $7,000 installed in Inglewood, depending on material (pressure-treated pine is at the lower end, cedar and composite at the higher end) and site conditions. Material-heavy properties with mature trees or slopes trend higher. Call (833) 842-7204 for an exact quote. Estimates are free.
Basic fence replacement often doesn’t require a permit, but new fences, fences over the standard zoned height, and fences serving as retaining walls usually do. Homeowners can typically pull their own permit for a primary residence, and the work must pass inspection. Confirm current requirements with the city before starting, and if you’re not sure, call (833) 842-7204 and we’ll walk you through when a permit is required.
You can set fence posts yourself, but this is the single task most responsible for fence lifespan, and DIY footings fail at a much higher rate than professional ones. Post depth, drainage crown, and cure timing all have to be right, and mistakes don’t show up for 2 to 3 years. If you want a 20-year fence, paying a pro for the footings and finishing the rest yourself is the best cost-to-outcome move. Call (833) 842-7204 for a free estimate on professional post setting.
Legally, you don’t need a survey to build a fence, but you practically do if you want to avoid disputes and removal costs. If your property corners are clearly marked and your neighbor agrees with the line, you can proceed. If not, get a survey ($500 to $1,200 in the Inglewood market) before cutting a single board. Call (833) 842-7204 to talk through your property’s specifics.
A well-built professional fence in Inglewood lasts 15 to 20 years; a DIY fence with under-set posts typically starts failing at year 3 to 4 and is fully degraded by year 8 or 10. The difference almost always comes down to post footing quality, not the visible boards. Call (833) 842-7204 for a free estimate that includes the footing detail in writing.
Talk to your neighbor first, get any agreement in writing, and confirm the property line with a survey if necessary. Inglewood has plenty of older lots with informal boundary arrangements that aren’t documented; if a dispute arises later, you want a paper trail. If the fence is on the line and shared, both homeowners typically split the cost. Call (833) 842-7204 if you want an estimate before you approach your neighbor.
The Bottom Line
The DIY-versus-professional fence decision isn’t binary; it’s task-specific. DIY the assembly: boards, pickets, gates, staining, and maintenance. Pay a professional for the property line confirmation, permits, layout, post depth, and footing work. The hybrid build that pays a pro for the structural pieces and leaves the visible work to the homeowner gets you a 20-year fence at close to 60 percent of full professional install pricing, without the correction cost that DIY-when-it-matters runs into by year three. If you’re ready to price a fence in Inglewood, call (833) 842-7204 for a free estimate. Every quote is written line-item, every project is backed by our 730-Day Done Right Promise, and 0% financing for 18 months is available if you want to stage the work.
Ready to Get a Real Fence Quote for Your Inglewood Property?
Call (833) 842-7204 to schedule your free estimate and design consult. We’ll walk your property, confirm what’s DIY-viable and what isn’t, and give you a written quote that shows exactly what the number covers. A live person answers the phone 24/7, every technician who shows up is background-checked and in uniform, and our 730-Day Done Right Promise covers every project. If you’re also considering an ADU or addition on the same lot, our Home Additions & ADU in Inglewood team can coordinate the fence line with the rest of the site plan. Upfront pricing, no surprises, and a fence you can stand behind for the next two decades. Call (833) 842-7204 today. Projects over $10,000 qualify for $1,000 off, and 0% financing for 18 months makes a full exterior upgrade easier to plan.
Written by the team at Groundwork Construction Co. of Inglewood.