Last updated November 18, 2026
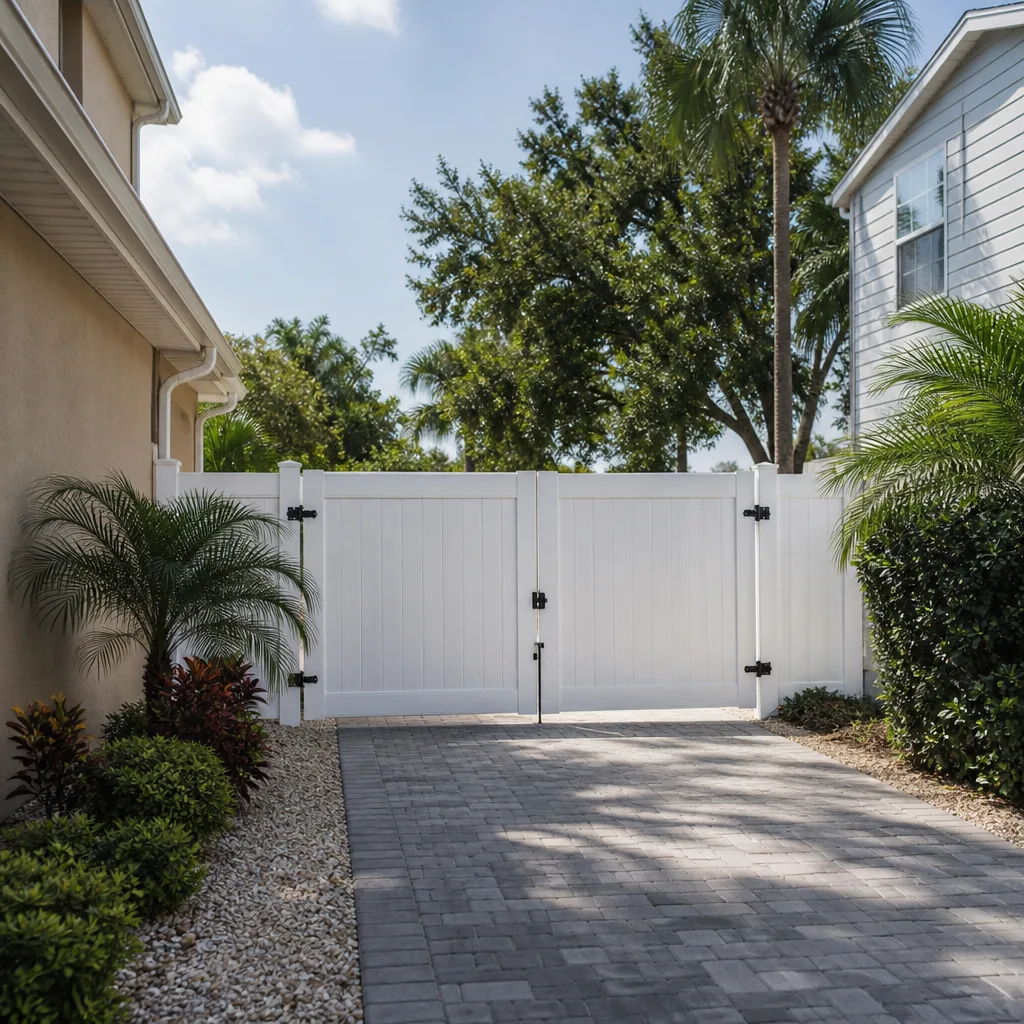
Free written scope consultation - allowances, timeline, and change-order rules on paper before a single trade is scheduled
Fence Installation Maintenance Schedule: What to Do and When
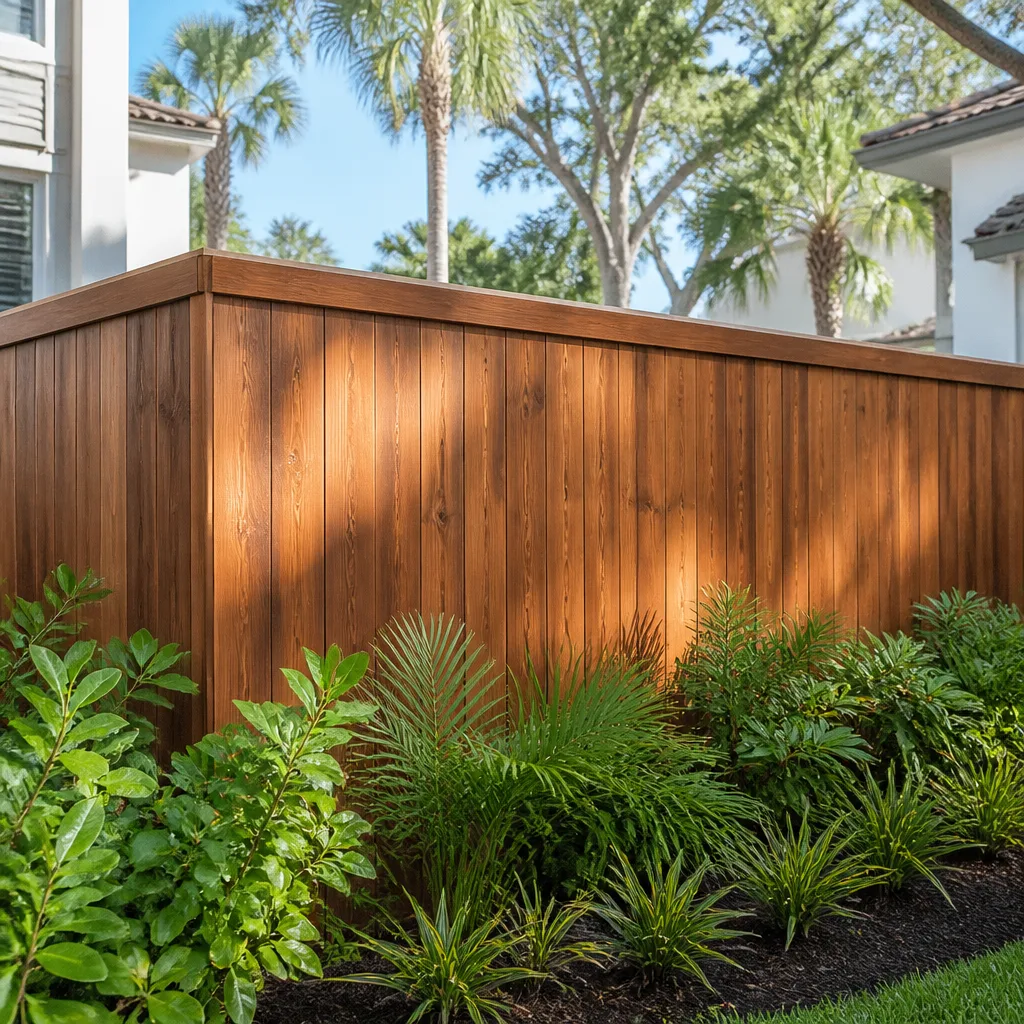
Wood fences in the LA basin rarely fail because of too much rain. They fail from moisture cycling. Each dry season pulls moisture out of the boards and they shrink. The first real storm of the wet season pushes water back in and they swell. That expansion and contraction works nails loose, opens hairline cracks at the end grain, and lets water into places it should never reach. We’ve pulled boards in Inglewood that looked solid in October and were soft by February. This guide lays out a Southern California maintenance calendar built around the stressors local fences actually face: UV, dry rot, Santa Ana winds, and marine-layer corrosion. You’ll learn what to inspect, when, and why the cut ends of every board matter more than the face.
Styles & brands we work with
- Kitchen remodeling
- Bathroom remodeling
- Home additions & ADU
- Roofing
- Windows & doors
- Driveway & pavers
- Fence
Quick Answer
For a wood fence in Inglewood and the surrounding LA area, the maintenance schedule runs on two cycles: a light inspection in early spring (March) after the wet season ends, and a full inspection plus sealing in early fall (September – October) before the Santa Ana winds and winter rains arrive. Re-seal every 2 – 3 years, check fasteners twice a year, and inspect post bases every fall for moisture and rot indicators. Metal and vinyl fences need less frequent attention but still warrant annual checks on hardware and posts.
Table of Contents
- Why Southern California Fences Age Differently
- The Southern California Annual Fence Maintenance Calendar
- End-Grain Sealing: The Step Almost Everyone Skips
- Post Base Inspection: Reading the Tops Before the Bottom Fails
- Hardware and Fastener Inspection by Metal Type
- Post-Santa Ana Wind Inspection: What to Look For Beyond the Obvious
- How the Schedule Shifts for Vinyl, Metal, and Composite Fences
- Common Mistakes to Avoid
- When to Call a Professional
- Frequently Asked Questions
- The Bottom Line
Why Southern California Fences Age Differently
Most fence maintenance guides are written for a four-season climate. Spring thaw, summer growth, fall prep, winter dormancy. That logic doesn’t map onto Inglewood. We get maybe 12 to 15 inches of rain in a normal year, and nearly all of it lands between November and March. The other seven or eight months are bone dry, and the UV index sits high enough that an unprotected western-facing fence board can gray out in a single summer.
What that means in practice:
- Rot starts in cracks, not in steady wet. A fence that stays wet rots slowly. A fence that cycles between bone-dry and soaked rots faster, because the repeated swelling opens new pathways for water to enter.
- UV does more damage than rain. The sun breaks down lignin in wood fibers, which is what turns a fresh cedar board silver-gray. A gray board is a board with a compromised surface layer.
- Santa Ana winds are a stress event, not background noise. Every October through January, Inglewood and the rest of the LA basin get dry, hot, gusting wind events that can load a fence panel sideways with more force than any storm. A fence that survived the rain can still crack a post or back out a lag screw during a single Santa Ana.
- Marine air accelerates corrosion. Inglewood sits close enough to the coast that salt-laden air drifts inland on the afternoon breeze. Fasteners and hinges in the western part of town corrode noticeably faster than the same hardware installed even 15 miles east.
We mention this because the schedule that follows is built around these specific pressures. Not a national template. In our experience working on fences across Inglewood, the boards that fail first are almost always on west-facing runs with a thick coat of paint hiding moisture underneath.
The Southern California Annual Fence Maintenance Calendar
The full schedule is simpler than the national guides suggest: two main touchpoints per year, plus one re-seal every two to three years. Here’s how it works.
The two-inspection cycle
- March – post-wet-season inspection. Rain has stopped for the most part. You’re checking for water damage that happened over the winter: warped boards, popped fasteners, soil that settled around post bases, any green tint on north-facing boards (mold). Fix what the rain exposed.
- September – October – pre-wet-season inspection and re-seal. This is the important one. You’re getting the fence ready for the rains and for the Santa Ana winds. Clean, inspect, repair, and apply sealant on any wood that’s due for it.
What happens in each window
- March: walk the line, look at post bases, tighten or replace fasteners, scrub any mold or mildew with a mild detergent solution, check gates for sag.
- May – August: nothing to do except a mid-summer look if your fence faces harsh west or south sun. Trim vegetation touching the fence line.
- September – October: wash the fence, allow to fully dry (3 – 5 dry days), re-seal any wood that’s due, inspect all post bases, check hardware, test every gate latch.
- November – February: after any significant rain event, walk the fence. Look specifically at where the fence meets the ground.
Re-sealing cadence by material
- Bare or stained cedar: every 2 years in Southern California. Cedar has natural oils but the UV still breaks it down.
- Pressure-treated pine: every 2 – 3 years once the initial mill moisture has fully dried out (usually 12 months after installation).
- Painted wood: every 4 – 5 years full repaint, but check for bubbling or peeling every year. Paint traps moisture. When it fails, it fails badly.
- Composite: no sealer required, but annual wash. Vinyl: annual wash, and check for cracks after any high wind. Metal: annual inspection of fasteners and post footings only.
End-Grain Sealing: The Step Almost Everyone Skips
If you take one thing from this guide, make it this: wood fence boards absorb more water through their cut ends than through the entire face of the board. End grain acts like a bundle of drinking straws. Every board has a top cut and a bottom cut, and every one of those cuts is a doorway for water. If they aren’t sealed during installation, rot starts there first, often within 2 – 3 seasons in Southern California conditions.
The face of a board is mostly flat, dense wood fiber. Water runs off and evaporates. The end grain is a cross-section of capillaries. Water goes in and stays in, and capillary action can pull it uphill.
What to check during maintenance
Run your hand along the top edge of every board. You’re feeling for:
- Splitting at the top edge. Even a hairline split means end grain is exposed to direct rain.
- Softness when you press with a thumbnail. Soft means interior rot is already underway.
- Separation between the top edge and the horizontal rail or cap. Water sits in that gap.
- Discoloration – any dark spot or gray patch at a cut end means water got in and wood is breaking down. See a full board replacement if pressed-in with a fingernail it sinks.
What to do about it
During installation, every exposed end grain (top of the pickets, bottom of the pickets if the fence is mounted at ground level, top and bottom of horizontal rails) should get a coat of end-grain sealer or exterior-grade primer before the board is fastened. This is a 15-minute step during install that saves hundreds of dollars in replacement two winters later. During maintenance, touch up the end grain on any board that’s exposed a fresh cut, and re-apply sealer at the top edge every 2 – 3 years along with the rest of the fence surface.
The bottom of a picket installed 2 inches above grade is the second-worst end-grain exposure, because it sees splash-back from the ground during every heavy rain. End grain at the bottom of a fence is where we most often find active rot on Inglewood fences that are 5 – 8 years old. If your pickets are set at grade level, that’s already a red flag on the original install.
Post Base Inspection: Reading the Tops Before the Bottom Fails
By the time a wood fence post looks visibly damaged at the ground line, the below-grade rot has usually progressed 6 – 12 inches up the interior of the post. You’re not looking for the rot itself. You’re looking for the topside indicators that tell you it’s happening.
What to check (without digging)
- Grab the post at shoulder height and push it side-to-side. It should not flex independently of the fence panel. Any wobble means the base is losing grip.
- Look at the base of each post for a soil collar. Concrete footings should show a stable, dry soil ring. Any sinkhole, wet spot, or sunken pocket around the post base means water is draining into the base and sitting there.
- Look for a “mushroom” or fungi at the base. Any fruiting body growing out of the post base, even a tiny one, means the wood is actively decaying inside.
- Press a screwdriver shaft into the post at ground level and 2 inches up. If the tip sinks more than a quarter inch into the wood, you have active rot. Do this gently; you’re not trying to puncture the wood.
- Look at the post where the horizontal rails attach. If the rail-post joint has opened up more than 1/8 inch, the post is losing thickness somewhere below, and it’s usually the interior at the ground line.
What the topside indicators look like before the base fails
The classic Inglewood pattern: a 6-year-old pressure-treated post develops a slight lean (2 – 3 degrees) over one wet season, but the wood still looks tight at the surface. What’s happening is the post has lost structural mass 8 inches below grade, and the concrete footing has shifted slightly as the soil around it settled. If you catch the lean before it goes past about 3 degrees, you can often reinforce the base (post anchor plate, new footing collar) without full replacement. Past 5 degrees, you’re looking at pulling the post.
Fence installers who set posts in concrete only at the bottom 24 inches, without a proper drainage gravel bed, effectively create a bathtub. Water pools inside the concrete casing and rots the post from the inside out. During installation, post holes should be dug deeper than the frost line (which in Inglewood is effectively zero, so 24 – 30 inches is standard), filled with 4 – 6 inches of gravel at the bottom for drainage, and the concrete should crown slightly above grade so water drains away. If your existing Inglewood fence was set without these steps, expect post base failure at 8 – 12 years rather than the 15 – 20 you’d get from a properly installed line. This is where quality installation is worth real money, and it’s part of the reason we build fence projects the way we do at Fence Installation in Inglewood.
Hardware and Fastener Inspection by Metal Type
Fastener corrosion is the most overlooked maintenance item on a Southern California wood fence. Every nail, screw, hinge, lag bolt, and gate hanger is a potential failure point, and different metals corrode at very different rates in Inglewood’s coastal-influence climate.
What’s actually happening to your hardware
Salt air plus morning marine layer moisture plus wide swings in temperature equals accelerated corrosion. Galvanized fasteners that would last 20 years inland may show red rust at year 8 on a west-facing fence in Inglewood. Stainless steel resists better but is more expensive, so most production fence installs use hot-dip galvanized or electro-galvanized hardware.
Corrosion patterns by metal type
- Electro-galvanized nails and screws (the shiny, common ones): first to fail. Expect visible rust at 5 – 8 years on coastal-influence properties. Once rust is visible, the shank is already weakened. Replace on sight.
- Hot-dip galvanized: thicker zinc coating, lasts twice as long, expect 12 – 18 years. Rust shows as dull white oxidation first, then orange-brown. When you see the orange-brown, replace.
- Stainless steel (304 or 316): 20+ years in most Inglewood conditions. 316 marine-grade is what you want within about 5 miles of the coast. Check for crevice corrosion at connection points every annual inspection.
- Bright (uncoated) steel: not appropriate for exterior fence use anywhere near the coast. If you see uncoated steel hinges or gate hangers on your fence, plan to replace them within 1 – 2 years.
- Ceramic-coated or powder-coated hinges and latches: check the coating itself. A cracked coating creates a corrosion cell right at the crack, and the base metal goes fast.
Inspection cadence
Twice a year, once during each scheduled inspection window (March and September). On the walkaround:
- Look at every gate hinge and latch. Any red rust, replace it. Don’t wait for the gate to fail.
- Walk the fence line and spot-check fasteners on every third or fourth picket. You’re looking for rust streaks on the wood below the fastener, backed-out nails, or loose screws.
- Test gate swing. A gate that sticks or sags after rain is telling you the hinges or the post-to-hinge hardware has loosened.
- Check lag bolts at post-to-rail connections. Tighten any that move. Replace any that spin freely; a spinning lag means the wood around it has softened.
A gate hinge that fails without warning sends a 40-pound swinging gate into whatever’s on the other side. It’s the most common fence-related injury we see. Regular hardware inspection is cheap; emergency gate repairs rarely are.
Post-Santa Ana Wind Inspection: What to Look For Beyond the Obvious
Santa Ana winds come through Inglewood and the LA basin a handful of times each fall and winter. Gusts of 40 to 60 mph are common in exposed areas, and on the eastern slopes they can push higher. Most homeowners check for obvious damage after a wind event: a toppled fence, a broken picket, a gate that won’t close. The real damage is subtler and shows up six months later as a panel that’s suddenly leaning.
The stress points that get loaded without showing visible damage
- The post-to-concrete interface. Wind loads a fence panel sideways. That load transfers down the post and into the concrete footing. Even if nothing moves, a partial micro-crack can open between the post and concrete. That crack lets water in next season, and that’s how post rot begins.
- The rail-to-post fasteners. Every wind event works the lag screws or nails a fraction of an inch. A screw that backs out 1/16 inch per wind event becomes a screw that backs out fully in 5 years. This is where the “mystery” instability in an older fence comes from.
- The gate post. Gates are the single most wind-loaded section of any fence because they’re a wider unsupported span. A gate post that looks fine after one Santa Ana can be subtly loosened. Two seasons of that and the gate fails to latch.
- Top caps and rails. Uplift loads on the top cap can loosen fasteners you can’t see from the ground. If your fence has a decorative top cap or a horizontal top rail, inspect the attachment points.
- Panel-to-panel connections. On longer runs, the midrun posts do more work than the corner posts during wind. They’re the ones that fail first.
What the post-wind inspection should cover
- Walk the full fence line. Push on every post at shoulder height. Note any that flex more than they did before.
- Test every gate for latch alignment. A gate that suddenly drags or latches hard is a signal.
- Look at the ground line around every post base. Any soil that cracked away or opened up is a signal that the post moved in the footing.
- Inspect the top rail attachment at every 5th post and every corner. Look for gap opening between the rail and the post.
- Check the base of every post for the beginnings of a lean. A 2-degree lean after a wind event is worth watching; 5 degrees is worth repairing.
If you’ve been through a significant Santa Ana and you’re not sure your fence line made it through clean, that’s a good time to get eyes on it. We do this kind of inspection for Inglewood homeowners regularly, and it’s included in most fence conversations we have. You can start with a free estimate request through our Groundwork Construction Co. of Inglewood home contact.
How the Schedule Shifts for Vinyl, Metal, and Composite Fences
Wood gets the focus because wood is the material that needs the most attention. But if your Inglewood fence is vinyl, metal, or composite, the maintenance calendar changes in specific ways.
Vinyl fences
No sealing, no re-staining, but annual washing with a mild detergent solution is worth doing because Inglewood’s air carries enough particulate to discolor white vinyl over 2 – 3 years. Check every panel-to-post connection after Santa Ana events. Vinyl gets brittle in UV over years 10 – 15, so any crack discovered during a wind inspection should be repaired promptly; a small crack in a vinyl panel becomes a full panel failure after the next wind event. Post bases still need inspection; a vinyl fence post that fails is the same footing problem as a wood post, just less visible because the post below grade is usually a galvanized steel sleeve encased in vinyl.
Metal (ornamental steel, aluminum) fences
Yearly inspection of every fastener and every post footing. Powder-coat failures (chips, scratches, bubbling) let water reach the base metal and rust begins, especially in Inglewood’s coastal-influence environment. Touch up any coating damage within 1 – 2 months. Aluminum won’t rust through but will pit in areas with salt exposure. Steel needs more attention. Every gate hinge and latch is a wear point; check the swing and the latch alignment every 6 months.
Composite fences
Composite is closest to wood in installation but easiest in maintenance. Annual wash, no sealing, no staining. Check all fasteners annually because the composite itself rarely fails but the fasteners holding it can back out. Any fastener that spins freely is a failure; composite doesn’t hold screw threads as well as solid wood. Full inspection cadence: annual, plus a walkaround after any wind event, plus a look at post bases after the first big rain of the season.
Common Mistakes to Avoid
- Sealing wet wood. Applying a sealer within 48 hours of rain traps moisture under the finish, and the sealant bubble-peels within months. In Southern California, you want 3 – 5 consecutive dry days before sealing, which is why the September – October window exists in the first place.
- Painting instead of sealing. Paint looks like it protects wood better than a clear sealer. It doesn’t. Paint traps moisture, and once it starts peeling at the edges, water gets under it and stays. On an Inglewood fence, semi-transparent stain or a penetrating sealer holds up better than most exterior paints.
- Ignoring end grain. This is the number one mistake from the “Common Mistakes” list we’ve already covered above, and it bears repeating. Unsealed top and bottom cuts are where rot starts, and by the time you see rot on a board face, the board is already gone.
- Digging around post bases to check for rot. You can damage the footing and accelerate the problem. Check from the top: push test, soil collar, and screwdriver pressure test. Dig only if you’ve confirmed a problem.
- Using the wrong fasteners. Nailing galvanized pickets with electro-galvanized nails is a common installer shortcut. Mixing metals creates a corrosion cell where the two touch. All hardware on one fence system should be the same metal family.
- Waiting until the fence leans to check the posts. Post rot progresses from the inside. By the time the post visibly leans, you’ve lost 6 – 12 inches of structural mass. The check takes 10 minutes; a post replacement run is $800 – $2,000+ in Inglewood depending on length.
- Skipping the post-Santa Ana walkthrough. Even when the fence looks fine, the wind has loaded stress into the system. A 5-minute walk after each Santa Ana catches problems while they’re still cheap to fix.
When to Call a Professional
Most fence maintenance is owner workable. But a few situations warrant a professional inspection, especially on larger runs or gates:
- Any post that flexes when pushed at shoulder height. Below-grade rot is a footing replacement job, not a screwdriver fix.
- Any fence section that’s leaning more than 3 degrees. The wind load has moved the concrete footing, and re-setting it requires pulling the post.
- Any gate that fails to latch cleanly after a wind event. Hinge and post wear on a gate is easy to make worse without proper hardware.
- Any active mold or wood decay on more than 3 boards. If the decay is that widespread, you’re looking at a partial rebuild, not spot repair.
- Any fence run that needs re-sealing and is over 150 linear feet. Large surfaces are hard to seal evenly, and uneven coverage leads to visible sheen differences.
For Inglewood homeowners facing any of these, Groundwork Construction Co. of Inglewood offers free estimates. Our technicians have up to 12 years of experience with Southern California fence systems, and every project is covered by the 730-Day Done Right Promise. Call (833) 842-7204 to schedule your free estimate.
Frequently Asked Questions
Every 2 – 3 years for most wood types. Cedar and pressure-treated pine hold up reasonably well but still need a fresh coat to resist UV damage, and the September – October window is the safest time to apply because you need 3 – 5 dry days post-application. If your fence sees full west or south sun, lean toward the 2-year end of that range. Call (833) 842-7204 for an exact quote on a seal-and-inspect visit; estimates are free.
Yes. Push the post at shoulder height, look for a sunken soil collar around the base, check for any mushroom or fungal growth, and press a screwdriver into the wood at ground level. If the tip sinks more than a quarter inch, you’ve found active rot. Post rot progresses from the inside out, so topside indicators like a 2-degree lean, a rusty base, or a soil pocket around the post are what to watch.
Skipping end-grain sealing during installation. The top and bottom cut of every board is where water enters fastest, and by the time rot is visible on the board face, that board is already compromised. In Inglewood’s dry-wet-dry cycling pattern, unsealed end grain typically fails within 3 – 4 seasons.
Any visible red rust on a fastener means the shank is already weakened; replace it. Galvanized fasteners typically show rust at 5 – 8 years of coastal-proximity exposure in Inglewood, and stainless holds up 20+ years. Check hinges and latches on every gate every 6 months; a failed hinge is the most common fence-related injury.
Push test on every post at shoulder height, gate latch alignment, and the soil collar around every post base. The most important check is post flex. Even a fence that looks fine after one wind event has stressed the post-to-concrete interface and the rail fasteners, and problems show up 2 – 3 seasons later. A 5-minute walk catches them while they’re cheap to fix.
Spot repair of 5 – 10 boards runs $300 – $800 depending on material and access. Post replacement runs $250 – $500 per post, and full fence panel replacement runs $40 – $80 per linear foot. A full fence replacement of a typical 100-foot Inglewood property runs $4,000 – $8,000 for wood and $6,000 – $12,000 for composite. Call (833) 842-7204 for an exact quote; estimates are free and line-item.
The Bottom Line
Fence maintenance in Inglewood isn’t a four-season job. It’s a two-cycle schedule tuned to a Mediterranean climate: a March inspection after the rains, and a September – October inspection and re-seal before the Santa Anas and the wet season. End-grain sealing prevents most of the rot you’ll otherwise find 3 – 4 years out. Post base inspection is about reading the tops, not digging. Hardware corrosion is a real maintenance item in our coastal-influence climate, and post-Santa Ana walks catch stress loads before they turn into a leaning panel. If a project needs more than a screwdriver, the fence installation team at Groundwork Construction Co. of Inglewood is here to look. We bring the same discipline to fence maintenance that we do to a driveway and pavers project or a home addition or ADU in Inglewood: from foundation to finish line, built to last and backed in writing.
Ready for a free estimate? Call (833) 842-7204. We answer with a live person, 24/7. Projects over $10,000 qualify for $1,000 off, and 0% financing for 18 months is available. The number you see is the number you pay, and every project is covered by our 730-Day Done Right Promise.
Written by the team at Groundwork Construction Co. of Inglewood.
See the difference
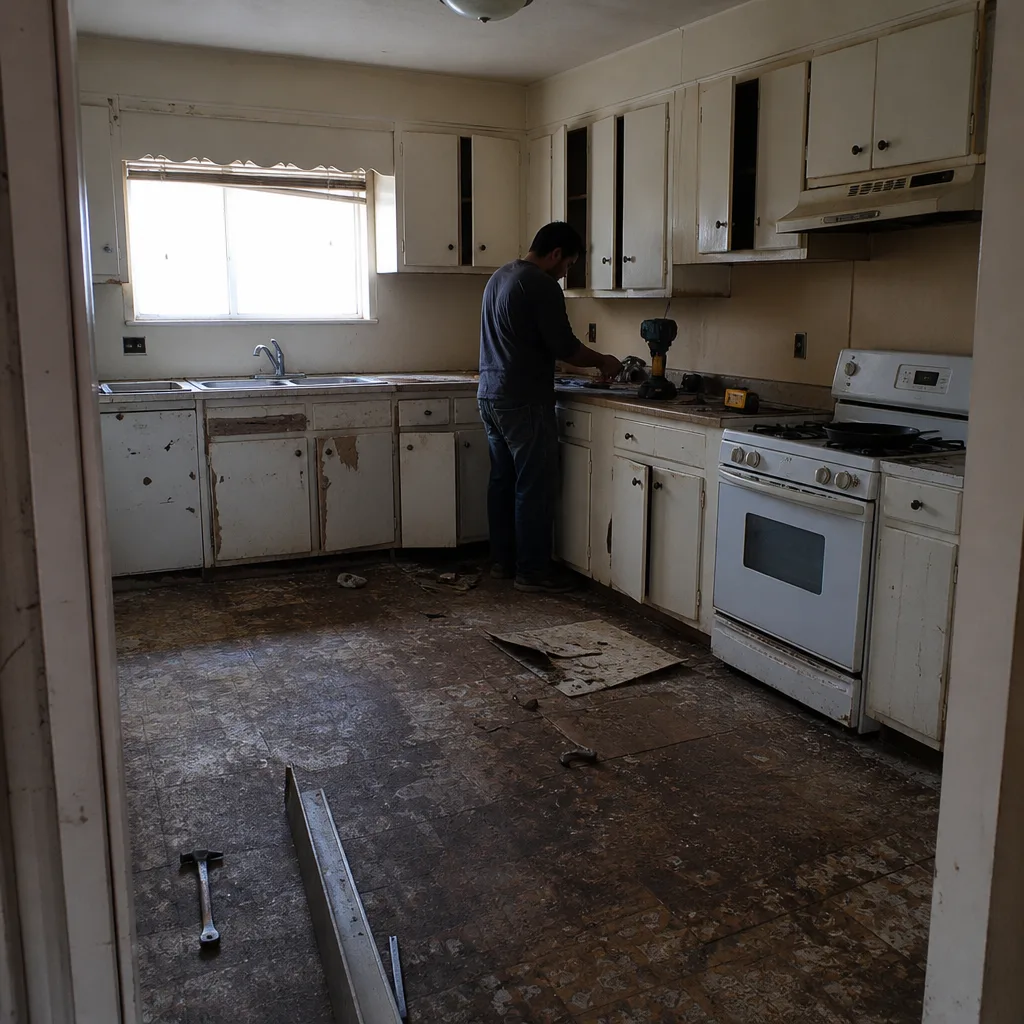 Before
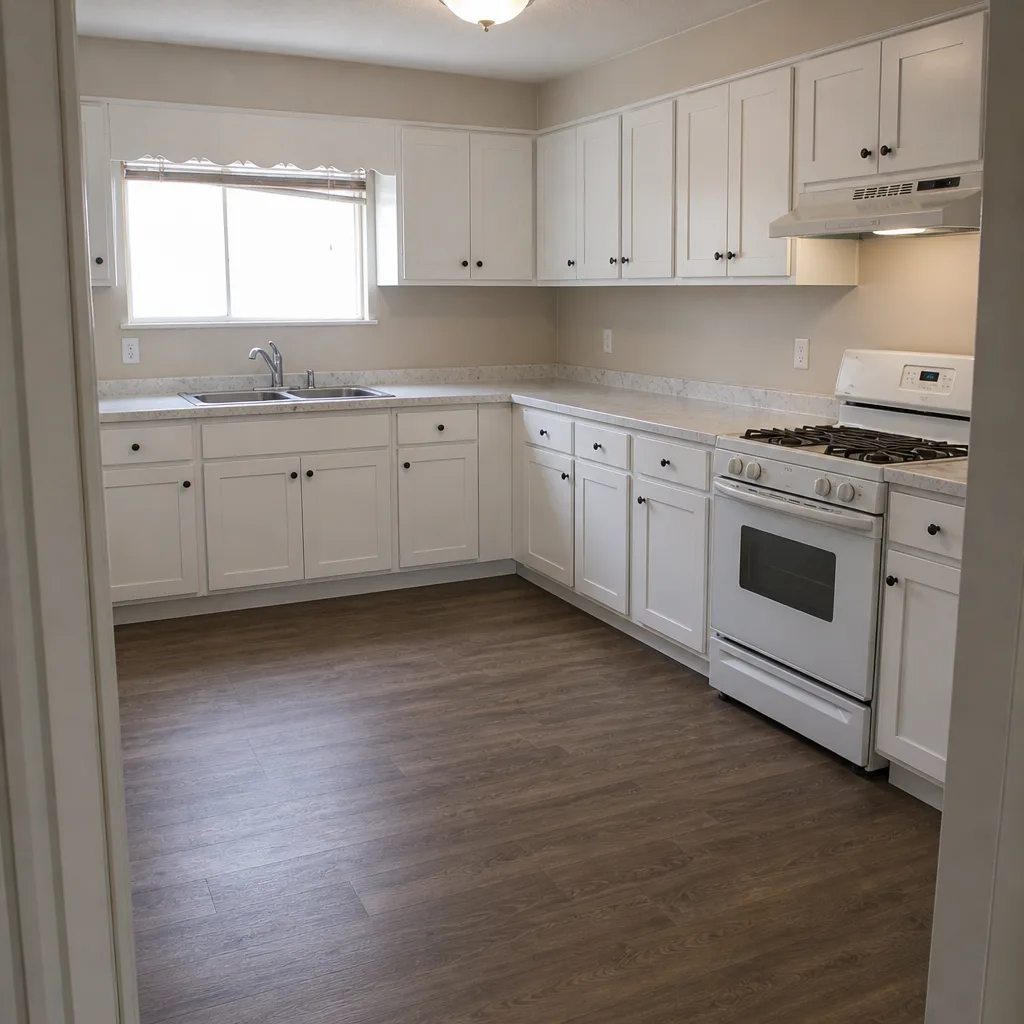 After
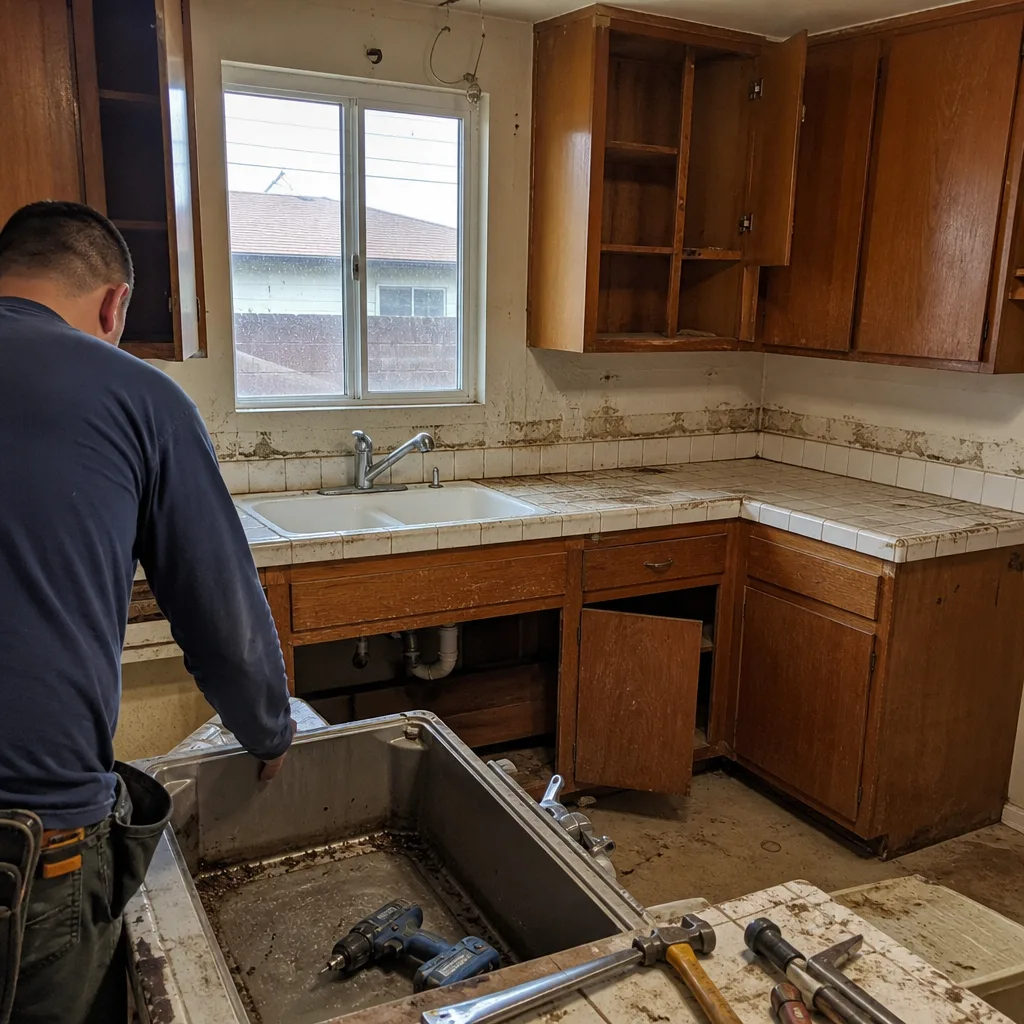 Before
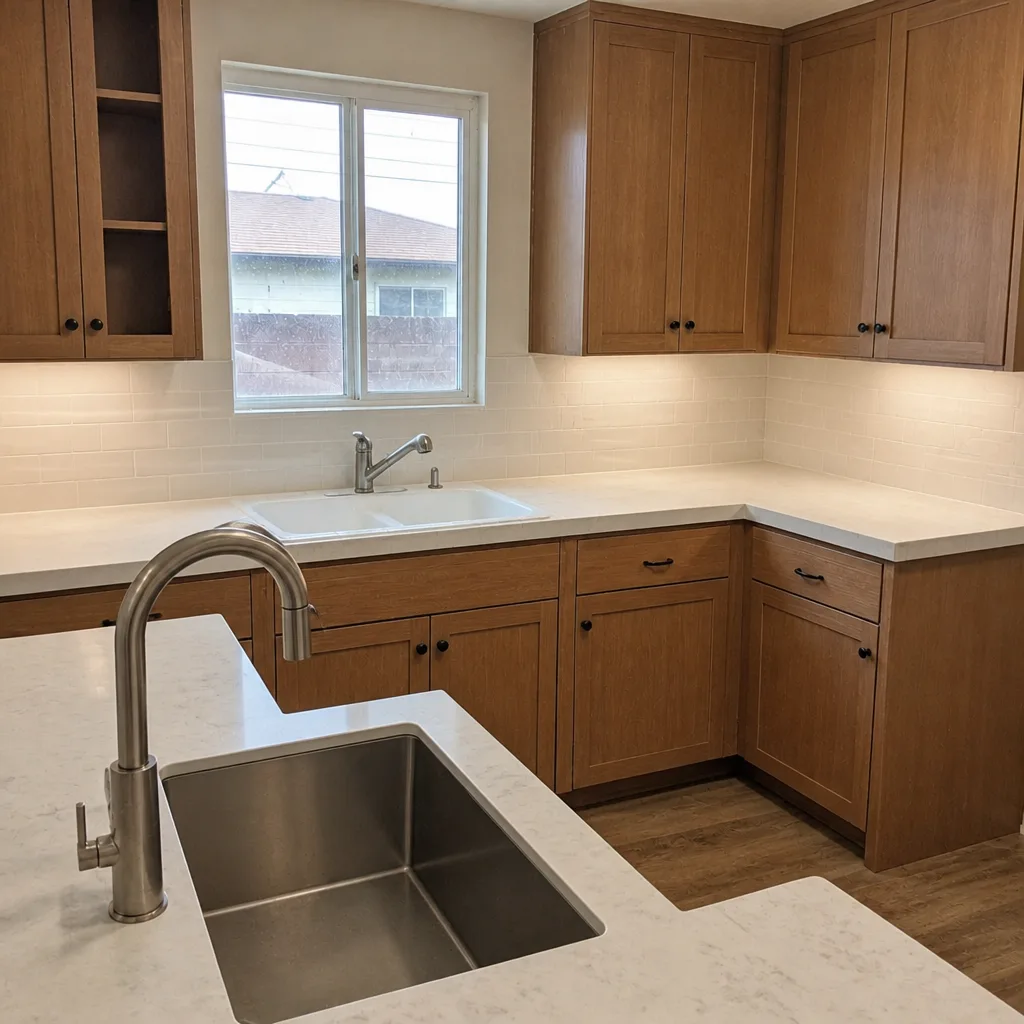 After
 Before
 After