Last updated November 18, 2026
Free written scope consultation - allowances, timeline, and change-order rules on paper before a single trade is scheduled
The Complete Fence Installation Guide for Inglewood Homeowners
The most expensive fence mistakes in Inglewood aren’t material failures. They’re fences built on the wrong property line, built without the permits the City of Inglewood requires, or built in violation of HOA covenants that force a full tear-down at the homeowner’s expense. We’ve watched homeowners pay twice for the same fence because they skipped the paperwork. This guide covers the part most contractors gloss over: the legal, logistical, and soil work that has to happen before a single post goes in the ground. You’ll learn the height limits by zone, how to lock down your property line, which materials survive Inglewood’s marine air, and the footing spec that actually holds.
Quick Answer
Fence installation in Inglewood requires checking three things before you build: your property line (via survey or assessor records), your zone’s height limits and the City’s permit threshold, and any HOA covenants that govern fence style and placement. Get all three cleared, then match your material to Inglewood’s coastal climate and set posts at the right depth for the soil. Typical residential fence projects in Inglewood run $3,200 to $9,500 depending on material, length, and site conditions.
Styles & brands we work with
- Kitchen remodeling
- Bathroom remodeling
- Home additions & ADU
- Roofing
- Windows & doors
- Driveway & pavers
- Fence
Table of Contents
- What Are Inglewood’s Fence Height Limits and Permit Rules?
- How Do You Establish Your Property Line Before Installation?
- The HOA Notification and Approval Process in Inglewood
- Material Selection for Inglewood’s Coastal Climate
- Post Depth and Concrete Footing Requirements for Inglewood Soil
- The Step-by-Step Installation Process
- What Does Fence Installation Cost in Inglewood?
- What Happens When Neighbors Dispute a Fence?
What Are Inglewood’s Fence Height Limits and Permit Rules?
Inglewood’s zoning code sets fence height limits by where the fence sits on your lot. The limits are stricter toward the street and looser toward the back of the property. Here’s how they generally break down:
- Front yard (setback area): Typically capped at 3 to 4 feet for solid fences, with some allowance for open, see-through designs.
- Side yard (street-facing corner lots): Same 3 to 4 foot cap on the street-facing side, looser restrictions behind the front setback line.
- Rear and interior side yards: Generally 6 to 7 feet, measured from finished grade. Block walls sometimes run to 6 feet with a permit.
Those numbers are the starting point, not the final word. The City of Inglewood’s planning department applies them per zone (R-1, R-2, R-3, and commercial designations all differ), and a corner lot gets treated differently than an interior lot. A fence on the street-facing side of a corner property is held to front-yard standards on both exposures, which trips up plenty of homeowners who assume the side yard rules apply. We’ve seen it in Morningside Park and in the neighborhoods near Centinela: a homeowner builds a 6-foot solid fence on a side street frontage, and a code enforcement complaint triggers a reduction order.
The permit threshold. Inglewood requires a building permit for most fences over a certain height, and for all retaining walls that hold back soil. As a working rule, plan on a permit once you exceed roughly 6 feet, and always for a block wall or a fence on a retaining structure. Fence permits run modest fees, but the inspection matters: a permitted fence that passes its final inspection is a documented asset when you sell. An unpermitted one becomes a disclosure item on your transfer documents. Ask about your specific parcel at the permit counter before you order material, because a denied application after the material is delivered means you’re storing lumber in your driveway.
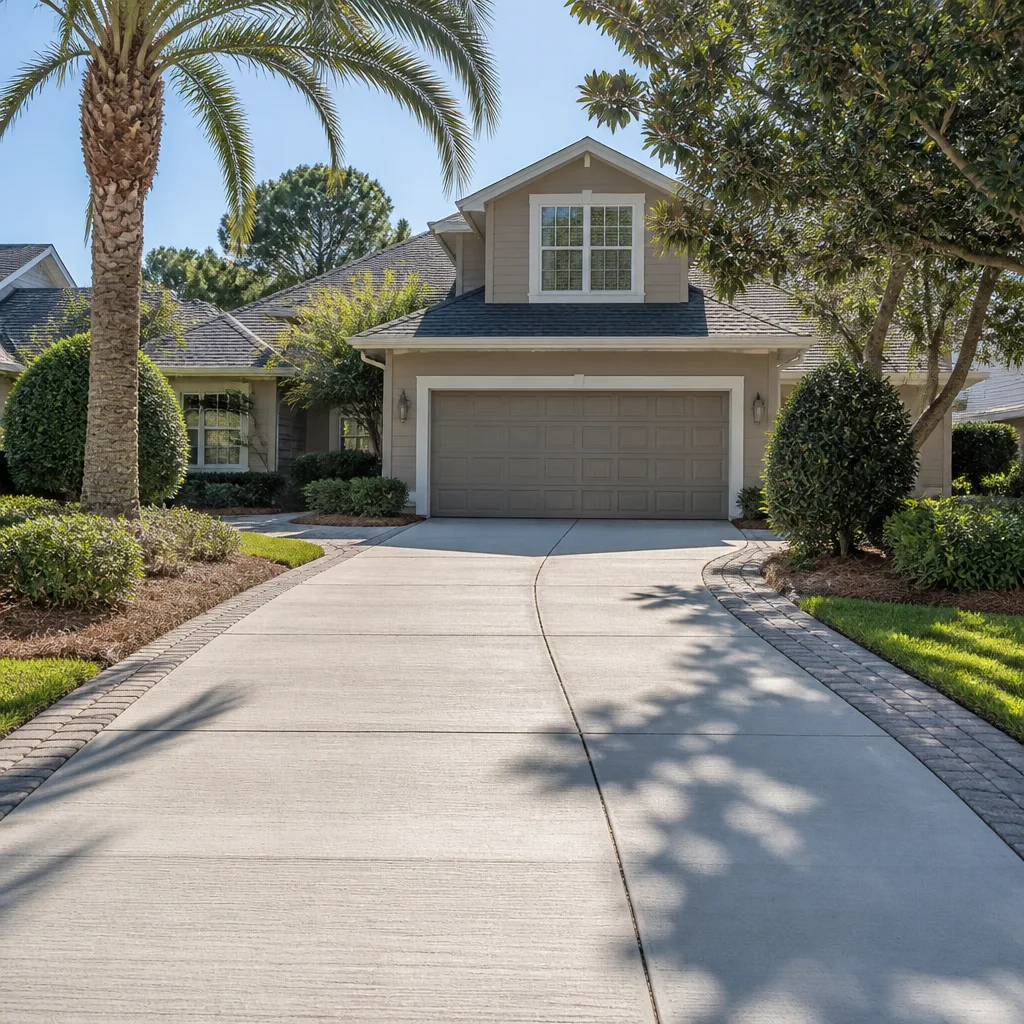
When you’re mapping the rest of your exterior work alongside the fence – a new walkway, a patio, a driveway apron – it pays to plan the trades together. Our team handles the whole exterior scope, so the fence, pavers, and grading get coordinated instead of fighting each other. You can see how that plays out on our Driveway & Pavers in Inglewood page.
How Do You Establish Your Property Line Before Installation?
Every fence has three lines that matter: your legal property line, your neighbor’s fence, and the line you think is yours. They’re rarely the same. The single cheapest insurance against a fence dispute is knowing where your line actually runs before a post hole is dug.
Step 1: Pull the assessor’s records. The Los Angeles County Assessor has a parcel map and dimensions for your lot. This tells you the record dimension – often 60 feet wide by 130 feet deep in Inglewood’s older subdivisions – but it’s a records document, not a survey. It’s the starting point, not the proof.
Step 2: Check for existing monuments. Survey markers (little metal caps or rebar stakes) may already be in the ground at your corners. If they are, they’re a strong reference point. If they’re missing, you can’t guess.
Step 3: Order a survey if there’s any doubt. A boundary survey costs $400 to $900 for a typical Inglewood single-family lot, more for a corner lot or one with an ambiguous plat. That’s the number that should stop every homeowner before they build: a survey runs under $900, and a tear-down fence plus a boundary lawsuit runs into five figures. You can find a licensed land surveyor through the California Board for Professional Engineers, Land Surveyors, and Geologists license lookup.
Step 4: Mark setbacks in the field. Once you have the survey, set stakes or paint at the setback line where the fence will legally stand. Store the survey with your property records.
Here’s the part people miss: California’s boundary fence rules don’t let you build exactly on your line if it doubles as a barrier to your neighbor. A fence near the line is usually yours to build, as long as it doesn’t encroach and it meets setback and height rules – but if a neighbor’s fence sits on your side, you may have a boundary issue worth resolving in writing before you replace anything. In our experience, the disputes that blow up are almost never about a fence intruding a foot. They’re about a fence that’s off by six feet because the previous owner never ordered a survey. Order the survey.
The HOA Notification and Approval Process in Inglewood
Inglewood has a mix of deed-restricted communities and older unrestricted blocks under the same zip code, and the two worlds follow completely different rules. If you’re inside a homeowners association or a common-interest development, the fence you’re allowed to build is dictated by your CC&Rs (covenants, conditions, and restrictions), not just by the City.
The process typically looks like this:
- Pull your CC&Rs and the architectural guidelines. These set allowed styles, colors, heights, and materials – many Inglewood associations restrict chain-link in front yards and require a specific finish on vinyl and aluminum.
- Submit an architectural request. Most boards require a written application with a site plan, elevation drawing, material and color samples, and the contractor’s license details.
- Get written approval before you build. A verbal “go ahead” from the board president is worth nothing when a new board takes over. You want the approval in writing.
- Notify your shared-fence neighbor. If your fence is on a shared boundary, a written notice to the neighbor protects you if they later claim it obstructed their view or encroached on their side.
- Pull the City permit separately. An HOA approval does not replace a City permit. They’re two independent gates, and you need both.
The documents you’ll need in hand before a contractor pulls a permit: your recorded parcel records or survey, the HOA approval letter, and a set of plans showing the fence line and elevation relative to grade. A contractor who asks you for those documents before scheduling is doing it right. A contractor who shrugs when you mention the HOA has probably never dealt with one.
We handle the permitting and documentation side because it’s the difference between a fence that stands and one that comes down. If you’re also planning a larger improvement – a casita, an ADU, an addition – the HOA and City pre-clearance process for those projects overlaps with your fence work, and building them together saves a round of approvals. Our Home Additions & ADU in Inglewood team walks that process with you.
Material Selection for Inglewood’s Coastal Climate
Inglewood sits close enough to the coast to feel the marine layer and close enough inland to catch the heat. That combination – salt-laden moisture, strong UV, and the occasional Santa Ana wind event – wears on different materials in very different ways. Here’s how the major options hold up in this climate.
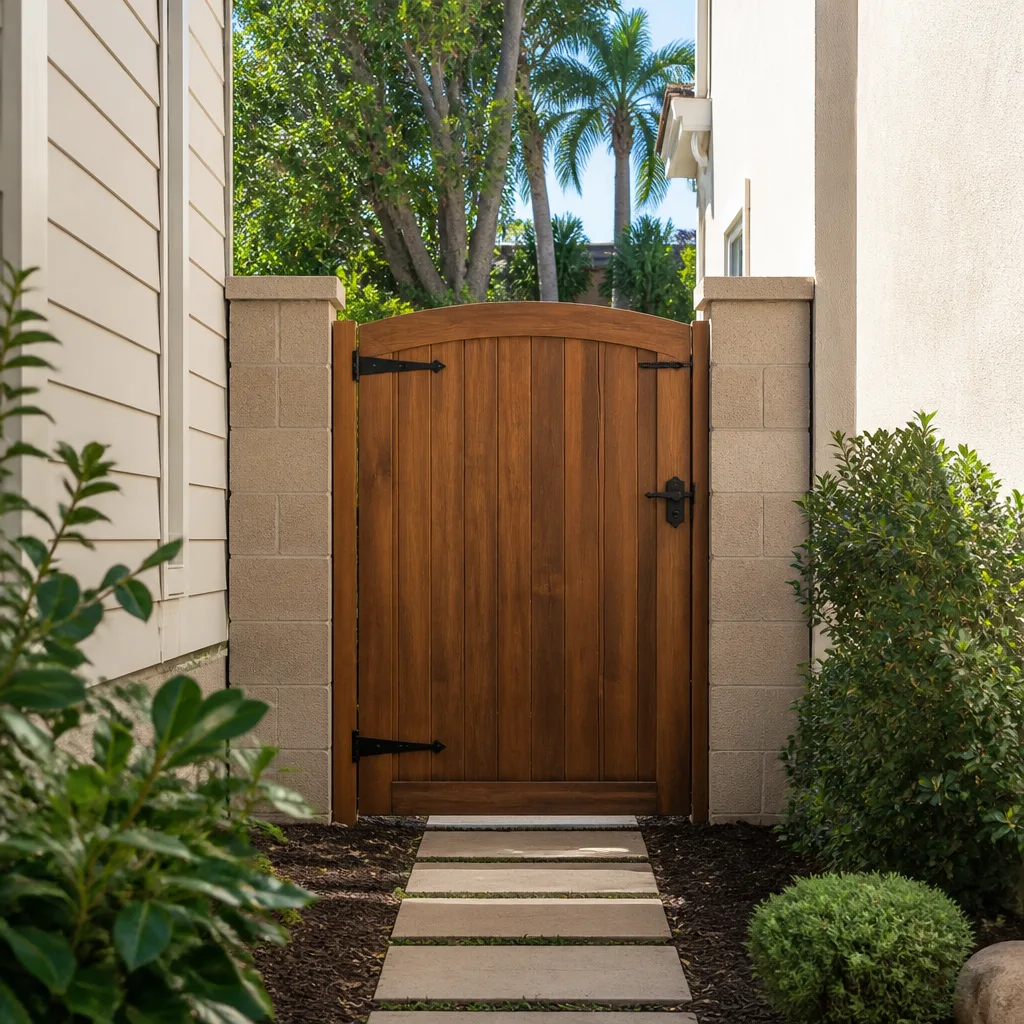
- Wood (redwood, cedar, pressure-treated pine): The classic Inglewood fence. Redwood and cedar take the UV better; pressure-treated pine is cheaper but needs sealing every 2 to 3 years in this climate or it grays and checks. On the inland side of town where the Santa Ana winds hit hard, expect wind damage on any wood panel above 6 feet without proper bracing. Expect 12 to 18 years of service with regular maintenance.
- Vinyl: Manufacturers like Bufftech and ActiveYards build vinyl that resists the coastal moisture without the rot problem wood has. Inglewood’s UV is the main enemy here – some low-end vinyl chalks and fades within a decade. Look for UV-stabilized profiles and a manufacturer warranty, and expect 20 to 30 years of service.
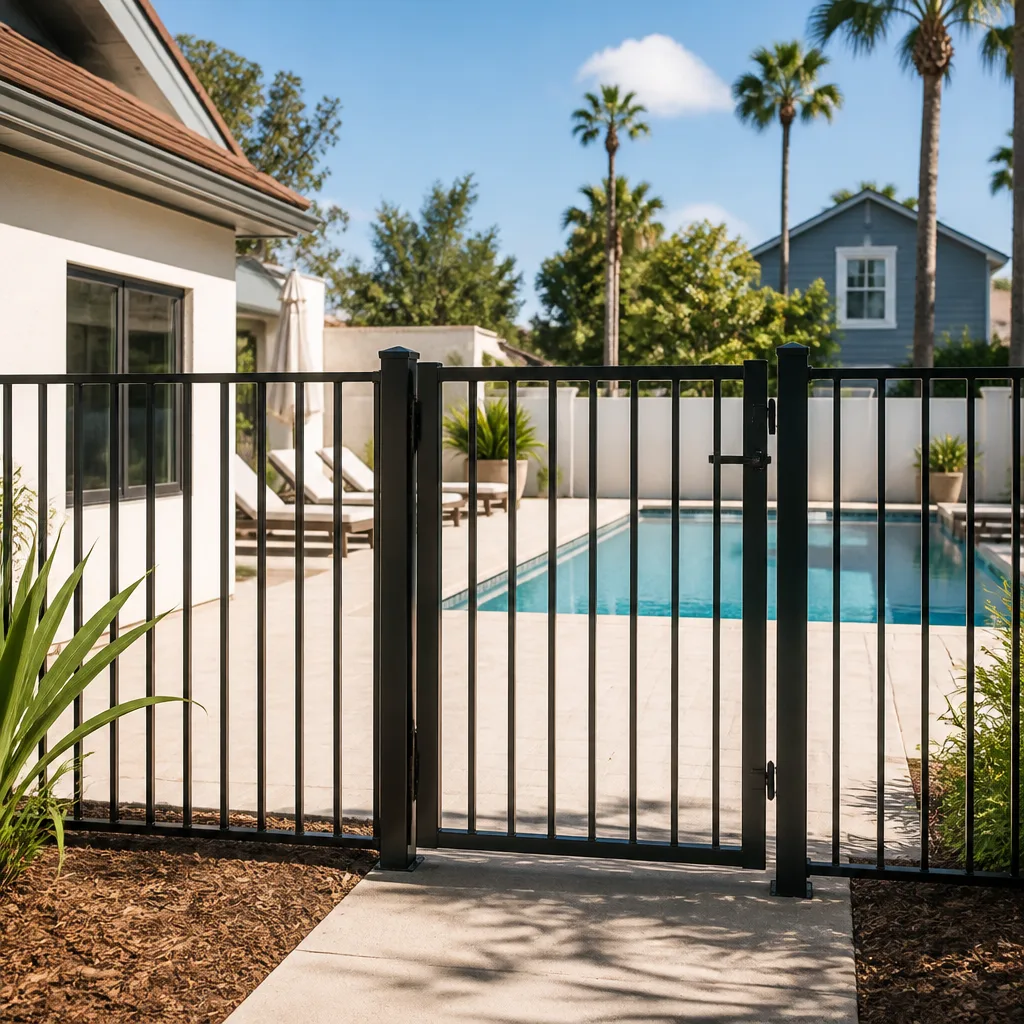
- Aluminum and ornamental steel: Jerith and similar systems hold up well to salt air if the finish is powder-coated over galvanized steel. These excel for front-yard visibility and pool-safety regulations. Expect 25 to 40 years with occasional touch-up on any scratches.
- Block wall: Runs the full length for privacy and security, and it needs a permit. Block walls in expansive soil need proper footing design because the wall is rigid and will crack rather than flex when the soil moves. Belgard and other hardscape makers offer coordinated wall and paver systems if you want your fence and driveway to match.
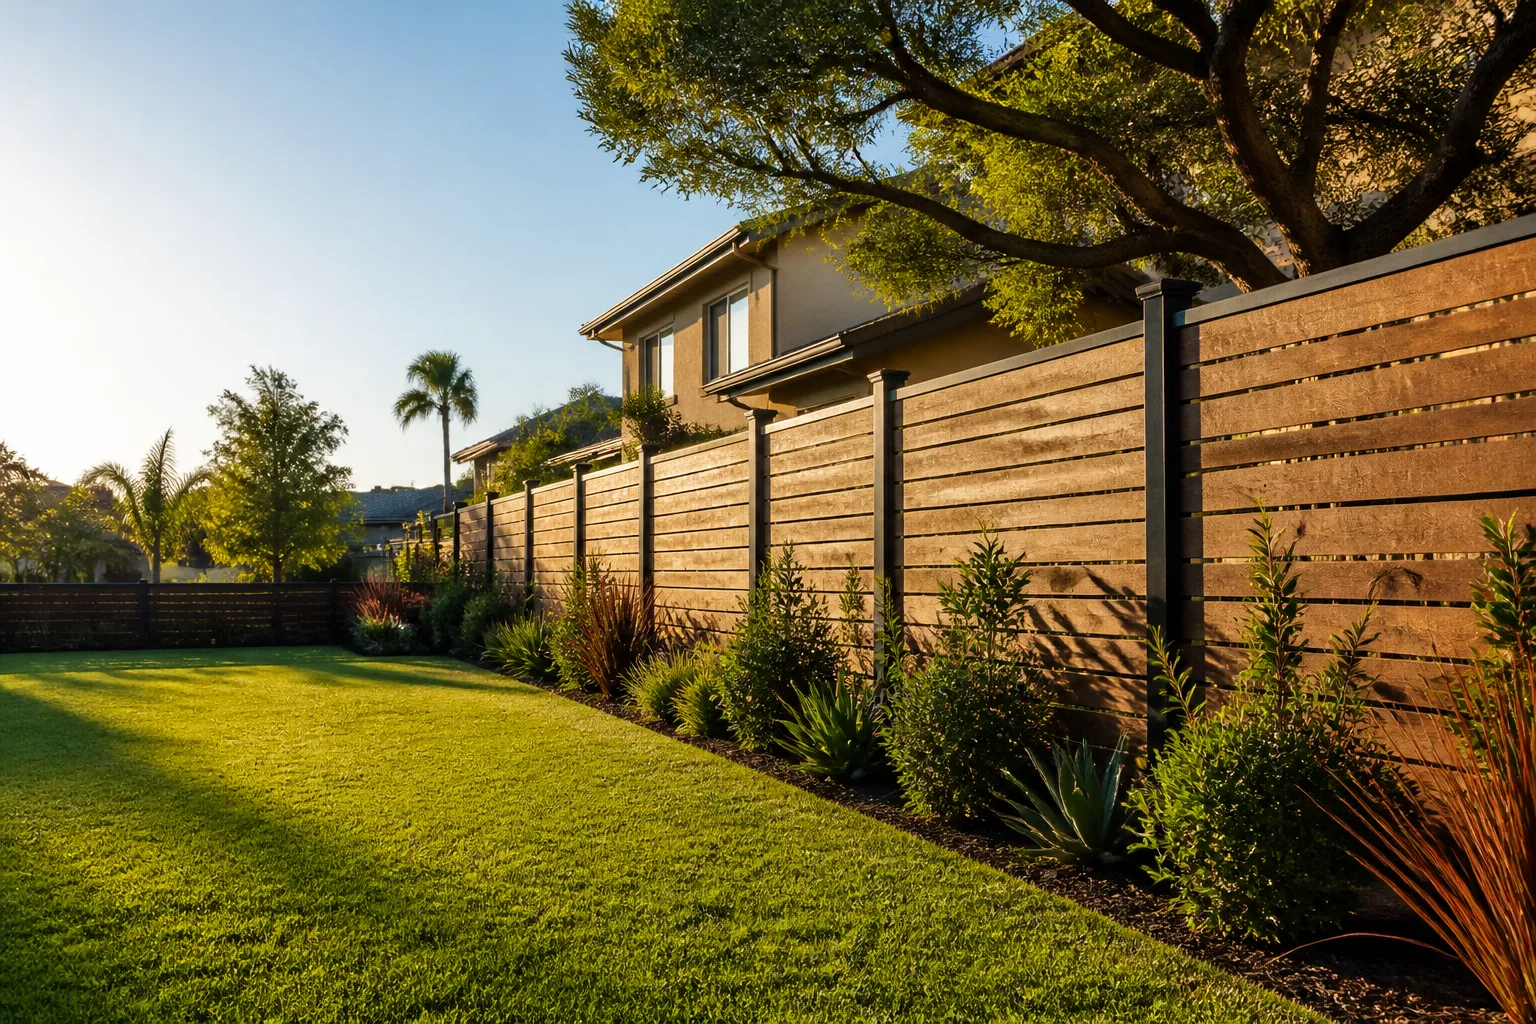
The choice usually comes down to maintenance tolerance and budget. Vinyl and aluminum cost more per linear foot than pressure-treated wood but ask nothing of you for a decade. Wood is the most affordable upfront and the most maintenance-heavy. Block is the most expensive and the most durable if the footing is right. For most Inglewood properties, a mix works well: an ornamental aluminum front fence for the curb and a vinyl or wood privacy fence on the rear and side lines.
Post Depth and Concrete Footing Requirements for Inglewood Soil
Here’s the failure that surprises homeowners: the post was set at the “standard” two feet, the fence stood for a season, and then a storm or a month of wet weather leaned the whole thing sideways. In Inglewood, that’s usually a soil problem, not a bad post.
Much of the Inglewood basin sits on soils with significant clay content, and some pockets contain expansive soils that swell when wet and shrink when dry. When that soil moves, a shallow post goes with it. The building rule for fence posts in this region:
- Depth: Set posts at least 2.5 to 3 feet deep for a 6-foot fence, and go deeper at gate posts and high-wind sites. A 6-foot privacy fence in expansive soil wants 3 feet. Gates and fence corners – where loads concentrate – want 3 to 3.5 feet.
- Hole diameter: Three times the post width is the working rule. A 4×4 post wants a 12-inch augered hole; a 6×6 wants roughly an 18-inch hole.
- Concrete: Use bagged concrete mix, not dirt and not fast-set expansion foam for anything taller than a garden border. Fill the hole, crown the concrete so water sheds away from the post, and let it cure fully before loading the fence.
- Drainage: The bottom of the hole needs to drain. If you auger into a wet pocket or clay that holds water, you’ll need to address drainage before you pour.
- Post material and treatment: Use ground-contact rated posts. Above-grade pressure-treated wood is not rated for direct soil contact and will rot at the soil line in this climate.
Where the Santa Ana winds funnel through, a fence is a sail. A 6-foot solid fence with undersized posts and shallow footings is a wind lever, and the wind wins. We’ve seen whole panels down after a wind event in sections of Inglewood where the breeze accelerates. Wind-rated bracing – diagonal braces at the top rail or a braced frame design – is worth the modest cost on any exposed side line. If you’re combining the fence with a block retaining wall or a raised planter, the footing design changes entirely, and that’s where a structural engineer’s stamp can save you a cracked wall.
The Step-by-Step Installation Process
The order of operations is what separates a fence that lasts from one that gets redone. Here’s how a properly sequenced Inglewood fence installation runs:
- Establish the property line. Confirm the boundary by records and survey before you set stakes. This is step one, not step six.
- Clear the plan and the permit. Confirm height limits for your zone, confirm whether the project crosses the permit threshold, and secure any HOA approval. Pull the City permit if required.
- Call 811 for utility locates. Before any augering, have the underground utilities marked. A mis-hit on a gas or water line turns a fence job into an emergency.
- Lay out the line and set posts. Mark post positions at the right spacing for your panel size, auger to the correct depth for the soil conditions, and set posts in concrete. Set gate posts deeper and brace them while the concrete cures.
- Let the concrete cure before loading the fence. Loading rails and panels the same day, or within a few hours, on uncured concrete is the reason posts lean. Give it the time.
- Build the fence and hang the gates. Rails, panels or boards, then gates with proper hardware and a self-closing mechanism if the HOA or safety requirements call for it.
- Finish and inspect. Touch up any cuts or stains, apply the sealer, and arrange the final inspection if the City required one.
Exterior work runs in a sequence. Fence and hardscape coordinate best when landscape grading and drainage are settled first, which is why we like to see the whole exterior picture before the first post is set. That’s the same reason our Fence Installation in Inglewood service starts with a walkthrough of the property, not a material order.
What Does Fence Installation Cost in Inglewood?
Inglewood fence pricing depends on material, linear footage, site conditions, and whether you’re pulling a permit. Here’s a realistic line-item range for the local market.
- Pressure-treated wood privacy fence: $22 to $38 per linear foot installed, plus $200 to $450 for a permit if required.
- Cedar or redwood privacy fence: $30 to $48 per linear foot installed.
- Vinyl privacy fence (Bufftech, ActiveYards): $32 to $55 per linear foot installed, with longer service life than wood.
- Ornamental aluminum (Jerith and similar): $38 to $65 per linear foot installed for a standard 4-foot system.
- Block wall, 6-foot: $45 to $75 per linear foot installed, including footing and finish, plus permit and possible engineering.
- Concrete footings and posts: usually included in the per-foot price; expect $40 to $80 per post if itemized.
- Gate and hardware: $250 to $900 per gate, more for automatic or self-closing mechanisms.
- Removal of an existing fence: $3 to $8 per linear foot, higher if the old posts are set deep in concrete.
A typical Inglewood backyard privacy fence – say 120 linear feet of vinyl with one gate – lands around $4,800 to $7,500 installed. An ornamental aluminum front fence of 40 feet runs $1,500 to $2,800. The variables that move the number most are site access (a narrow lot that needs a wheelbarrow through the side yard costs more), slope, and soil conditions that require deeper footings. Get an upfront line-item quote so you can see the footing and permit line separately from the fence line. Our team provides written, no-surprises pricing and 0% financing for 18 months on qualifying projects, plus $1,000 off projects over $10,000.
What Happens When Neighbors Dispute a Fence?
Neighbor disputes over fences in Inglewood usually start with a line question and escalate into a legal question. The good news is most can be prevented. The bad news is once a fence is built over the line, the fix is expensive, and occasionally the law says you’ve given the neighbor a right to keep the encroachment. Under principles of adverse possession, long-term use of another’s land can ripen into ownership claims. A fence survey late is a fence you may not win back.
The prevention playbook:
- Talk to your neighbor first. A five-minute conversation about where the fence will go prevents most of the disputes we see.
- Put the boundary agreement in writing. A simple written acknowledgment of the fence line, signed by both owners, is worth keeping with your deed records.
- Split shared-fence costs deliberately. California doesn’t require a neighbor to share the cost of a fence they didn’t want, so if you’re sharing a boundary line, get the sharing agreement in writing before work starts.
- Use the survey, not the neighbor’s opinion. When the two disagree, the licensed surveyor wins.
If a dispute does happen, the sequence is survey first, then a written notice, then – only if necessary – mediation or civil resolution. What you don’t want to do is tear out a neighbor’s fence to install your own without resolving who owns which line.
Common Mistakes to Avoid
- Building on an assumed property line. The most expensive mistake on this page. An unconfirmed line can mean a tear-down fence, a legal dispute, and an encroachment claim.
- Skipping the permit because the fence is “under 6 feet.” Height limits vary by zone and by yard location, and a block wall always needs a permit. Confirm with the City, don’t assume.
- Ignoring the HOA until the fence is up. Boards can order removal of an unapproved fence, and the cost is on you. Get approval in writing first.
- Using 2-foot post depths in expansive soil. It’s the most common cause of a fence leaning within a year or two in Inglewood. Go deeper.
- Setting posts in dirt or expansion foam. Fine for a tomato trellis, not for a fence that has to hold a 6-foot panel in a wind.
- Forgetting the 811 utility locates. Drilling into a gas or water line is a true emergency, and the locate call is free.
- Buying uncoated or untreated material for this climate. Inglewood’s salt air and UV eat cheap materials fast. The cheapest fence per foot is often the most expensive per year.
See the difference
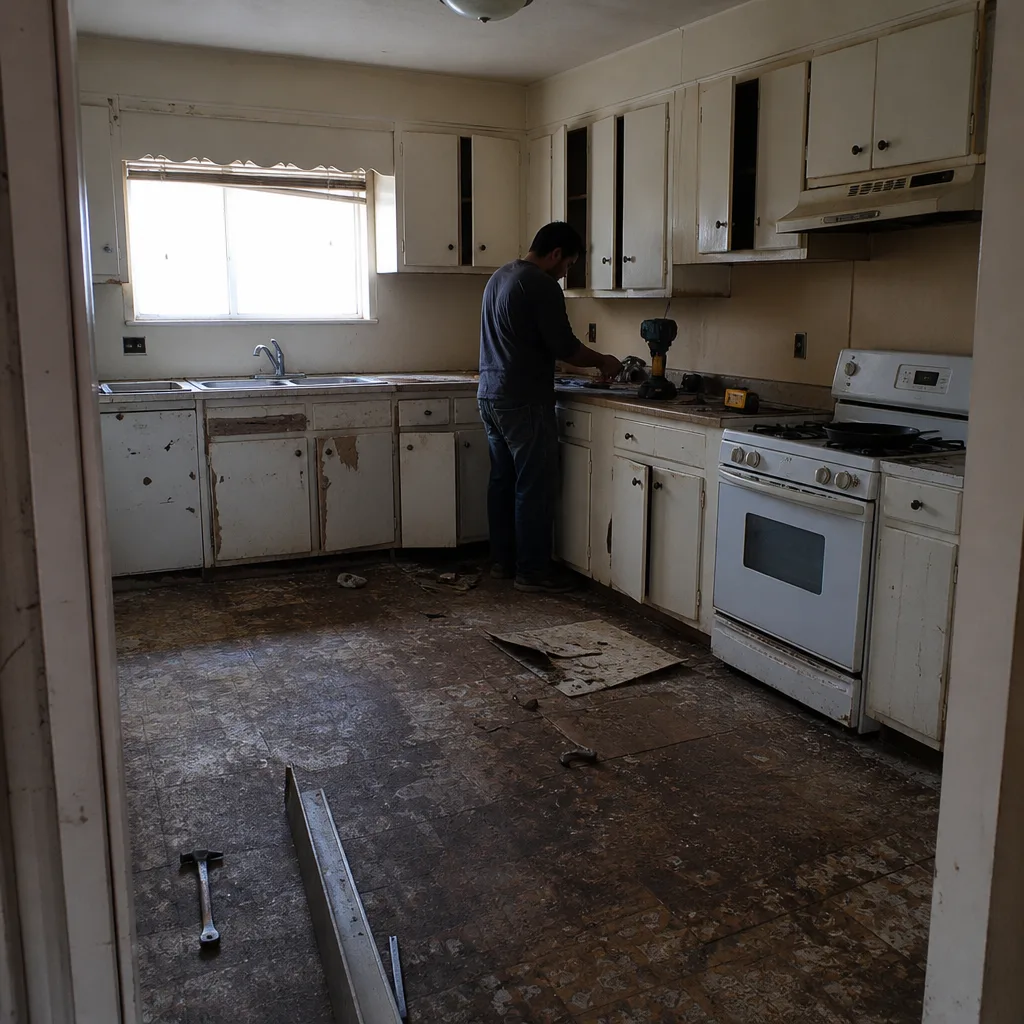 Before
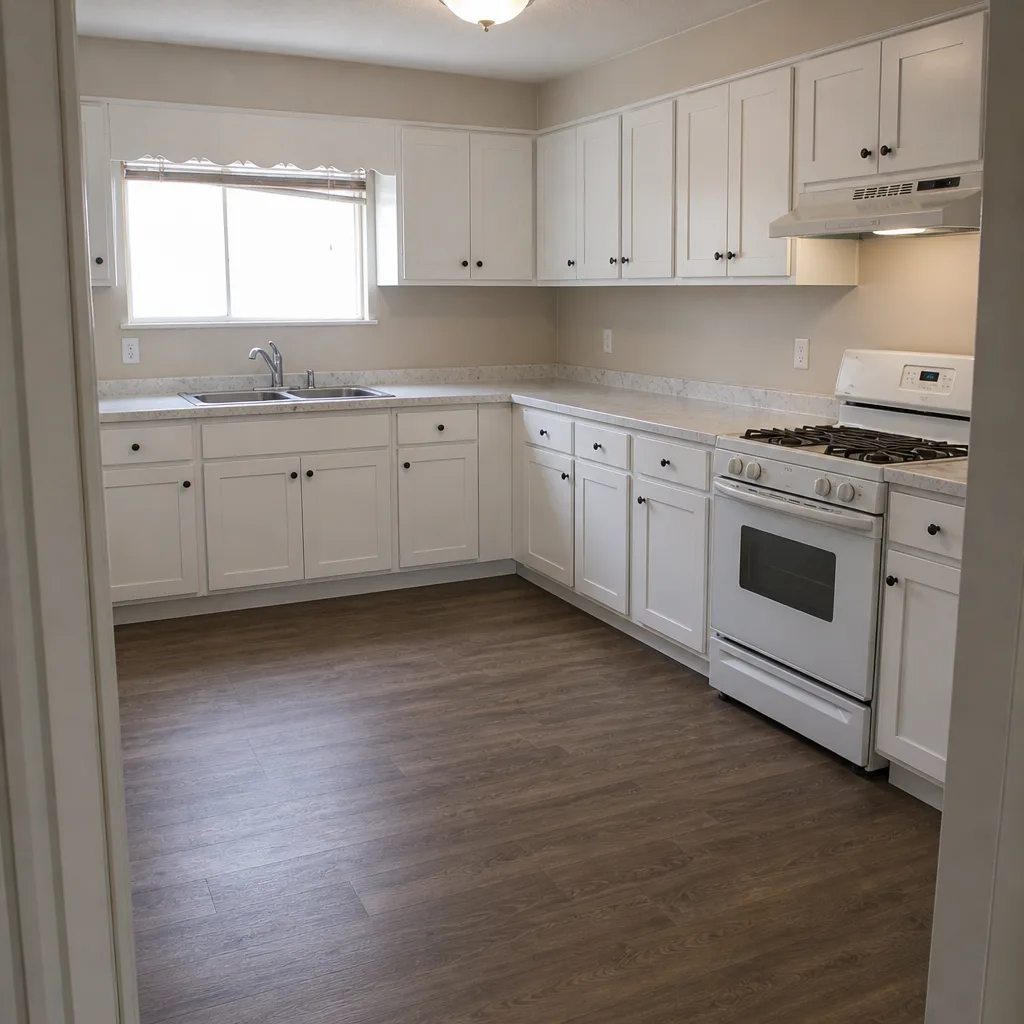 After
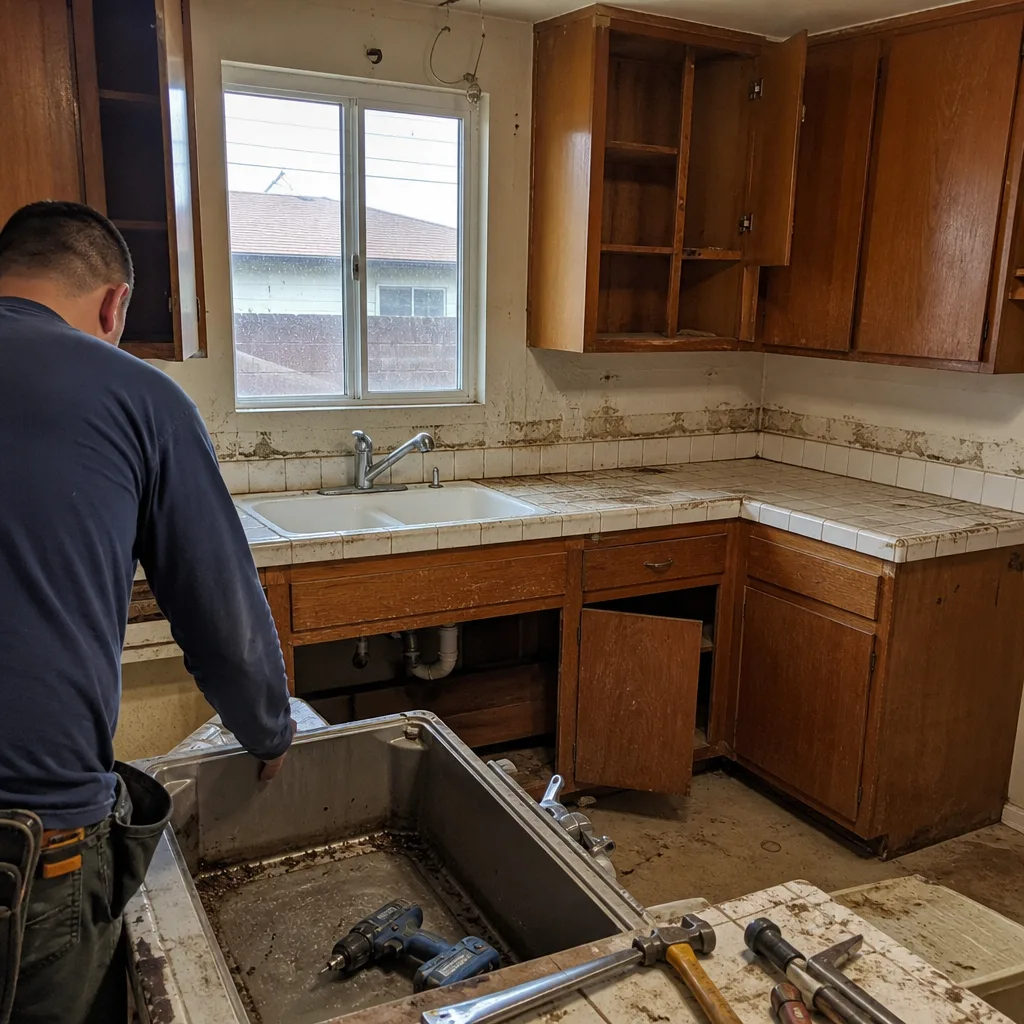 Before
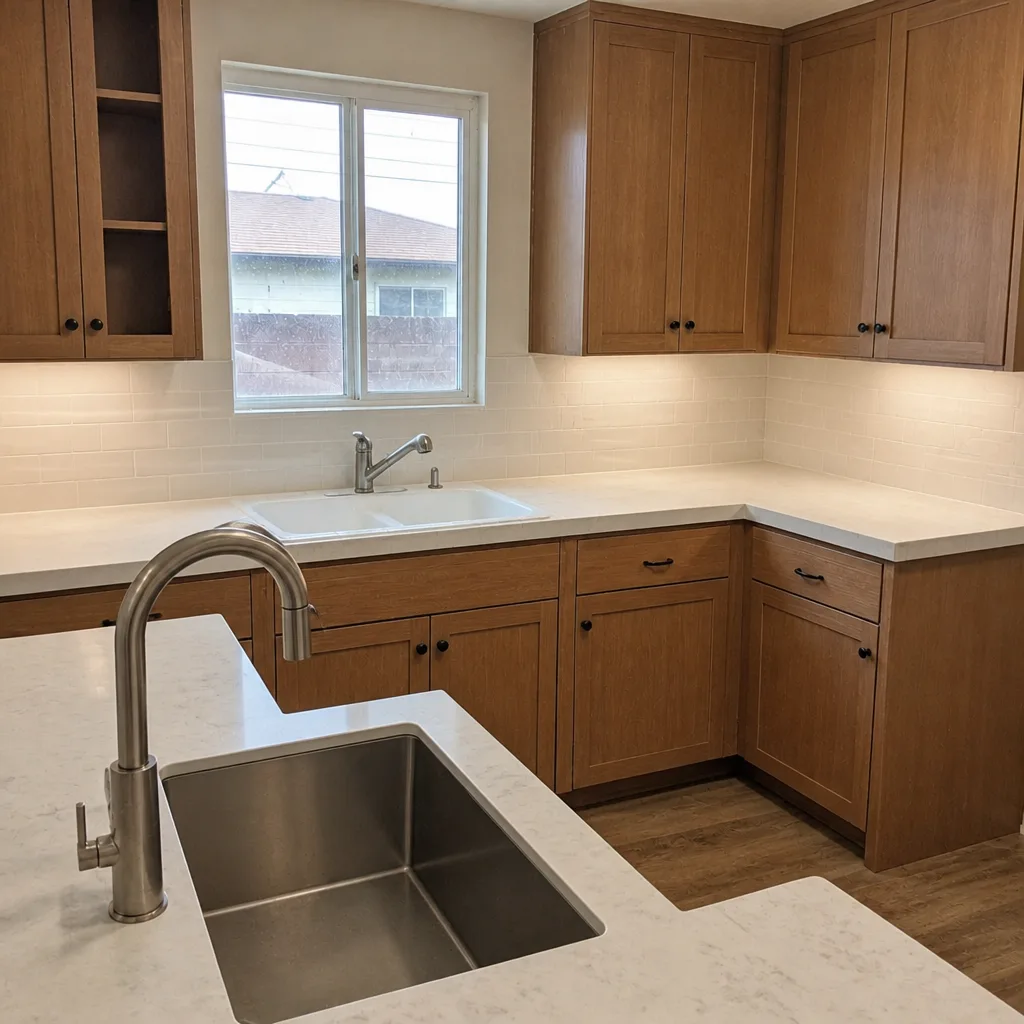 After
 Before
 After
When to Call a Professional
Some fence work is a weekend project. Most Inglewood fence installations aren’t. Call a professional when: the fence is over 6 feet, you’re on a corner lot with street-facing exposures, your property line is unconfirmed or disputed, you’re building a block wall or a fence on a retaining wall, your HOA is involved, or your lot has expansive soil. Those are the conditions where a wrong step costs more than the whole fence, and where a licensed pro’s paperwork, footing spec, and permit handling belong. Our technicians have up to 12 years of experience and every project is backed by the 730-Day Done Right Promise – if it’s not done right, we make it right. Groundwork Construction Co. of Inglewood offers free estimates in Inglewood – call (833) 842-7204.
Every fence we build is backed in writing by the 730-Day Done Right Promise, one of the longest workmanship guarantees in the residential construction space. Calls are answered by a live person 24/7, and every technician arrives background-checked and in uniform.
Frequently Asked Questions
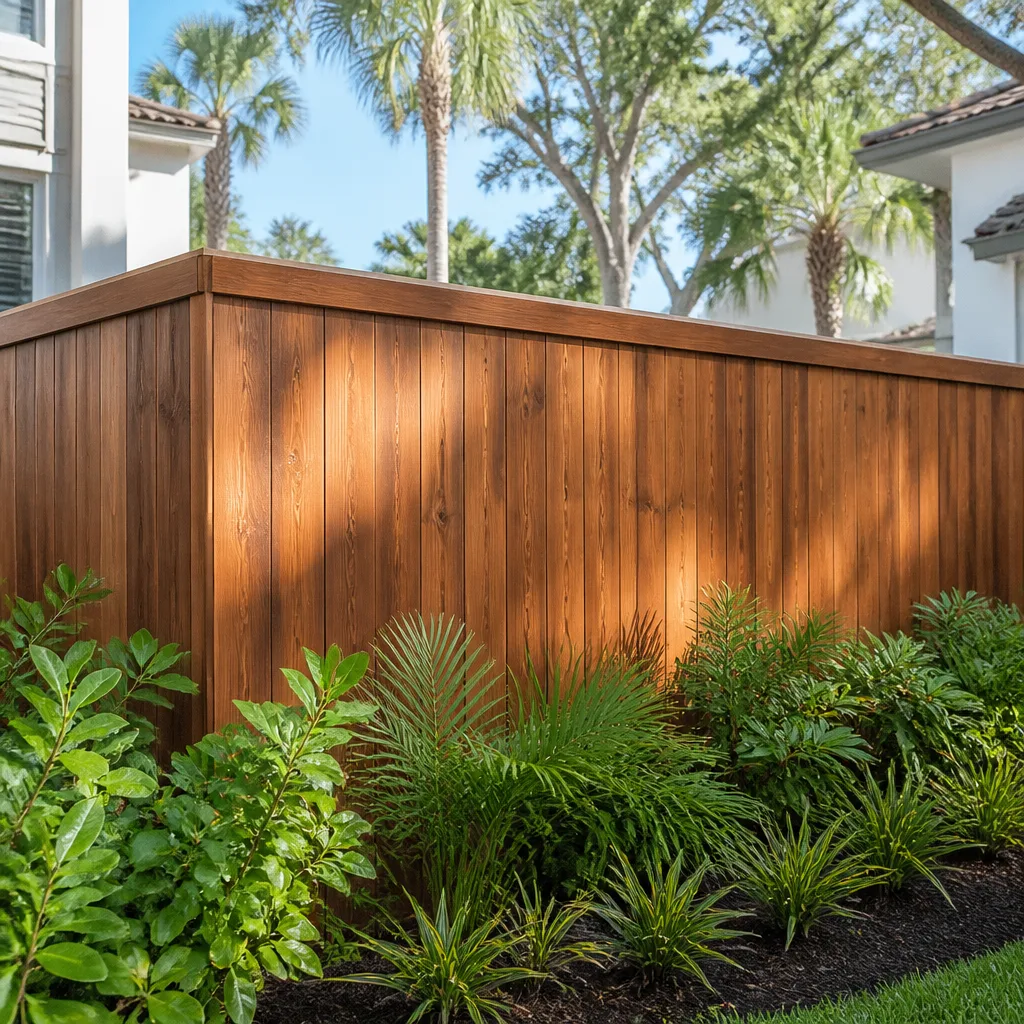
You need a City of Inglewood permit for most fences over roughly 6 feet in height, and for all block walls and any fence on a retaining wall. Front-yard and street-facing fences are held to stricter (lower) height limits, and the City’s planning department applies them by zone. Confirm your specific parcel’s requirements with the City before ordering materials, and plan the permit application alongside any HOA approval – they’re separate gates. Call us at (833) 842-7204 for a free estimate and we’ll walk you through what your project needs.
Fence installation in Inglewood typically runs $3,200 to $9,500 for a residential project. A 120-foot vinyl privacy fence with a gate lands around $4,800 to $7,500 installed. An ornamental aluminum front fence of 40 feet runs $1,500 to $2,800. Add $200 to $450 for a permit if one’s required, and $250 to $900 for a gate with hardware. Call (833) 842-7204 for an exact quote – estimates are free.
Pull the Los Angeles County Assessor’s parcel records for the starting dimensions, then order a boundary survey from a licensed land surveyor to confirm the legal line – surveys for a typical Inglewood lot run $400 to $900. Don’t guess and don’t build to an assumed line. A survey costs less than a tear-down dispute, and it’s the only document that settles the question if a neighbor objects later.
Ornamental aluminum and powder-coated steel systems lead for longevity in Inglewood – 25 to 40 years with basic maintenance – because they resist salt air and UV. UV-stabilized vinyl follows at 20 to 30 years. Wood (cedar, redwood) runs 12 to 18 years with regular sealing, and block walls last decades if the footing is engineered for the soil. Match the material to the exposure: ornamental for the front, vinyl for privacy and low maintenance on the rear lines, and treat the roof of the fence the same way you’d treat the roof of the house – choose the quality that survives the weather.
It shouldn’t if the quote is line-item and complete. Get a written quote that separates posts and footings, materials, gates, removal of the old fence, and permit fees – that way there’s no surprise later. We do no-hassle upfront pricing, and our team commits to the number on the quote. If site conditions reveal something unforeseeable (a buried line, an unmarked footing we have to remove, a drainage problem the survey missed), the standard is a written change order signed before any extra work. Call (833) 842-7204 for a free estimate.
Set fence posts at least 2.5 to 3 feet deep for a 6-foot fence, with gate posts and corners going 3 to 3.5 feet. Inglewood has significant clay and expansive soil in places, and a two-foot post in that soil can move within a season. Use ground-contact rated posts, bagged concrete – not foam – and hump the concrete so it sheds water. Where Santa Ana winds funnel through, deeper posts and bracing make the difference between a fence that stands and one that comes down. For a professional assessment of your soil and footing needs, call us at (833) 842-7204.
The Bottom Line
Fence installation in Inglewood is a legal and logistical project as much as a physical one. Get the property line confirmed, the City permit and HOA approval in hand, and the footing spec matched to your soil before you build. Choose the material for the exposure: UV-stabilized vinyl or powder-coated aluminum for the long haul, cedar or redwood with maintenance if you want wood. Skip the two-foot post depth and the assumed property line – those are the two mistakes that cost the most in this city. Do the paperwork first, build once, and get a line-item quote before anything is ordered.
When you’re ready to price yours, our team walks the property, confirms the scope, and puts a written quote in your hands. See our home page for how we run projects end to end at Groundwork Construction Co. of Inglewood home, and call (833) 842-7204 for a free estimate today.
Written by the team at Groundwork Construction Co. of Inglewood.