Last updated November 18, 2026


Free written scope consultation - allowances, timeline, and change-order rules on paper before a single trade is scheduled
Driveway & Pavers Maintenance Schedule: What to Do and When
Sealing your pavers at the wrong time of year can lock damage in rather than keep it out. When you roll sealer over joints that are still holding moisture from a wet winter or an early marine-layer morning, you trap that water under a plastic-looking film. As the sun heats the surface, the trapped moisture pushes against the sealer, and you get blistering, clouding, and sand that never bonds again. In our experience across Inglewood, the timing of a task matters as much as the task itself. A paver system kept on a consistent, cause-and-effect schedule will outlast a neglected one by 15 or more years. This guide gives you that schedule, calibrated to Southern California rather than a four-season climate, and explains the specific triggers that prevent failure before it starts.
Quick Answer
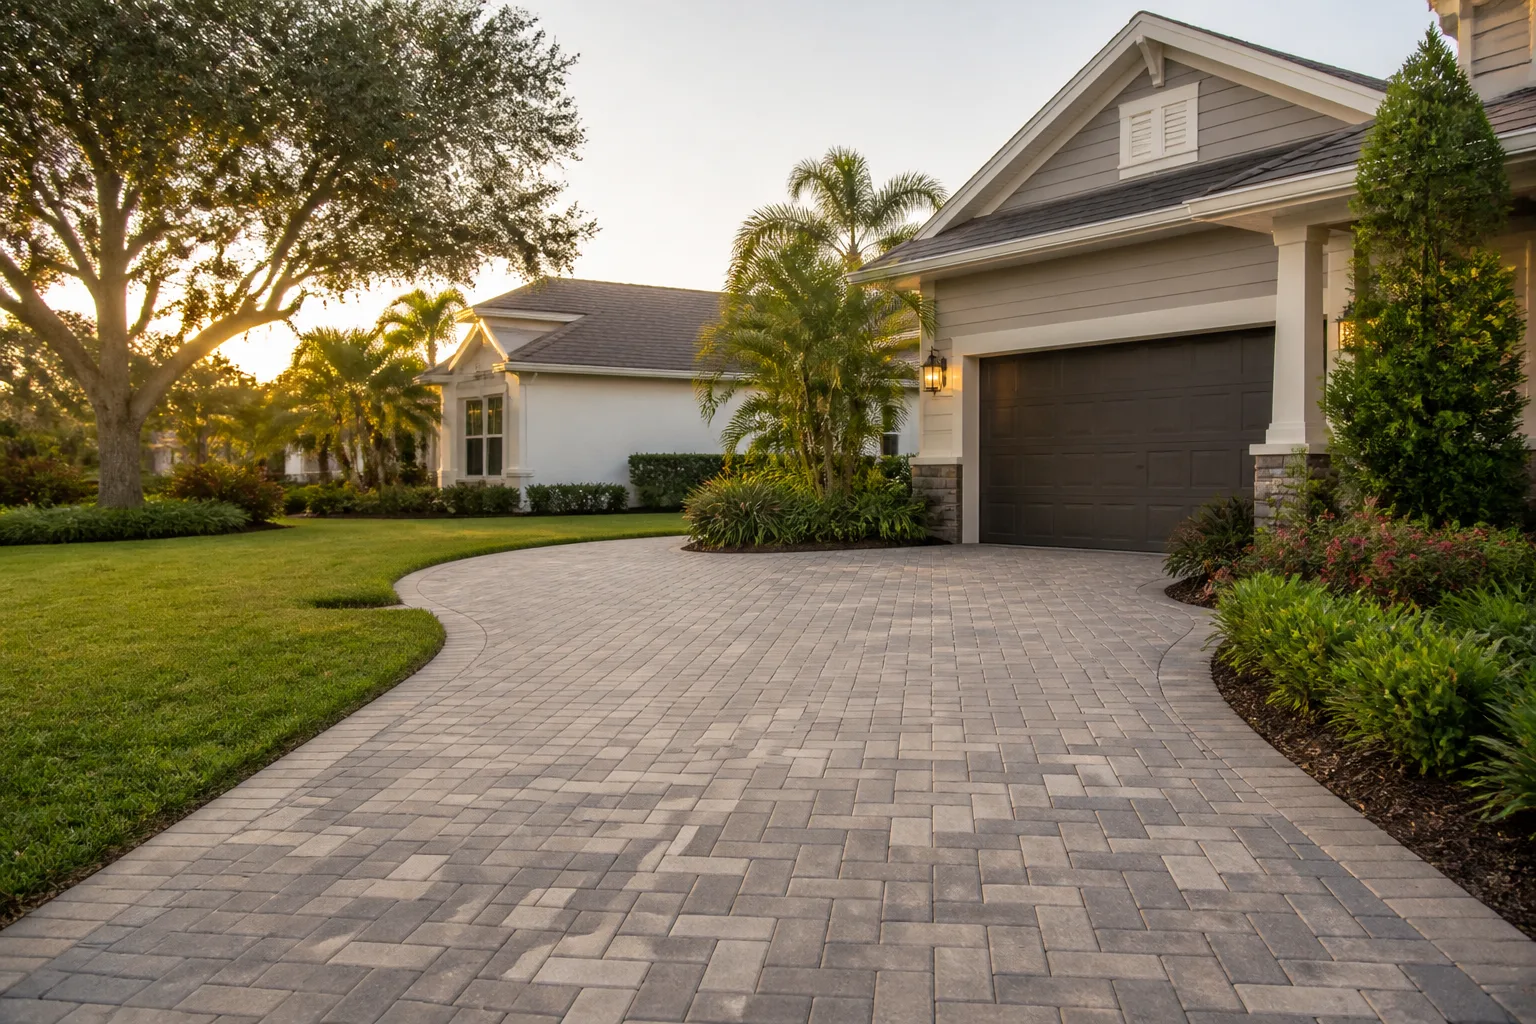
A driveway paver maintenance schedule runs on four core habits: sweep and spot-clean monthly, check and top off joint sand whenever it falls about a quarter-inch below the paver edge, seal every two to three years when a water bead test shows absorption, and inspect drainage within 48 hours of any heavy Los Angeles rainstorm. Match those tasks to Southern California’s dry summers and winter rain window, and a properly installed paver driveway in Inglewood will hold its finish and structural base for decades.
Styles & brands we work with
- Kitchen remodeling
- Bathroom remodeling
- Home additions & ADU
- Roofing
- Windows & doors
- Driveway & pavers
- Fence
Table of Contents
- Why a Schedule Beats Occasional Effort
- The Month-by-Month Inglewood Maintenance Calendar
- Joint Sand: The Trigger Points That Prevent Failure
- How to Test Your Sealer Without a Kit (The Water Bead Test)
- The 48-Hour Post-Rain Inspection Most Homeowners Skip
- Year 1 vs. Year 3 vs. Year 7+: What a Maturing Driveway Needs
- Cleaning and Weeding the Inglewood Way
- Common Mistakes to Avoid
Why a Schedule Beats Occasional Effort
Paver driveways don’t fail because of a single bad event. They fail slowly, from the base up, as sand migrates out of the joints, water finds its way under the surface, and the bedding layer shifts by fractions of an inch that add up over a few seasons. That slow progression is exactly why occasional, reactive maintenance doesn’t work. By the time you notice a settled corner or a wobbling paver, the problem has usually been developing for a year or more.
A schedule works because it catches those small movements while they’re still cheap to fix. Here’s the chain of cause and effect that drives everything in this guide:
- Sand leaves the joints. Rain, wind, and tires slowly wash or blow sand out of the gaps between pavers.
- The pavers lose their interlock. Sand is what locks pavers together as a single surface. Once it’s gone, individual units shift under load.
- Water gets into the base. Empty joints let water past the surface and into the bedding layer and base.
- The base settles unevenly. Wet base material compacts inconsistently, and the driveway develops dips, lippage, and ponding.
- Failure becomes visible. Weeds sprout, ant colonies establish, and pavers rock or crack. At this point the fix is repair work, not maintenance.
Each task in the schedule below interrupts that chain at a specific point. Keep the sand topped off and the water out, and the whole sequence stalls. That’s the difference between a driveway that lasts 15 years and one that lasts 30 or more. When we look at driveway and paver work throughout Inglewood, the installations that hold up best are almost always the ones on a maintenance rhythm, not the ones that got the most expensive initial build.
The Month-by-Month Inglewood Maintenance Calendar
Most maintenance guides you’ll find online are written for places with hard freezes and heavy snow. Inglewood isn’t that place. Our challenge is the opposite: a long dry season that dries out joints and a short, intense winter rain window that delivers most of the annual precipitation in a handful of storms. That pattern, combined with coastal marine layer moisture in the mornings, shapes a calendar different from a national guide.
Here’s how the year breaks down for a paver driveway in Inglewood:
- January – March (rain season): This is your inspection window. After each significant storm, walk the driveway and check for drainage. Keep a bag of joint sand handy for quick touch-ups. Skip sealing entirely; the surface is rarely dry enough for long enough.
- April – May (drying and prep): Deep-clean the surface after the wet months. Pull weeds. Do a full joint sand check and re-sand thin areas. Evaluate sealer condition with the water bead test so you know if this is a sealing year.
- June – August (prime sealing window): This is the window to seal if it’s needed. Daytime temperatures reliably sit in the range sealer needs to cure, and humidity is low. Give the pavers two to three dry days before application.
- September – October (pre-rain prep): Your last chance to lock in joint sand and confirm drainage before the rain returns. Clear leaf litter and debris from the driveway’s low point and any drainage channel.
- November – December (first storms): Back to the 48-hour post-rain inspection. Watch the first rains closely; they reveal every drainage flaw the summer hid.
You’ll notice the heavy physical tasks cluster in the dry season and the inspection-heavy tasks cluster in the wet season. That’s deliberate. Sealing and re-sanding need dry, warm conditions to work. Drainage problems only show themselves when it rains. Matching the task to the season is the timing principle that separates a schedule that works from one that just looks busy. It’s the same cause-and-effect logic you’d apply to any exterior system on an Inglewood property, whether it’s a paver patio, a wood fence, or the drainage around a new addition.
Joint Sand: The Trigger Points That Prevent Failure
Joint sand is the single most important thing you maintain on a paver driveway, and it’s the thing most homeowners check too late. The right approach isn’t to look for weeds and then react. It’s to inspect the sand level and re-sand before there’s ever a gap wide enough for a weed seed or an ant to move in.
What to look for before you have a problem
Get in the habit of checking the joints by eye and by hand. The specific trigger points:
- A quarter-inch below the paver edge. When the sand in a joint drops about a quarter-inch (roughly the depth of a pencil eraser) below the chamfered edge of the paver, it’s time to re-sand. You don’t wait for the joint to look empty.
- Visible gaps at the surface. If you can see daylight between pavers when you crouch down, sand migration is already advanced.
- Weeds or ant mounds. These are lagging indicators. By the time you see them, the joint has been open for a while. Treat the sighting as proof the sand level has been low for weeks.
- Pavers that rock underfoot. If a single paver shifts when you step on it, the interlock is failing there and the sand around it is gone.
How to re-sand correctly
- Sweep the surface clean and pull any weeds by the root.
- Pour dry joint sand (a fine, kiln-dried polymeric sand rated for pavers is ideal) across the surface.
- Work it into the joints with a broom, sweeping diagonally across the pattern.
- Top off any joints that settle low, then sweep the excess off the surface.
- Lightly mist the surface to settle the sand if you’re using a stabilized or polymeric product, following the product’s directions.
The trick is frequency over volume. In Inglewood’s dry season, a quick monthly top-off keeps the joints full without any dramatic effort. A big annual re-sanding job is a sign you’ve waited too long. If you’re re-sanding the entire driveway every year, the joints are telling you something is driving the sand out faster than normal, and that’s worth a professional look.
How to Test Your Sealer Without a Kit (The Water Bead Test)
You don’t need to buy a test kit to know when your pavers need sealing. You need a cup of water. The water bead test tells you exactly where your sealer stands, and reading the results correctly is what stops you from sealing too early, too late, or at the wrong time of year.
The test
- Pick a dry, sunny afternoon, ideally after two or three dry days.
- Pour about a quarter-cup of water onto a representative spot in the middle of the driveway.
- Watch what happens over the next minute or two.
Reading the results
- Water beads and rolls off. The sealer is intact and doing its job. You have time. Check again in a few months.
- Water beads but soaks in slowly. The sealer is thinning but still present. You’re in the “plan to seal within the next 6 to 12 months” stage. Note it and schedule it for the next dry season.
- Water darkens the pavers and soaks in quickly. The sealer has largely failed. The pavers are unprotected and absorbing water. Seal in the next dry window, before the rain season.
For most pavers in Inglewood, a quality penetrating sealer lasts roughly two to three years before the water bead test starts telling you it’s time. A surface (film-forming) sealer can last a bit longer but fails differently, sometimes by clouding or peeling, so check for those visual cues too. The key timing rule: never seal when the joints hold moisture, when there’s rain in the forecast for the next two to three days, or when the morning marine layer hasn’t fully burned off. Sealing over moisture-trapped joints is how you lock in damage instead of preventing it, and it’s the mistake we see most often when homeowners seal on a warm-looking morning in early spring.
The 48-Hour Post-Rain Inspection Most Homeowners Skip
This is the single task that catches the most expensive problems early, and almost nobody does it. Within 48 hours of a heavy Los Angeles rainstorm, walk your driveway and look for standing water, damp spots that don’t drain, and sand that has washed out of the joints. What you find in that window tells you where the water is going and where it shouldn’t be.
What to check
- Ponding. Any spot that holds water more than 24 hours after the rain stops is a drainage problem, not a cosmetic one. It will soak into the base and cause settlement.
- Damp joints. Joints that stay dark and wet long after the rest of the surface dries are letting water in and not letting it out.
- Washed-out sand. Look for sand collected at the bottom of the driveway or at the street, which tells you where the stormwater ran.
- Riverside and street-edge flow. Check where water drains off your driveway toward the street. If the flow has shifted or is cutting into the edge, that’s an early sign of an erosion issue.
In Inglewood, the first big storm of the season is the most revealing. The ground is dry and hard, so water runs off fast, and any grading flaw shows up immediately. That fast runoff is also why so many properties see joint sand wash out during the first rains and stay low for the rest of the year. Jot down what you see after each storm, and you’ll build a map of drainage issues specific to your property. If the same low spot puddles after three or four storms, don’t just keep re-sanding it; the underlying grade needs attention, which is repair territory rather than maintenance. We’ve watched mature Inglewood properties where a two-hour regrading fix early would have avoided years of patching.
Year 1 vs. Year 3 vs. Year 7+: What a Maturing Driveway Needs
A paver driveway is not a static surface. It behaves differently at different ages, and a schedule that treats a five-year-old driveway the way it treats a newly installed one either overworks the new one or underworks the old one. Here’s how to adjust as your driveway matures.
Year 1: the settling year
A newly installed driveway is still settling into its base. The installation itself should come with a maintenance baseline, and a well-built system from a company that stands behind its work means you start on solid footing. For the first year, focus on gentle care: keep the surface clean, check the joint sand monthly since the initial fill settles, and resist the urge to seal immediately. Many installers recommend waiting a set period for the bedding layer to fully cure, and sealing too early on a fresh installation can trap moisture during that settling phase. Watch for any paver that rocks or any joint that opens up, and note it while it’s still under a workmanship guarantee.
Year 3: the first real maintenance cycle
By year three, the initial sand fill has naturally thinned and you’re likely due for your first full re-sanding and a sealer decision based on the water bead test. The base has mostly settled, so the priority shifts from “watch for settling” to “keep the joints full and protect the surface.” This is the year to establish your re-sanding and cleaning rhythm if you haven’t already.
Year 7 and beyond: watching for base settlement
Past the seven-year mark, you’re maintaining a mature system, and the thing to watch for is base settlement showing up as dips, lippage (a paver sitting slightly higher than its neighbor), and new drainage patterns. These are the symptoms of base issues that started years earlier, which is exactly why the early sand and rain habits matter. At this stage, an annual professional inspection is worth it, because catching settlement early is inexpensive to fix and catching it late is not. A mature driveway in Inglewood that’s been on a schedule will still be going strong here; one that hasn’t will be showing its age.
Cleaning and Weeding the Inglewood Way
Cleaning is where national guides get Inglewood-specific details wrong. The standard advice is to pressure-wash aggressively every spring. On a paver driveway, a high-pressure blast is one of the fastest ways to strip joint sand and damage the surface, so we recommend a gentler rhythm.
- Routine cleaning: Sweep or blow the surface weekly. Spot-clean oil drips and stains promptly with a stiff brush and a paver-safe cleaner, before they set.
- Deep cleaning once or twice a year: Use a low-pressure wash (or a dedicated paver cleaner) after the wet season and again after summer. Keep the nozzle moving and don’t hold pressure on the joints.
- Weeding: Pull weeds by the root as soon as you see them. If weeds keep returning to the same joint, the sand is too low there; re-sand it. Repeated weeding without re-sanding is a losing battle.
- Ant control: Ant colonies exploit open joints the same way weeds do. Ant mounds are another lagging indicator of low sand. Fill the joint and the colony loses its foothold.
One more Inglewood-specific note: coastal marine layer mornings keep the surface damp well into the day during certain seasons, which can encourage algae and moss in shaded areas and slow drying after a wash. Clean in the afternoon when the surface has had time to dry, and don’t let a damp morning tempt you into sealing. If your driveway is a critical part of your property’s appearance and you’re planning other exterior work, it’s worth coordinating timelines so sealing and cleaning happen after, not during, related projects. The same goes for a fence that lines the driveway; get the fence work done first, then clean and seal the pavers. If you’re putting in a new fence along the drive, our team handles Fence Installation in Inglewood and can sequence it around your paver maintenance.
Common Mistakes to Avoid
- Sealing over moisture-trapped joints. This is the headline mistake. If there’s moisture in the joints, sealing locks it in and causes clouding and blistering. Always test the surface for dryness and check the forecast before you seal.
- Waiting for visible weeds before re-sanding. Weeds and ant mounds are late-stage signs, not early warnings. Check joint sand depth by eye and re-sand at the quarter-inch trigger, not after the problem is obvious.
- Pressure-washing at full blast. A high-pressure wash strips joint sand and can pit the paver surface. Use low pressure and keep the nozzle moving; a few passes with a gentle wash beats one aggressive blast.
- Ignoring the first big rainstorm. Many Inglewood homeowners assume drainage is fine until they see a puddle in January. The first storm of the season reveals grading flaws that are cheap to fix early and expensive to fix after a few settling seasons.
- Sealing too early on a new installation. Sealing before the bedding layer has cured can trap moisture during the settling year. Respect the cure window your installer recommends.
- Treating a settled paver as a maintenance task. A single rocking or sunken paver is a signal of base movement, not a sand issue. Re-sanding over it hides the symptom; the underlying grade needs a professional look.
- Applying the same schedule year-round. Southern California’s dry-season/wet-season split means sealing, cleaning, and inspection have specific windows. A flat “do it all in spring” plan wastes the dry months and misses the rain window that catches real problems.
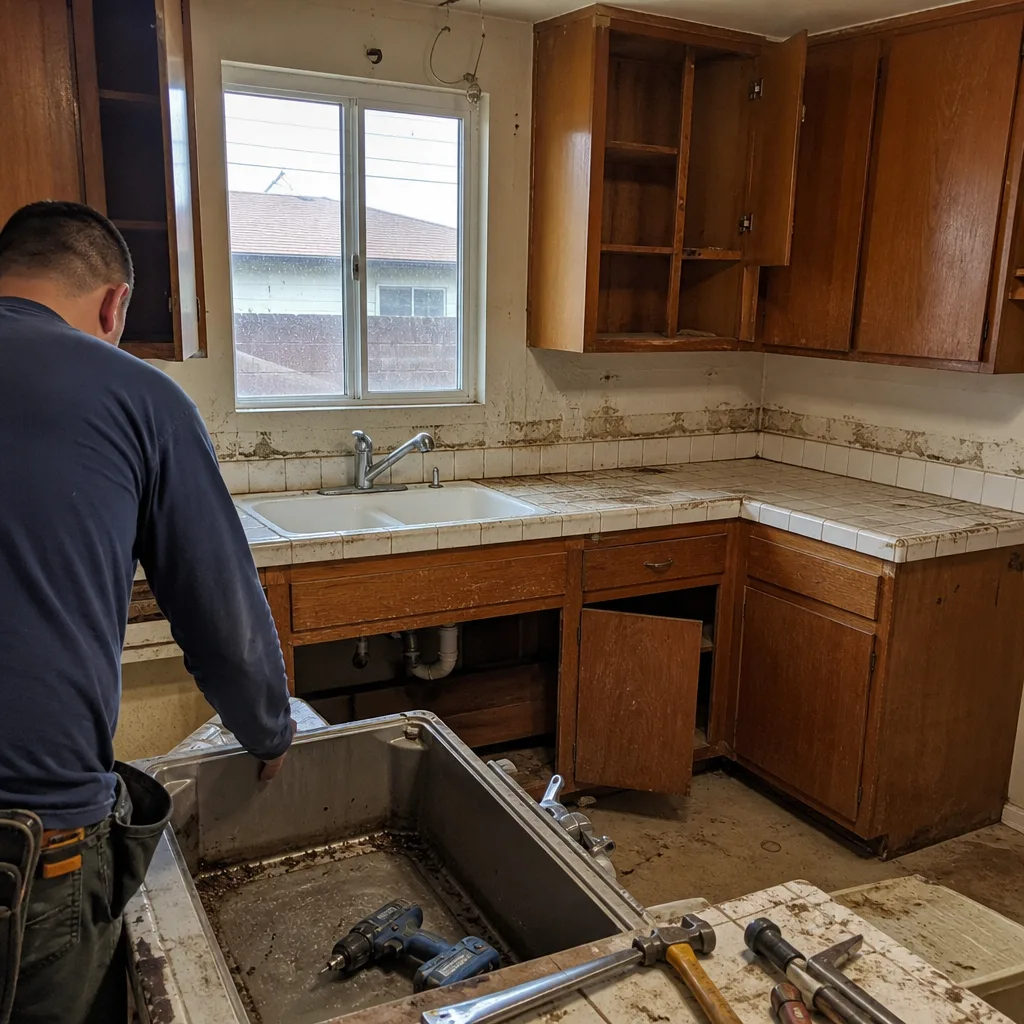
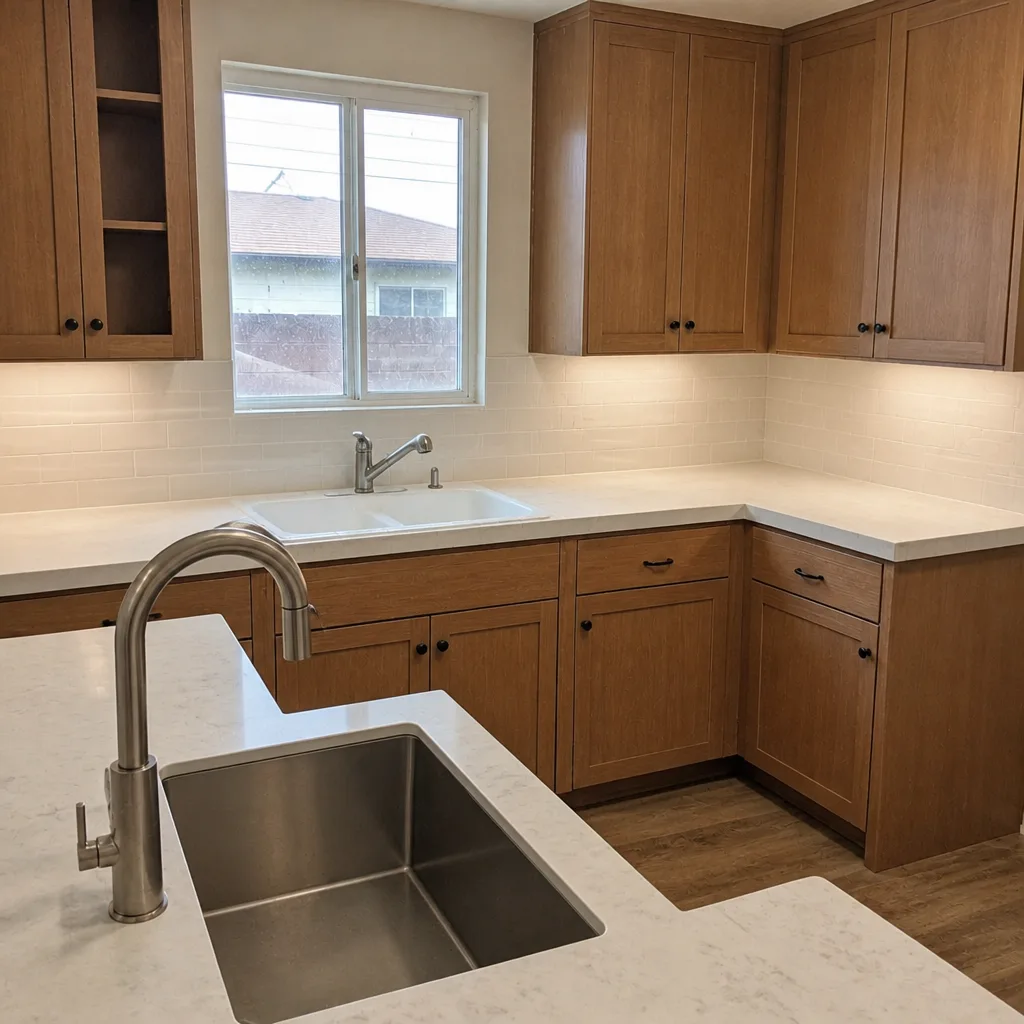
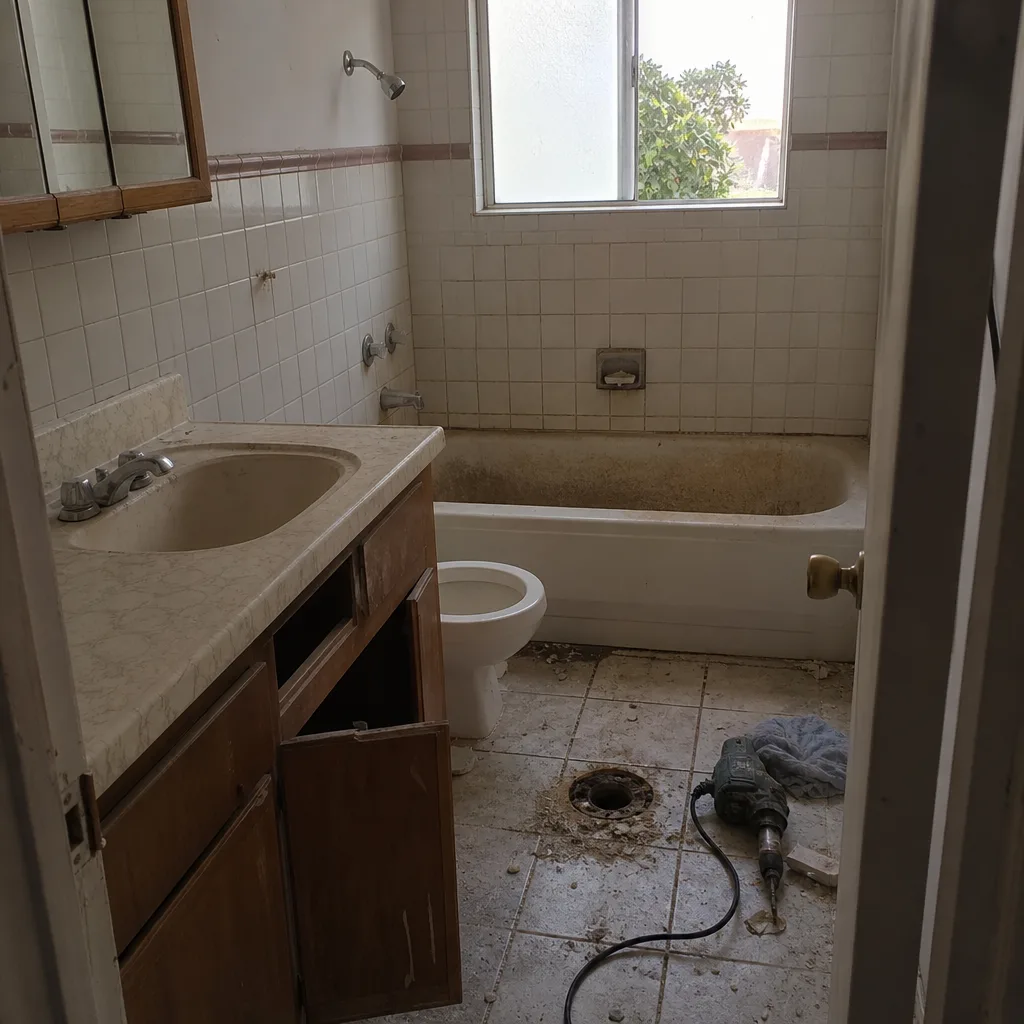
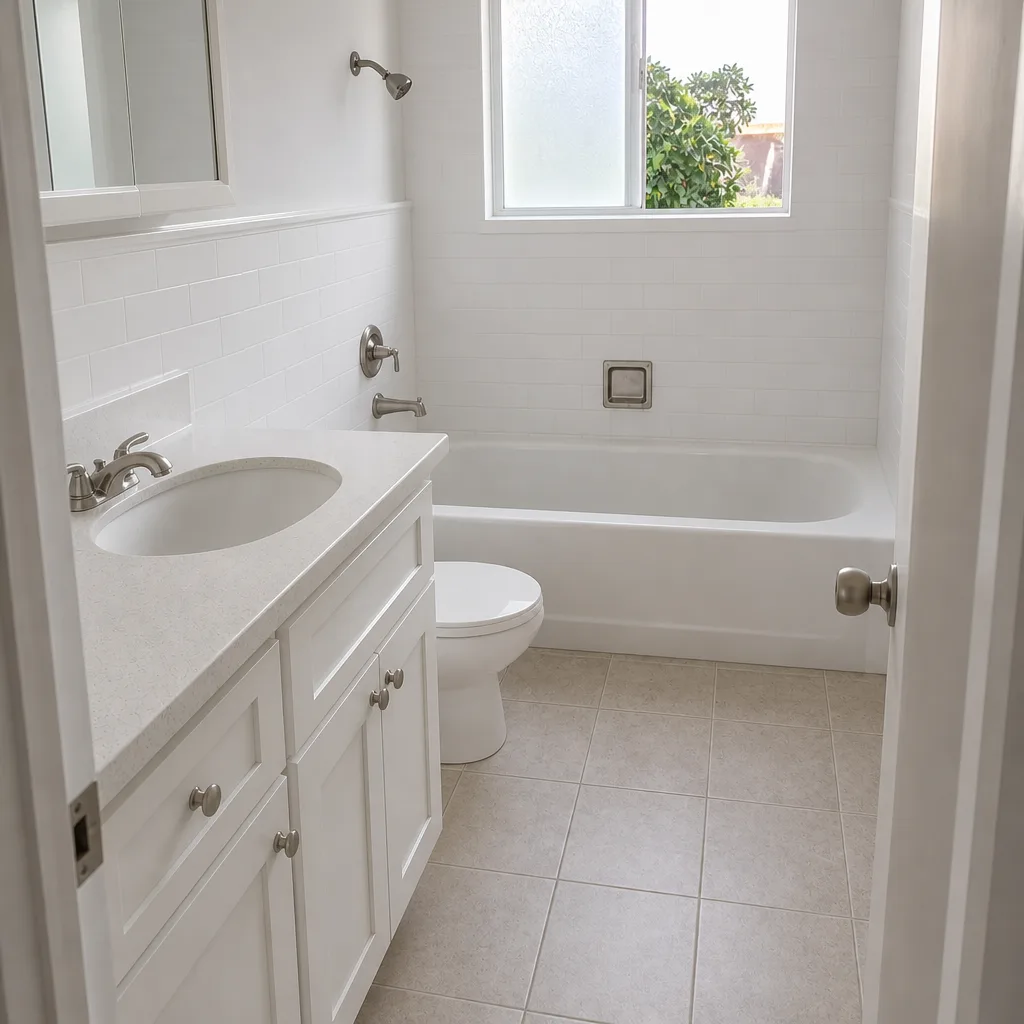
See the difference
 Before
 After
 Before
 After
 Before
 After
When to Call a Professional
Routine maintenance like sweeping, re-sanding, and the water bead test is entirely within reach for a careful homeowner. But some situations call for a professional eye, and knowing where that line is saves money over time. Call a pro if you see a paver that rocks or has settled noticeably, if the same low spot ponds after multiple storms, if the base looks like it’s shifting under a large area, or if you’re noticing cracks that weren’t there before. Any of those points to a base or drainage issue that sand and sealer won’t fix. If you’re planning a larger exterior project and need to sequence it around your driveway work, our team handles everything from rebuilding a failing drive to adding a new patio. You can see the full range of what we do on our Driveway & Pavers in Inglewood page, and if a new addition or ADU is on the horizon, look at Home Additions & ADU in Inglewood to plan the sequence. Groundwork Construction Co. of Inglewood offers free estimates in Inglewood; call (833) 842-7204 and we’ll take a look.
Frequently Asked Questions
Every two to three years in most cases. The exact interval depends on the sealer type and how much sun and traffic the driveway gets, so use the water bead test to decide rather than a fixed calendar. When water soaks in quickly and darkens the pavers, it’s time. Call (833) 842-7204 for an exact quote on professional sealing; estimates are free.
Late June through August is the ideal window in Inglewood and the rest of Southern California. Daytime temperatures are reliably warm and humidity is low, so the sealer cures properly. Avoid sealing in the rainy months and never seal when joint sand is holding moisture. If you’re not sure whether your driveway is ready, we can check it during a free estimate.
Check by eye and look for sand that sits about a quarter-inch or more below the paver’s edge. That’s your trigger to re-sand. Visible weeds, ant mounds, or pavers that rock mean the sand has been low for a while and it’s overdue. Sweeping a top-off across the surface with a broom takes minutes when you catch it early.
Yes, with low pressure, but a full-blast pressure washer strips joint sand and can damage the surface. Keep the nozzle moving, stay off the joints, and clean in the afternoon when the surface is dry. If your driveway is large or heavily stained, a professional cleaning protects the investment better than a homeowner-grade wash.
Walk your driveway within 48 hours and note any ponding, damp joints, or washed-out sand. The first big storm of the season is the most revealing test of your drainage. If a low spot keeps ponding after several storms, that’s a grade issue that needs professional attention rather than another round of sand. Our team can assess it and give you a free estimate.
Base settlement is usually the result of water getting into the base layer over time, often because joint sand was low and drainage was poor for a few seasons. Catching the water intrusion early keeps the fix small. If you’re seeing dips or rocking pavers, call (833) 842-7204 for a free estimate before it spreads.
The Bottom Line
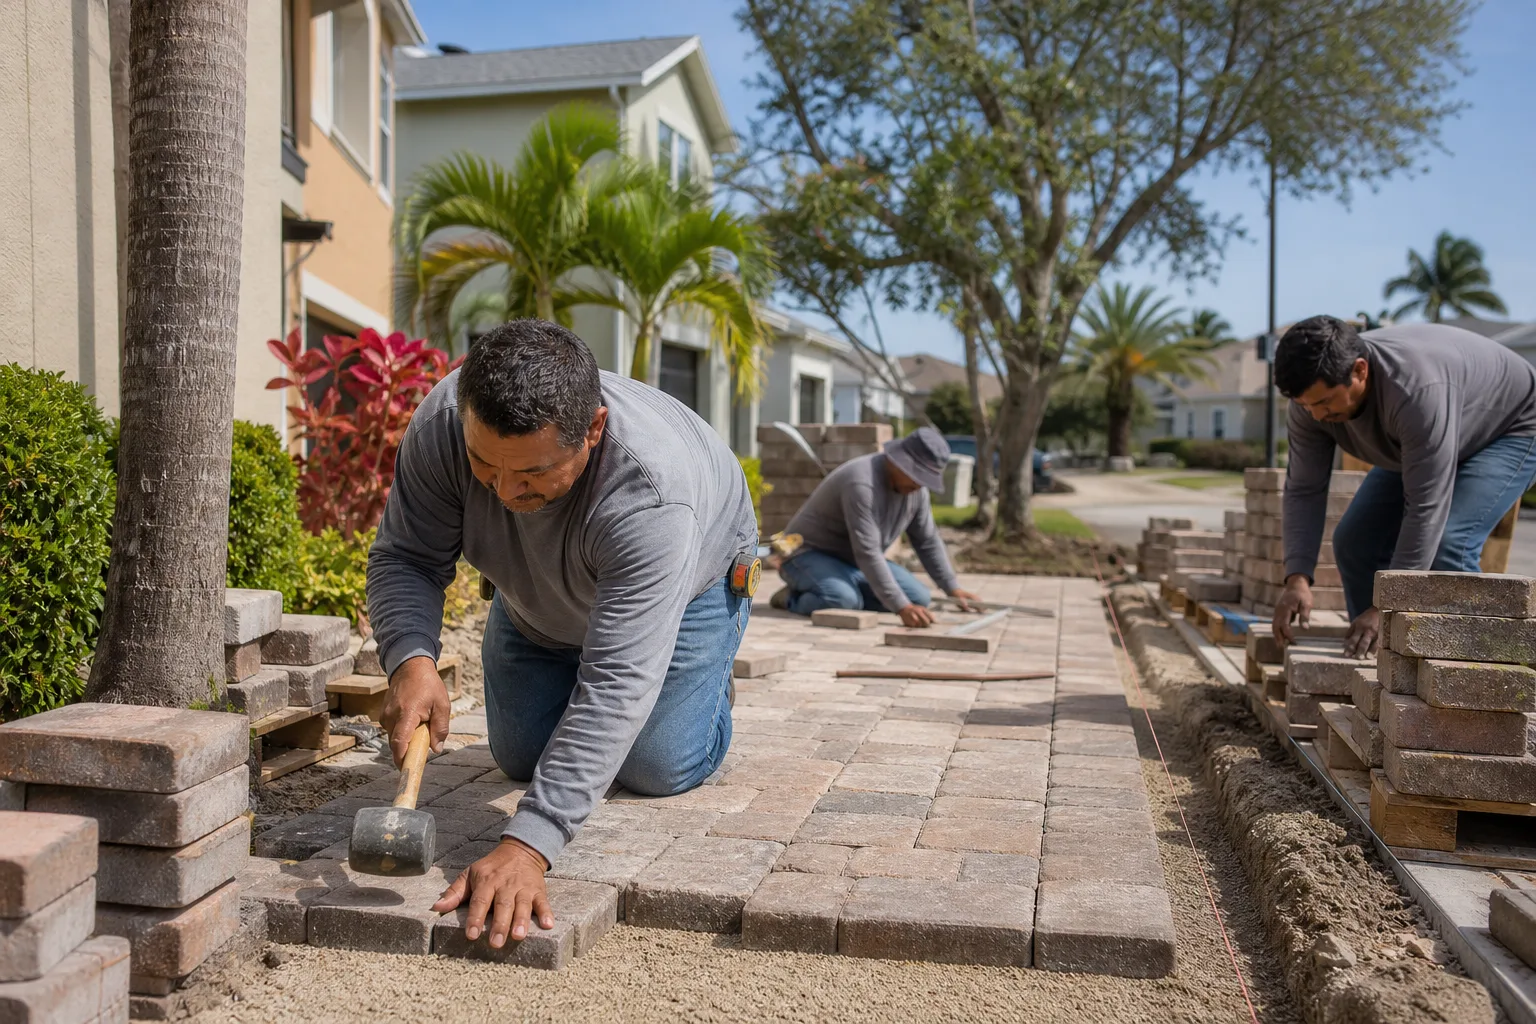
A paver driveway in Inglewood lasts decades when you interrupt the failure chain early and slowly. The schedule that does it is small and consistent: sweep and spot-clean monthly, re-sand when joints fall a quarter-inch below the edge, seal only when the water bead test and the dry season line up, and inspect within 48 hours of every heavy rain. Match the tasks to Southern California’s dry/wet split instead of a generic national calendar, and you’ll get 15 or more years of life than a neglected driveway ever would. When the work goes past maintenance and into repair, get a professional on it early. To see our full range of work or start planning your project, start at the Groundwork Construction Co. of Inglewood home page.
Every job we take on, from a driveway rebuild to a full kitchen remodel, is backed by our 730-Day Done Right Promise and upfront pricing with no surprises. If your driveway needs more than a schedule can give it, call Groundwork Construction Co. of Inglewood at (833) 842-7204 for a free estimate. We’ll look at the base, the drainage, and the joints, tell you exactly what needs fixing versus what just needs maintenance, and give you a written line-item quote you can count on. Calls are answered by a live person, 24/7, and the estimate and design consult are free.
Written by the team at Groundwork Construction Co. of Inglewood.