Last updated November 18, 2026




Free written scope consultation - allowances, timeline, and change-order rules on paper before a single trade is scheduled
Driveway & Pavers Troubleshooting: Common Problems and How to Fix Them
A single sunken paver isn’t a paver problem. It’s a base problem. We’ve watched homeowners in Inglewood pay to replace the same loose pavers three years running because they kept fixing the surface and never touched what was failing underneath. The paver was never the culprit – the compacted base, the drainage, or the edge restraint was, and each one leaves the same trail of evidence if you know how to read it. This guide walks through the visible symptoms you’ll see on a failing driveway and matches each one to its real root cause, so you can tell a five-dollar fix from a five-thousand-dollar structural failure before you spend anything.
Quick Answer
Most driveway paver problems – sinking, edge spreading, joint sand loss, efflorescence, and cracking – come from one of four root causes: a poorly compacted base, failed edge restraint, trapped water from bad drainage, or soil settling. Fix the symptoms without fixing the cause and they’ll return within a season. A single loose paver or minor sand loss is a DIY repair; widespread sinking, heaving, or joint cracking is structural and needs a professional to rebuild the base.
Styles & brands we work with
- Kitchen remodeling
- Bathroom remodeling
- Home additions & ADU
- Roofing
- Windows & doors
- Driveway & pavers
- Fence
Table of Contents
- The Symptom-to-Cause Diagnostic Chart
- Sunken Pavers: When It’s the Base, Not the Stone
- Edge Spreading and Wandering Joints
- Efflorescence: Cosmetic Staining or Water Warning?
- How to Test Whether Drainage Is Causing Your Paver Problems
- DIY-Fixable vs. Structural Failure
- The Re-Sanding and Re-Sealing Sequence That Actually Works
- Frequently Asked Questions
The Symptom-to-Cause Diagnostic Chart
Before calling anyone, walk your driveway and write down what you actually see. Specific symptoms point to specific failures, and the wrong diagnosis is how a homeowner ends up paying twice. In Inglewood, our mild, dry climate with occasional heavy winter rain creates a particular pattern: pavers that look fine from May to October but shift noticeably after the first real storm of the season. That timing alone is a clue.
Reading the Chart
- One or two pavers sinking evenly: localized base settlement, often from a void under the sand layer. Usually repairable without a full replacement.
- A whole section settling in a dip: inadequate base compaction or poor soil underneath. Structural – needs excavation and re-compaction.
- Pavers spreading outward at the edges: failed edge restraint. The stone isn’t the problem; the perimeter containment is.
- White hazy mineral staining (efflorescence): water moving through the pavers and carrying salts to the surface. Sometimes cosmetic, sometimes a warning.
- Cracked joint lines or joints that won’t hold sand: joint sand washed out by poor drainage, or pavers shifting from a base failure.
- Pavers rocking when you step on them: direct sign of base loss or washout beneath that paver. Not a joint issue – a foundation issue.
- Heaving or lifting near a tree or downspout: root pressure or water concentration. Needs drainage evaluation, not just replacement.
Match your symptom to the entries above and you’ll know what kind of repair budget you’re looking at before you call. If your driveway is exhibiting multiple symptoms at once, that’s a bigger story – a full-scope assessment through our Driveway & Pavers in Inglewood service is the fastest way to sort out what’s failing and what’s holding.
Sunken Pavers: When It’s the Base, Not the Stone
Pavers don’t sink. Bases do. A paver is a rigid block – it will remain its shape and thickness for decades. What moves is what’s underneath it: the sand bedding layer, the compacted aggregate base, or the subgrade soil below. When a homeowner replaces the paver and it sinks again within a season, it’s because the void beneath was never addressed.
The base layer on a properly built paver driveway is typically six to twelve inches of compacted crushed aggregate, installed in lifts of two to three inches each and compacted to roughly 95% density. Stamped into an Inglewood driveway after a wet winter, that base is what keeps the stones from moving. Skip a step – one pass with a plate compactor, base laid too thick, or a contractor who didn’t dig deep enough before laying – and the entire installation flexes and settles under vehicle weight.
What a Proper Base Repair Involves
- Lift the affected pavers and set them aside. They’ll almost always be reusable.
- Excavate the failed base down to stable, compacted subgrade.
- Re-install aggregate base in proper lifts with mechanical compaction between each.
- Level and screed the sand bedding layer to the correct depth.
- Reset pavers, re-sand joints, and run a plate compactor over the finished surface.
That process solves sinking permanently. Replacing pavers on top of a failed base solves nothing. If your sinking is confined to a low-traffic corner of the driveway, you may be able to spot-repair it. If it’s happening along your wheel path or at the garage apron, the base under the entire load area needs review.
We’ve seen this most often in Inglewood neighborhoods built on older infill lots, where the soil was disturbed or imported decades ago and never fully settled. Homes near the gently sloping streets west of Prairie Avenue run into it after rain: water flows under the driveway edges, the soil softens, and the base moves. The fix is always below the surface.
Edge Spreading and Wandering Joints
When the outer pavers on your driveway start spreading out and the joints open up, the paver field isn’t expanding – it’s released. Every well-built paver installation is held in compression by an edge restraint: typically a concrete curb or an aluminum or plastic edge strip anchored with spikes into the base. When that restraint fails, the pavers have nothing holding them from the outside in, and car traffic pushes the whole field outward.
Edge spreading rarely shows up alone. In our experience, it typically appears alongside:
- Visible gaps at the perimeter, sometimes a quarter inch or more within a season.
- Joint lines opening in a fan shape radiating from the spreading edge.
- Sand washing out at the edges after rain.
- Grass or weeds creeping up at the driveway edge where restraint has failed.
This is one of the most common failures we see on Inglewood driveways because the concrete edge restraint is often the first thing to crack after years of soil movement and seasonal expansion. Replacing the paver at the edge without replacing the restraint will hold for maybe one season.
What Permanent Repair Actually Looks Like
A proper edge fix means pulling the perimeter pavers, removing the failed restraint, digging back to solid base, and re-installing a new anchored restraint deep enough that it can’t move. Then the pavers are reset, the joints are re-sanded, and the field is re-compacted back toward that edge. Skip any step and the spread returns. A driveway that’s also got failing edges along a property line where a fence has moved is a case where both repairs should be sequenced together – our Fence Installation in Inglewood team handles fence and pavement stabilization as one scope when they fail together.
Efflorescence: Cosmetic Staining or Water Warning?
Efflorescence is that white, chalky haze that appears on concrete pavers after a rain or a humid spell. It’s a mineral salt (usually calcium carbonate) carried to the surface by water moving through the paver and evaporating off. The presence of it is normal in itself – but how fast it reappears, and where, tells you whether it’s a cosmetic nuisance or a symptom of a real water problem.
Cosmetic Efflorescence
If you see a light haze in the first few months after installation, or after heavy rain, and it brushes off or fades within a few weeks, that’s cosmetic. New pavers and fresh mortar are releasing salts as they cure. A light brushing with a stiff broom will manage it. It’s not a warning and it doesn’t mean your driveway is failing.
Warning-Sign Efflorescence
When efflorescence keeps coming back to the same joints or the same 2-3-foot section of driveway, or appears on pavers that are decades old with no recent installation, water is being trapped under the surface and forced up through the pavers repeatedly. That’s an infiltration issue, and the minerals are the visible symptom. Common culprits:
- Grade that slopes back toward the house or garage apron instead of away from it.
- Adequate slope but a missing or clogged drainage channel.
- Failed joint sand letting surface water infiltrate into the base rather than run off.
- Poor soil drainage beneath the base, common on Inglewood lots that originally sat on clay-heavy fill.
Treat the staining without diagnosing the water movement and it returns every season. A sealer applied over a moisture problem can actually make things worse by locking moisture inside the paver. That’s why we won’t recommend sealers as a first move – we test the drainage first, then decide what the driveway actually needs.
How to Test Whether Drainage Is Causing Your Paver Problems
Before you spend a dollar on repairs, run this test. It tells you whether water is the root cause or just a symptom. If drainage is failing, any repair that doesn’t fix it will fail again.
The Bucket Test
- Pick a dry day. Ideally 48 hours after the last rain so the driveway has had time to dry.
- Pour five gallons of water slowly across a 3-foot section of the driveway, near where you’re seeing problems.
- Time how long it takes to drain. If it sits for more than 5-10 minutes with the water pooling or sheeting sideways rather than running off, you have restricted drainage.
- Watch where it flows. Water should run off the driveway surface and beyond. If it pools at a paver joint, runs toward the garage, or settles into a low spot, the problem is the slope or a blocked channel – not the pavers.
- Check again the next morning. If the area is still damp under the pavers (visible as darker mortar and joint sand at the edges), water is trapped in the base.
What the Test Result Means
If your driveway drains within a few minutes and runoff exits the surface cleanly, your paver problems are almost certainly base or restraint failures. If water sits, runs wrong, or pools, drainage is the root cause and repair without drainage correction is a temporary fix.
Inglewood’s clay-heavy soil in many neighborhoods absorbs poorly, so a driveway installed without proper slope is especially prone to this. Our team checks grade, slope, and channel condition on every paver diagnosis because we’ve seen a lot of driveways where the fix wasn’t the paver at all – it was the way water moved across the property.
DIY-Fixable vs. Structural Failure
We’re not going to tell every homeowner to call a pro. Some paver issues genuinely are a Saturday morning fix. Others will eat your weekend and your wallet and fail again. Here’s how to tell the difference before you rent a compactor.
Fixes You Can Realistically Handle
- One or two loose pavers: lift them, check for obvious voids, re-bed with fresh joint sand and reset. No excavation, no base rebuild.
- Minor joint sand loss: re-sand joints with a proper polymeric joint sand after sweeping and drying the surface. This is maintenance, not repair.
- Cosmetic efflorescence: light brushing or a diluted paver cleaner. If it’s not recurring, it’s not structural.
- Single paver cracked: replace it. Cracked pavers happen.
Where DIY Costs You Twice
- Multiple sinking sections: you can’t rebuild a base under a live driveway without excavation and mechanical compaction. Doing it piecemeal makes it worse.
- Edge spreading: replacing pavers at the edge without a new anchored restraint is throwing away fifty dollars per repair. It’ll spread again.
- Heaving or lifting: often root or drainage pressure. Diagnosing where it’s coming from takes experience, not guesswork.
- Widespread joint cracking: usually indicates base movement under the whole field. You’re looking at a structural rebuild, not a patch.
- Water trapped under the surface: if your drainage test failed, the fix has to start with drainage – not the paver.
If you’re on the fence, the free estimate is worth more than the guesswork. Our team walks you through what failed, what it costs to fix, and what’s cosmetic.
The Re-Sanding and Re-Sealing Sequence That Actually Works
Re-sanding and re-sealing are the two most misunderstood parts of paver maintenance. Done right, they stabilize the driveway for years. Done wrong – or in the wrong order – they mask problems for 90 days and then fail. The order matters more than the products.
The Correct Sequence
- Diagnose first. Any base failure or drainage problem has to be corrected before you re-sand or seal. Sealing over a failing joint traps moisture and accelerates the problem.
- Repair. Fix base voids, replace cracked pavers, and reset any pavers that have shifted. Restore the edge restraint if it’s failed.
- Clean. Sweep thoroughly and use a paver-safe cleaner if there’s efflorescence or biological growth. The surface must be completely dry before the next step.
- Re-sand. Work polymeric or stabilized joint sand into the joints with a broom, compact it with a plate compactor, then top off any low joints. This is what locks the pavers together.
- Cure. Keep traffic off the driveway for the sand manufacturer’s recommended cure window – typically 24 to 48 hours depending on humidity.
- Seal (only if needed). A breathable, water-based sealer applied to a fully cured, fully drained surface extends life and locks joint sand in place. Skip it if the driveway is already showing signs of drainage issues and the source hasn’t been fixed.
The Quick Fixes That Don’t Work
We’ve seen a lot of homeowners apply a heavy sealer over a light sanding, or use loose sand on top of the existing joint sand without removing the old material. The driveway looks fine for a couple of months, then the joints open again, sometimes worse than before. The quick fixes fail because they treat the symptom without addressing the underlying stabilization.
Polymeric joint sand on a well-prepped surface holds pavers dramatically better than a sand-and-seal product applied as an afterthought. And a proper sealer on a properly drained driveway lasts years – on a wet driveway it lasts one season.
See the difference
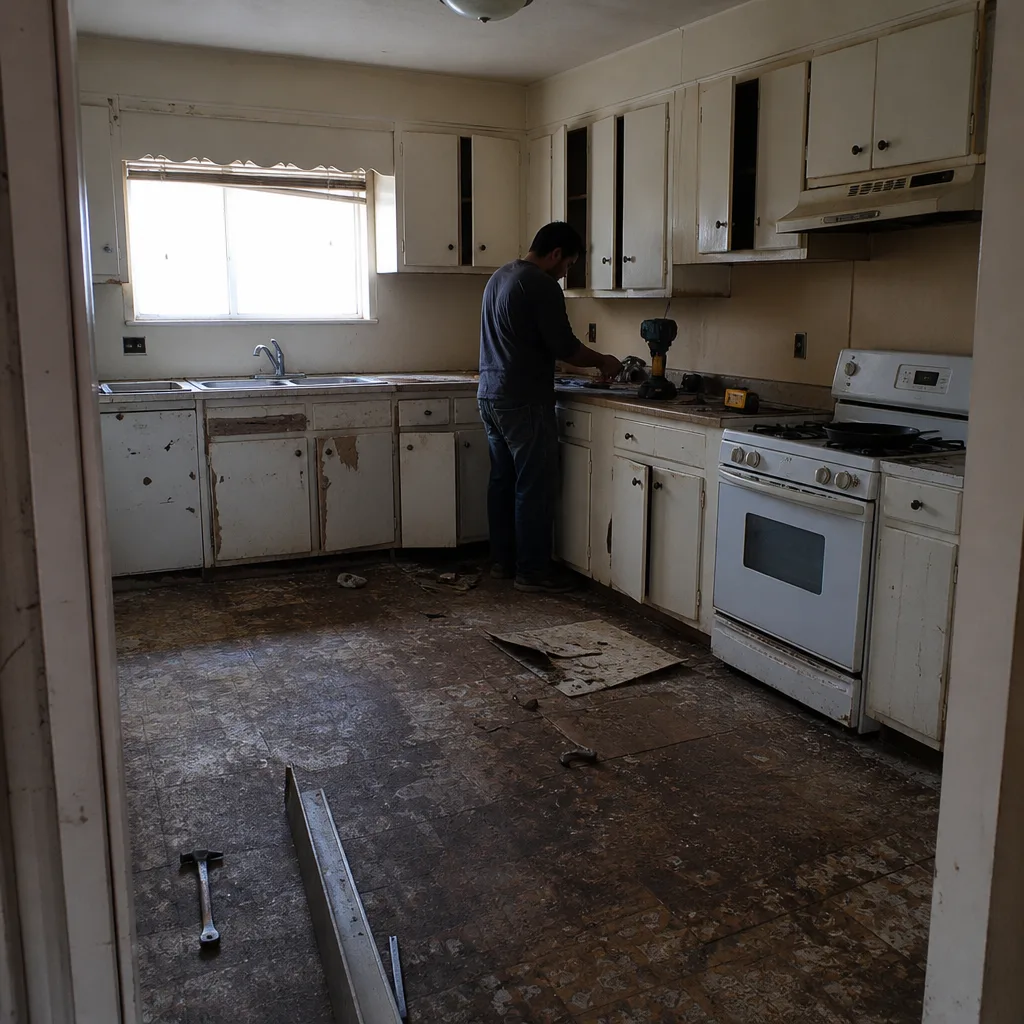 Before
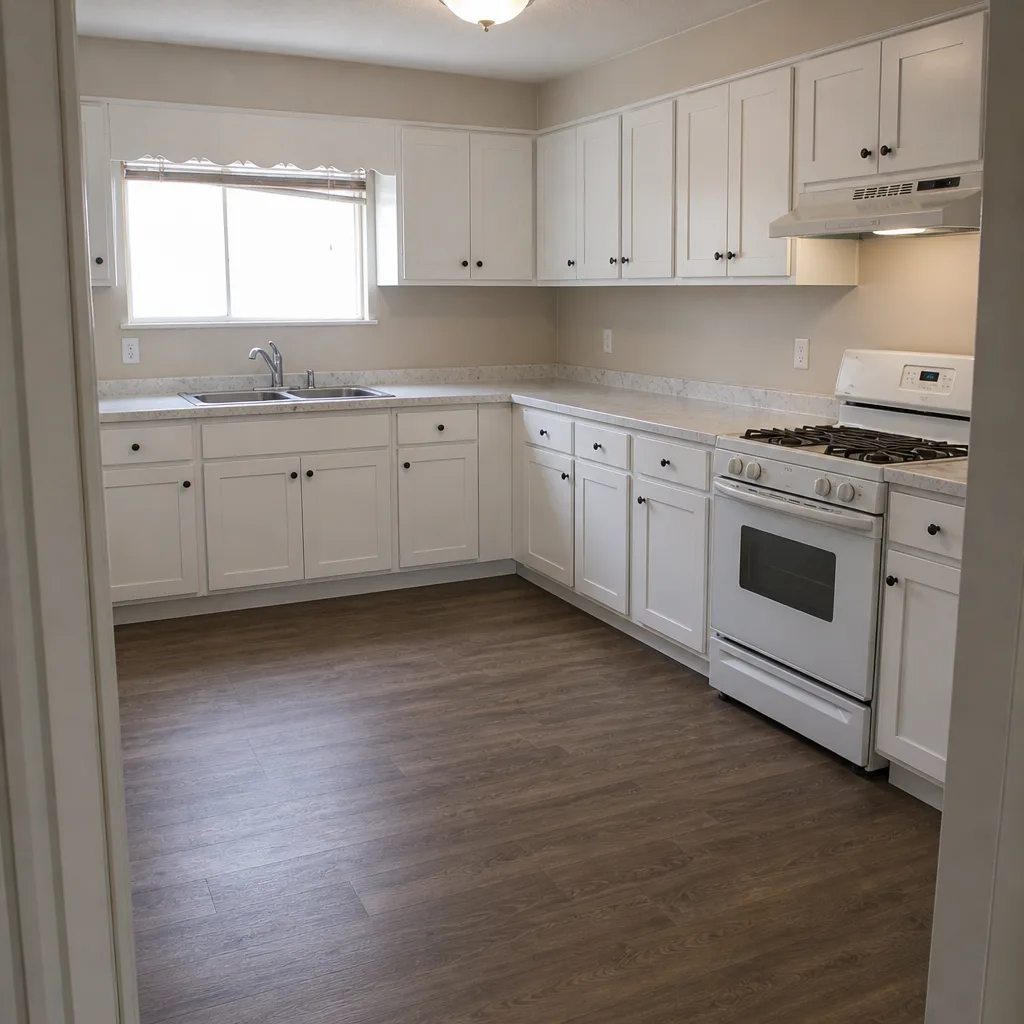 After
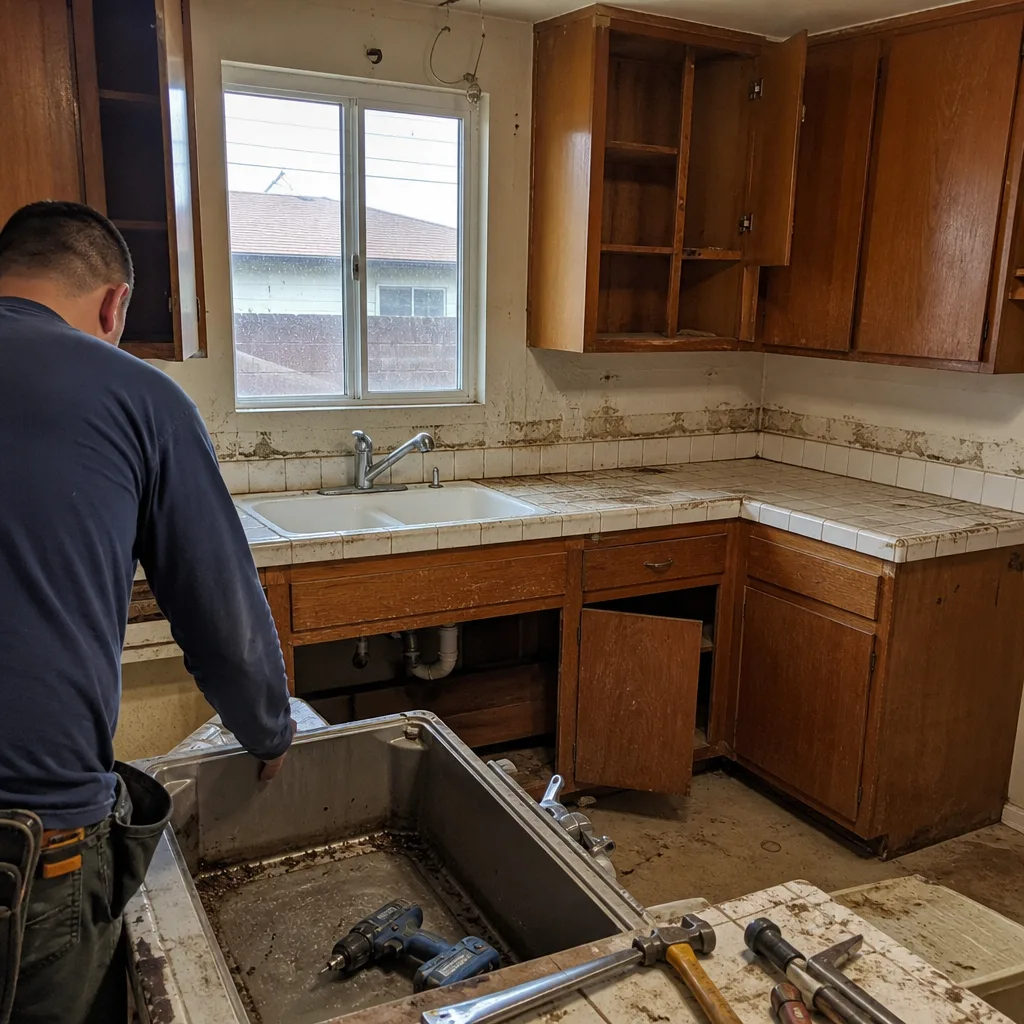 Before
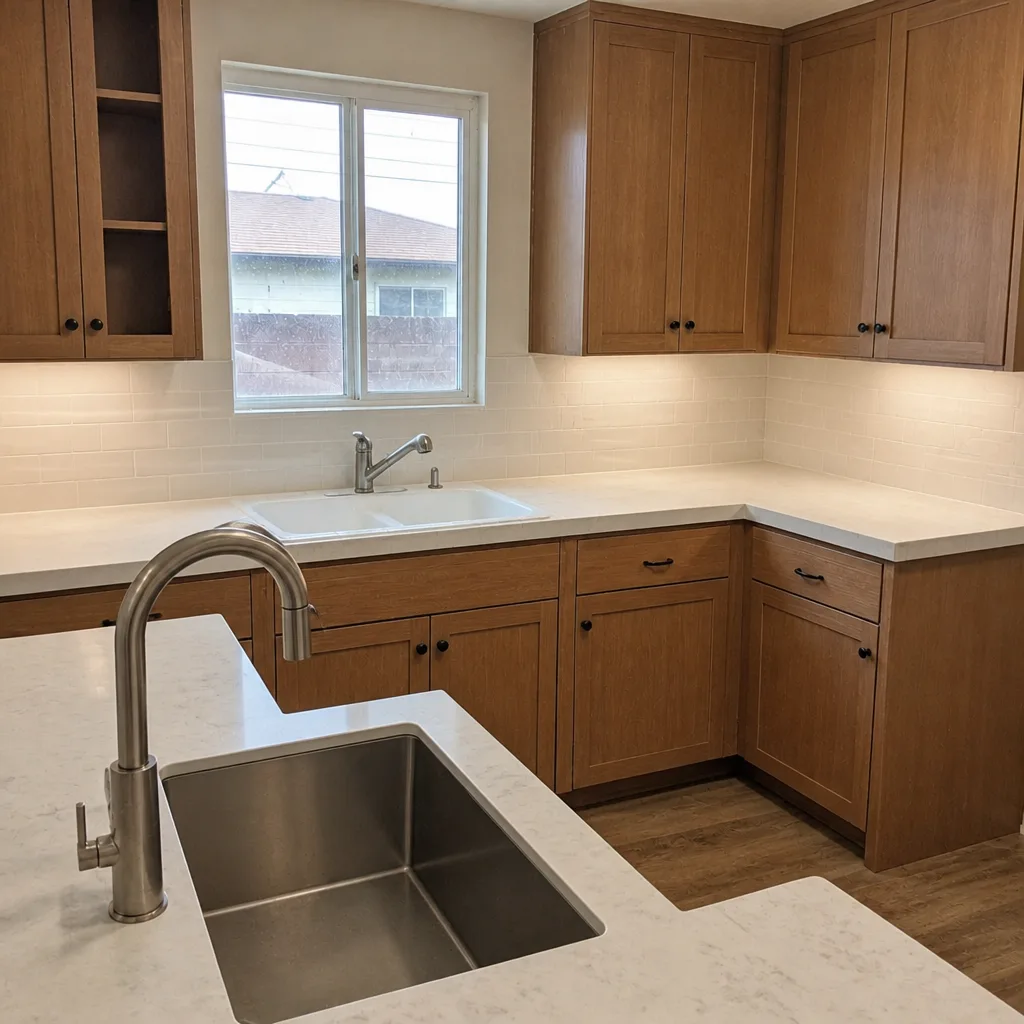 After
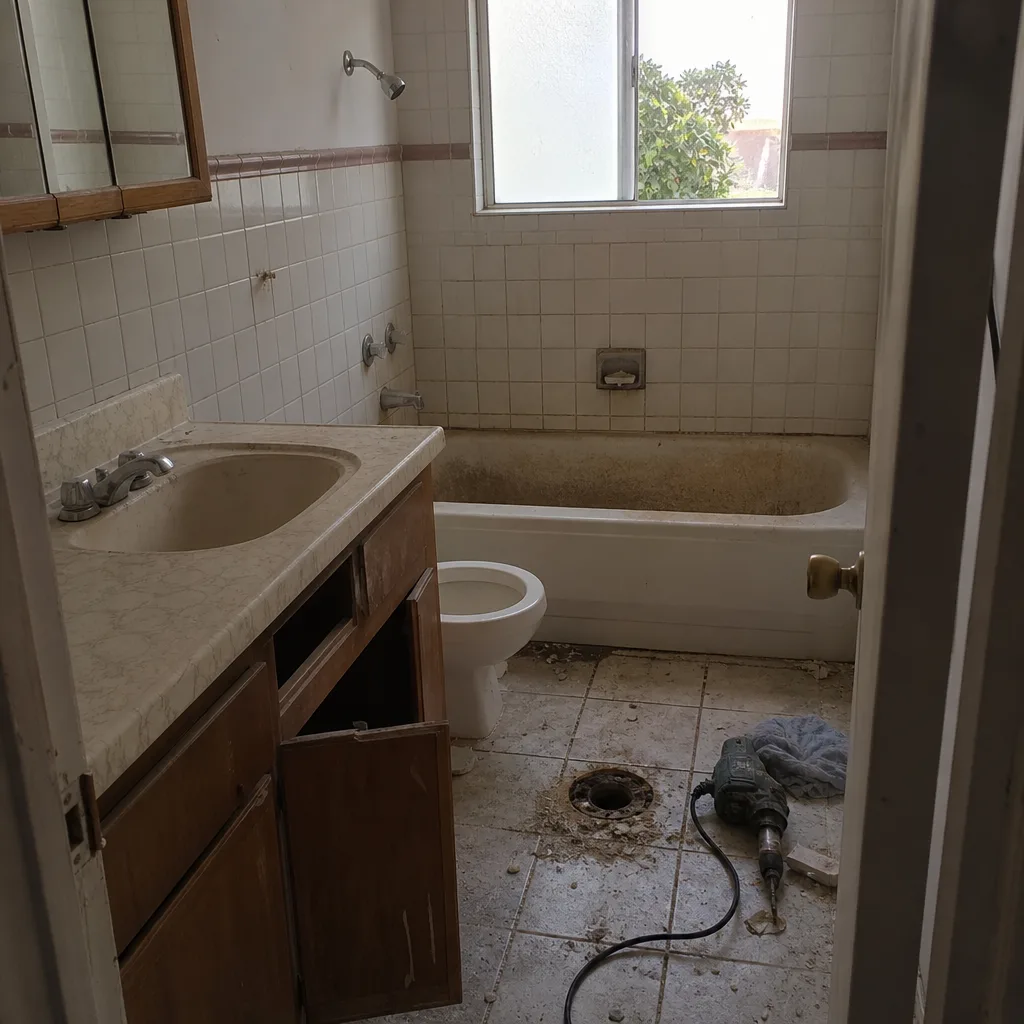 Before
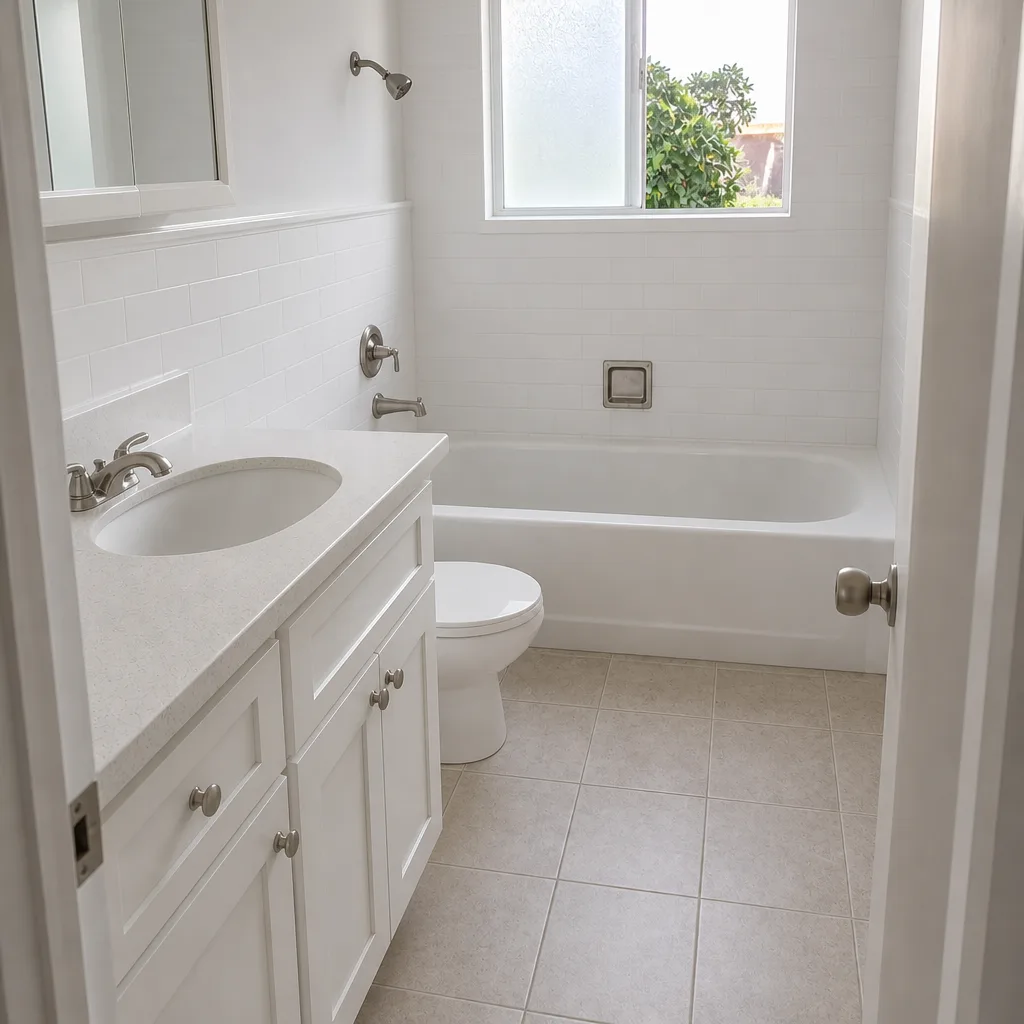 After
Common Mistakes to Avoid
- Replacing just the paver that sank. The paver was fine. The base under it wasn’t. Replace the paver without addressing the void and it will sink again within a season.
- Sealing over failing joints. A heavy sealer on top of a drainage problem traps moisture in the base and accelerates base deterioration. This is the single most expensive mistake we see.
- Skipping the drainage test. If your driveway doesn’t drain, every fix fails. The bucket test costs nothing and answers the biggest question before you spend anything.
- Replacing the edge paver without replacing the edge restraint. A concrete or aluminum edge restraint is what holds the whole field in compression. If the restraint failed, the pavers will spread again. The restraint is the fix.
- Assuming efflorescence is always cosmetic. In Inglewood, where groundwater moves seasonally through clay soil, recurring efflorescence on a decades-old driveway almost always indicates water migration. Cosmetic haze fades; structural efflorescence returns.
- Sand-and-seal as a quick fix. Big-box “sand and seal” products skip the compaction step that makes joint sand actually hold. They mask problems for a season, then fail.
- Hiring a handyman for base work. Base repair requires proper excavation, aggregate, and mechanical compaction. It’s a foundation job, not a surface job. If your contractor is quoting a “reset pavers” price for a base problem, get a second opinion.
When to Call a Professional
Some problems tell you plainly it’s time to bring in a professional. If your driveway has two or more sinking sections, an edge that’s visibly spreading, pavers that rock when you walk on them, or recurring efflorescence that comes back within weeks of cleaning, you’re past the cosmetic stage. If your drainage test shows water pooling or running toward the house, call before anything else. And if the driveway has been repaired for the same problem more than once, the diagnosis was wrong the first time.
Base failures, edge restraint replacement, and drainage correction are structural work. They need excavation, mechanical compaction, and a solid understanding of how water moves through your specific lot – which is why every estimate from our team includes a drainage assessment, not just a surface quote. Groundwork Construction Co. of Inglewood offers free estimates in Inglewood – call (833) 842-7204 and we’ll walk the driveway with you, no pressure, with the number you see upfront.
Frequently Asked Questions
Because water is reaching the base layer and softening the compacted aggregate or the soil underneath. Inglewood’s clay-heavy soil drains slowly and the winter rain sits at the base of the driveway for longer than it would on sandy soil, slowly eroding the compacted layer under load areas. Fixing the drainage and rebuilding the base stops the cycle; replacing the paver doesn’t.
Costs vary widely depending on scope. A single loose paver reset is often within a handyman budget. A partial base rebuild on a 10-by-20-foot section usually runs into the low four figures once excavation, aggregate, compaction, and re-sanding are included. Edge restraint replacement typically lands between those two. For an exact number, we recommend a free on-site estimate – pricing depends on how deep the base failure goes and how much drainage correction is needed. Call (833) 842-7204 and we’ll quote it in writing.
Efflorescence, which is mineral salt pushed to the surface by water moving through the paver and evaporating. It’s cosmetic when it appears briefly after rain or installation and fades. It’s a warning when it keeps recurring in the same area, because that means water is being trapped and forced through the pavers repeatedly – usually a drainage or base issue.
One or two isolated loose pavers are realistic to reset yourself with fresh joint sand, assuming the base under them looks intact. Multiple sinking sections, a whole field that’s dipped, or pavers rocking underfoot are not DIY repairs – you need to excavate and rebuild the compacted base, which requires equipment and experience with proper lift-and-compact technique.
Re-sanding joint sand is generally needed every 2-3 years in Inglewood, depending on traffic, sun exposure, and how well the driveway drains. Sealing is optional and should only be done on a clean, fully dry, well-drained driveway – typically every 3-5 years if you choose to seal at all. Sealing more often than that can actually trap moisture and accelerate problems.
Yes. Nearly every “recurring” paver problem is a symptom of an unaddressed root cause – base failure, edge restraint failure, or drainage failure. Surface repairs like resetting pavers or re-sanding joints mask the problem for a season. Once the underlying base, restraint, or drainage is corrected, the same repair lasts for years.
The Bottom Line
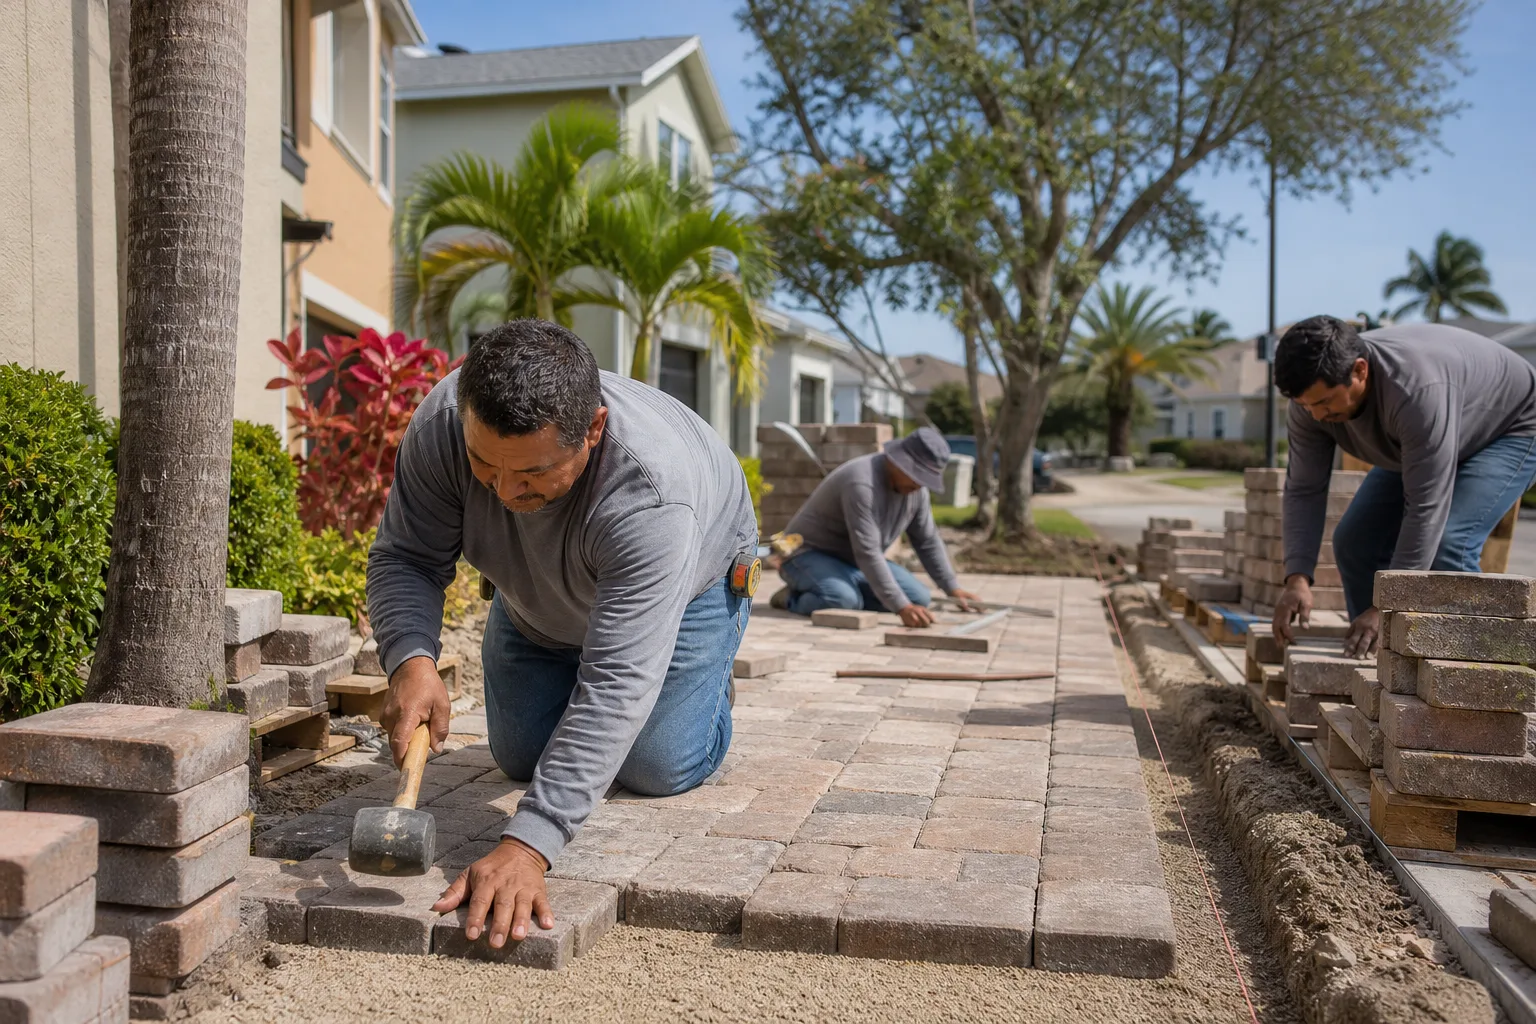
Every visible driveway paver problem is a message about something underneath. Sinking pavers mean a base failure. Edge spreading means restraint failure. Recurring efflorescence means water infiltration. Cracking joints mean the field is moving. Read the symptom, run the drainage test, and fix the cause – not the paver. Cosmetic fixes over structural problems cost you twice. If the diagnosis points to base or restraint failure, the fixed-price estimate tells you what the real fix costs with no surprises, and the work is backed by our Groundwork Construction Co. of Inglewood home team’s 730-Day Done Right Promise. When a driveway failure involves a fence or landscape component failing alongside it, or you’re planning to add a garage or structure over a new paver field, our Home Additions & ADU in Inglewood team coordinates the whole scope from foundation to finish line.
Call (833) 842-7204 for a free estimate in Inglewood. A live person answers 24/7, no voicemail black holes. We’ll walk the driveway, run the diagnostics with you, and quote the fix in writing before you spend anything. $1,000 off projects over $10,000 and 0% financing for 18 months are available when the scope qualifies – ask about both on the call.
Written by the team at Groundwork Construction Co. of Inglewood.