Last updated November 18, 2026
Free written scope consultation - allowances, timeline, and change-order rules on paper before a single trade is scheduled
DIY vs Professional Windows & Doors: What’s Safe to Do Yourself
Installing a pre-hung exterior door yourself is legal in California and entirely achievable with a good saw and a weekend. But if the rough opening isn’t shimmed and plumb to within 1/8 inch, that door will fail its weatherseal within two years no matter how good the door itself is. That’s the gap nobody warns you about: the product is fine, your ambition is fine, and the failure shows up three winters later as a soft spot in the drywall. In Inglewood, where the marine layer pushes moisture against south and west walls for weeks at a time, that timeline compresses. This guide draws the specific line between window and door work you can safely do and the tasks that need a trained crew, plus the California compliance rules most homeowners never hear about until the inspector shows up.
Quick Answer
Interior door swaps, door hardware, and trim work are safe DIY projects for a careful homeowner. Exterior door installation, window replacement, and anything that touches the building envelope, including flashing and Title 24 energy compliance, should go to a licensed professional. In Inglewood, window replacements must meet California Title 24 requirements, and a technically correct product installed without flashing and a permit can fail inspection or rot your wall cavity before you notice a problem.
Styles & brands we work with
- Kitchen remodeling
- Bathroom remodeling
- Home additions & ADU
- Roofing
- Windows & doors
- Driveway & pavers
- Fence
Table of Contents
- What window and door work is actually safe to do yourself?
- What work should always go to a professional?
- Why does a correct window fail inspection in Inglewood?
- How does a DIY window install cause damage two to three years later?
- What does the installation warranty actually cover?
- What’s the smart hybrid approach?
- Common mistakes to avoid
- When to call a professional
What Window and Door Work Is Actually Safe to Do Yourself?
Interior doors are the safest entry point into this category. A hollow-core bedroom door that hangs crooked or sticks in summer is a $120 product and a two-hour job. Swapping hinges, changing out knobs and deadbolts, adjusting a strike plate that no longer catches: these are hardware tasks with no code implications and no moisture path. If you get it wrong, you try again. Nobody’s wall gets wet.
Interior door replacement is genuinely DIY-friendly when the rough opening already exists. You measure three points for width and height (top, middle, bottom), buy a pre-hung slab that matches, and set it with shims. The skills are level, tape measure, and patience. Nothing about it touches the envelope.
Door hardware upgrades are similarly low-risk. Smart lock installations, handle set replacements, and mail slots are electrical or mechanical tasks you can complete with a screwdriver. The real caution with smart locks is the deadbolt backset: a standard 2-3/8 inch backset is universal, but a poorly drilled bore can leave the latch misaligned, which is a security issue rather than a moisture one.
Interior trim work and paint around existing doors is also well within reach. Casing replacement, baseboard transitions, and caulk refresh around interior thresholds don’t affect weather resistance. In our work in Inglewood, we’ve seen homeowners genuinely improve a room’s appearance with nothing more than new casing and a fresh coat on the door itself, all while staying entirely inside the safe zone.
Where it stops being safe: anything that gets removed from an exterior wall. A door swap on an interior wall is one thing. The moment you’re cutting a hole through drywall, siding, and house wrap, you’re outside the DIY-safe range, and that transition is faster than most people expect.
What Window and Door Work Should Always Go to a Professional?
Exterior door installation is the first clear line. A pre-hung entry door carries a specific set of requirements: correct rough opening dimensions, flash tape on the sill, a threshold that sheds water away from the interior, and hinges that stay aligned after a season of expansion and contraction. The install is straightforward on paper and unforgiving in reality. An 1/8-inch plumb tolerance isn’t fussiness, it’s the margin that lets the weatherseal actually compress against the strike jamb in year three.
Window replacement is a professional task for the same reason. Removal opens the wall cavity to the outside. Every step from there, including the sill pan, the flashing tape lap sequence, and the insulating foam around the frame, is a moisture-control operation. Adding a picture window or converting a single-hung unit to a slider requires cutting the rough opening wider, which means new header framing and structural consideration. That’s not a homeowner job.
Anything that changes the shape or size of an opening in the exterior wall belongs to a licensed professional. So does:
- Window replacement or glass swap on any exterior wall, including like-for-like replacement
- Adding a new window or cutting a new exterior door opening
- Sliding glass door replacement, which involves sill pan and track alignment
- Any work that requires an Inglewood building permit and inspection
- Patching the exterior flashing and siding transition around a replaced unit
- Removing and reinstalling a wall’s structural members to accommodate new framing
We’re often asked whether replacing a window in kind – same size, same location – counts as a simple swap. It doesn’t, from a permitting and moisture standpoint. The wall still opens to the weather, and the flashing has to be reinstalled correctly around the new unit.
Why Does a Correct Window Fail Inspection in Inglewood?
California Title 24 energy standards apply to window replacements in Inglewood, and the compliance is tied to the installation, not just the product label. A window can have a perfectly acceptable U-factor and Solar Heat Gain Coefficient and still fail inspection because the installer can’t document the compliance path for the assembly involved.
Title 24 window requirements in Inglewood generally include:
- Maximum U-factor and Solar Heat Gain Coefficient thresholds that vary by climate zone (Inglewood sits in a coastal zone with specific allowances)
- A registered compliance document (CF1R or CF2R depending on the scope) that matches the specific products and installation method
- Visible NFRC labels on the window unit or clear documentation of the rated performance
- Verification that the installation did not compromise the envelope’s continuous insulation or air barrier
Most homeowners can buy a qualifying window at a big-box store. What they can’t easily do is produce the CF1R, submit for the permit, and demonstrate the assembly meets the energy code once installed. That’s why even a product that ticks the box can fail inspection: the paperwork and the site verification are separate from the product rating.
If you’ve replaced a window without a permit in Inglewood, you now own a disclosure problem when you sell. The replacement becomes a known unpermitted alteration, which changes how a buyer’s inspector reports the property. We’ve walked through homes in Morningside Park and the North Inglewood pocket where a clean, well-installed window was flagged because no permit record existed. The fix isn’t cosmetic. It’s documentation and a re-inspection.
How Does a DIY Window Install Cause Damage Two to Three Years Later?
Improper flashing is the most common DIY window failure we see, and it’s also the most patient. The damage takes two to three years to show, because the moisture gets in slowly and leaves only after it’s done active harm.
Here’s what happens in a poorly flashed install. Water enters at the sill or the side jamb during a rain event. It wicks into the wall cavity and saturates the sheathing. The wall doesn’t have a visible hole, so you don’t see it. In Inglewood, the marine layer gives the wood long, damp periods to absorb moisture without drying fully, especially on north-facing walls. Two winters of that cycle is enough to start the process.
The visible signs, when they finally arrive, tend to be:
- Paint peeling inside the room around the window casing
- Soft spots in drywall near the sill or below the window
- A musty smell that appears during wet weeks and recedes in summer
- Swollen or stained wood trim at the interior face
- Efflorescence or discoloration on the exterior stucco around the opening
By the time any of these is visible, you’re into sheathing repair and potentially reframing the opening, not just re-flashing a window. The original mistake might have been a $40 flashing tape job. The repair is a five-figure wall surgery.
The correct sequence is specific: sill pan first, integrated into the wall’s water-resistive barrier, then the window set level and plumb, then flashing tape lapped so water sheds outward, then the head flashing, then siding and sealant on top of all of it. Any step installed out of order, or in the wrong direction, reopens the water path. This is one of the reasons window replacement in older Inglewood stock gets complicated: many homes are stucco over older weather barriers that are already compromised, and the new install has to account for that existing condition.
What Does the Installation Warranty Actually Cover?
Most window and door installation warranties void immediately if the unit was installed by someone other than a licensed, approved installer. This is one of the least-discussed factors in the DIY decision, and it’s usually more expensive than the labor savings.
Here’s how it typically breaks down:
- The product warranty (glass, frame, operating mechanism) usually survives DIY installation, but only if the failure is demonstrably a product defect. If the problem looks like water intrusion or an installation error, the claim is denied and the burden of proof is on you.
- The installation warranty covers the labor and the seal. It’s void the moment an unapproved party installs the unit. Nobody pays to remove and reinstall a leaking window for free if it wasn’t their install.
- The envelope warranty, which covers the wall assembly around the opening, is generally limited to work installed by the warranty-holding contractor. If water gets into the wall, the contractor who installed the window isn’t responsible for repair if they didn’t do the install.
- Manufacturer approval status matters for the architectural brands – Andersen and Marvin, for example – whose warranty language calls out approved installer requirements. The product rating and the warranty coverage are tied together.
That’s the real cost of a DIY window install: not the $400 you saved on labor, but the $6,000 wall repair that nobody will warranty because the coverage voided at the wrong moment. When we install windows and doors in Inglewood, the installation warranty stays intact from the first day through our 730-Day Done Right Promise. That’s what “backed in writing” actually means on a window job.
What’s the Smart Hybrid Approach?
You don’t have to choose between doing the whole thing yourself and handing over the entire project. There’s a well-defined middle where homeowners do the prep and finish, a professional does the technical scope, and the total labor cost comes down without touching anything that terminates in moisture or code.
The prep and finish work that’s genuinely helpful to hand off to yourself:
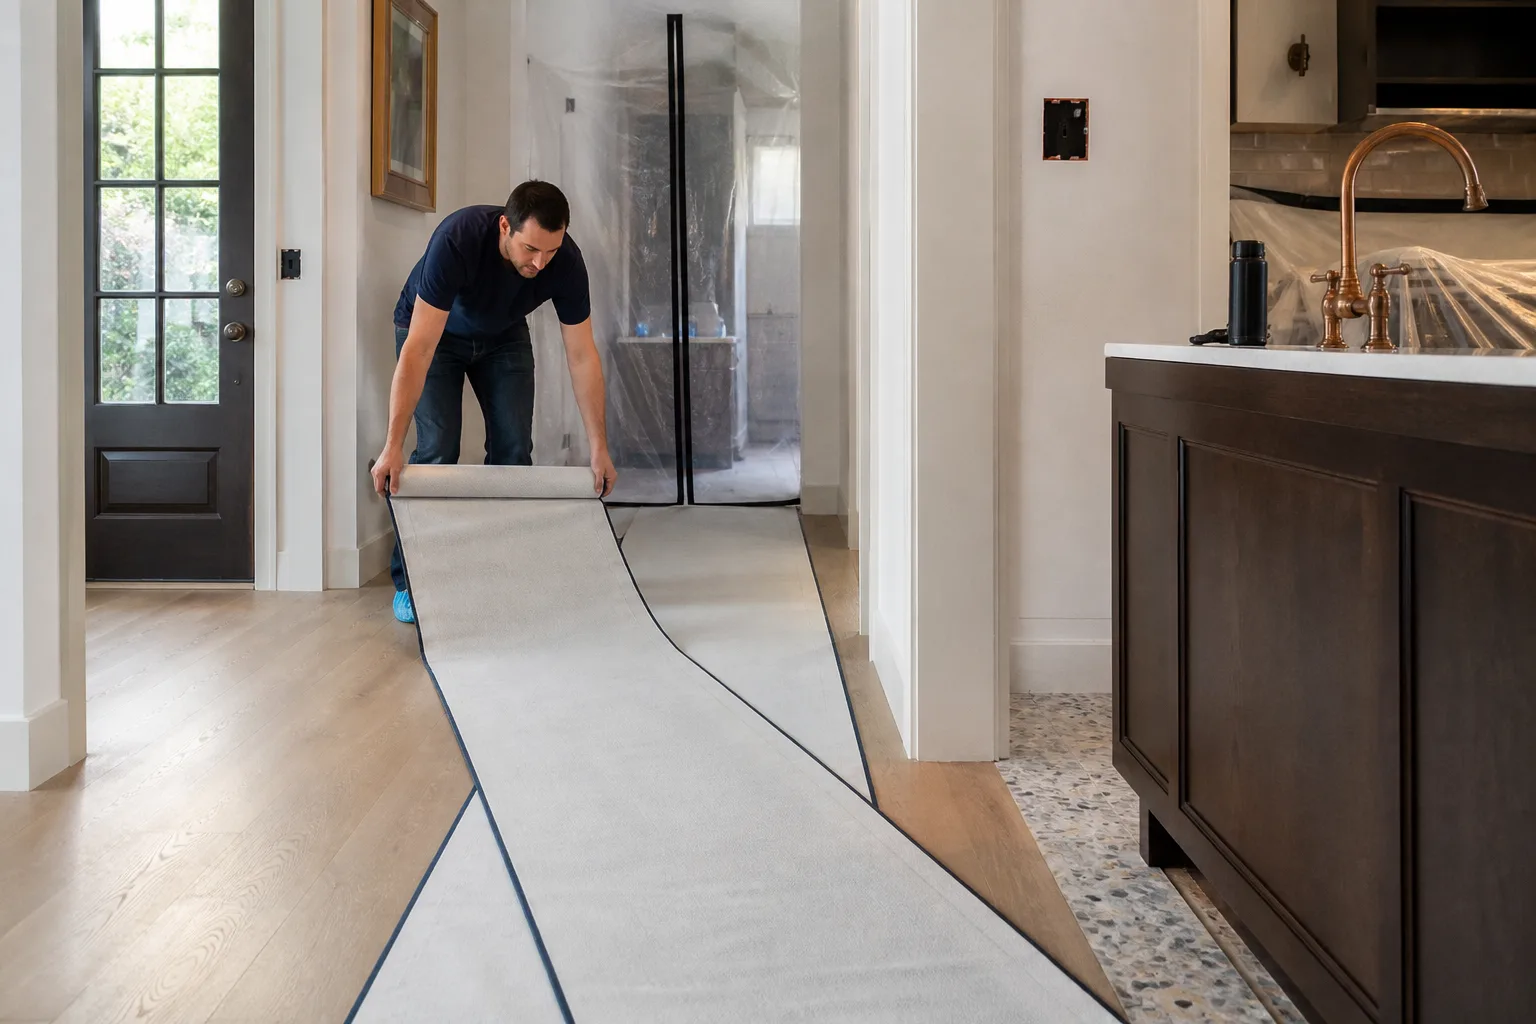
- Empty the room and clear access to the work area. Moving furniture, covering floors, and taping off doorways saves the crew logistic time and protects your belongings.
- Remove interior trim, casing, and baseboards around the openings. This is a pry-bar job and doesn’t affect the envelope. Set the pieces aside labeled by room if you plan to reinstall them.
- Remove interior window treatments and hardware. Blinds, curtain rods, and interior door hardware are simple takeoffs.
- Handle the painting after installation. Interior paint on the new casing and door face is finish work, not technical work. If you’re confident with a brush, do it yourself.
- Reinstall interior trim after the install is signed off. Casing and baseboard reinstallation can happen after the crew leaves, so long as you’re not covering or compromising the flashed boundary at the window jamb.
What stays with the professional still stays with the professional: removing the old unit, the flashing sequence, the frame setting and shimming, the Title 24 compliance documentation, the exterior siding and stucco closure, and the final inspection sign-off. That division of labor is the honest hybrid. Any contractor offering to let the homeowner handle the flashing to save money is a contractor worth walking away from.
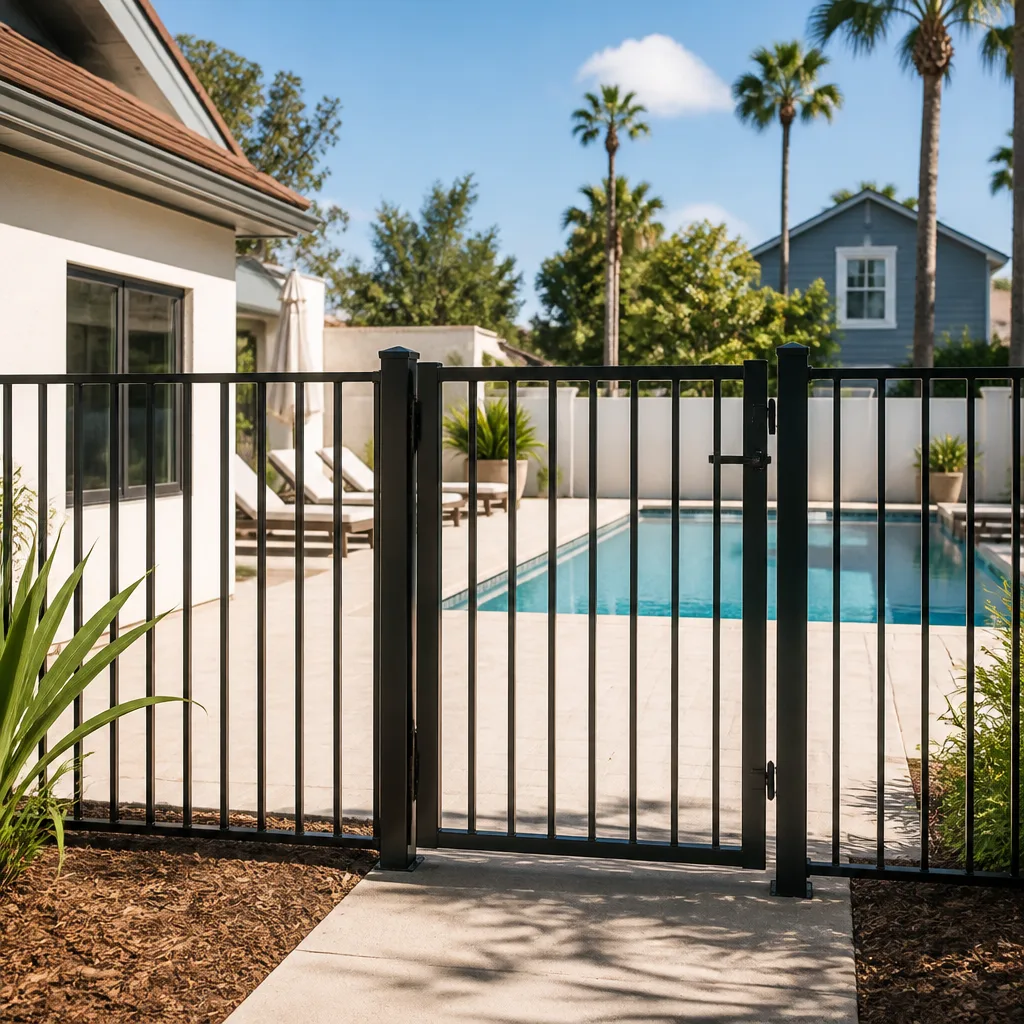
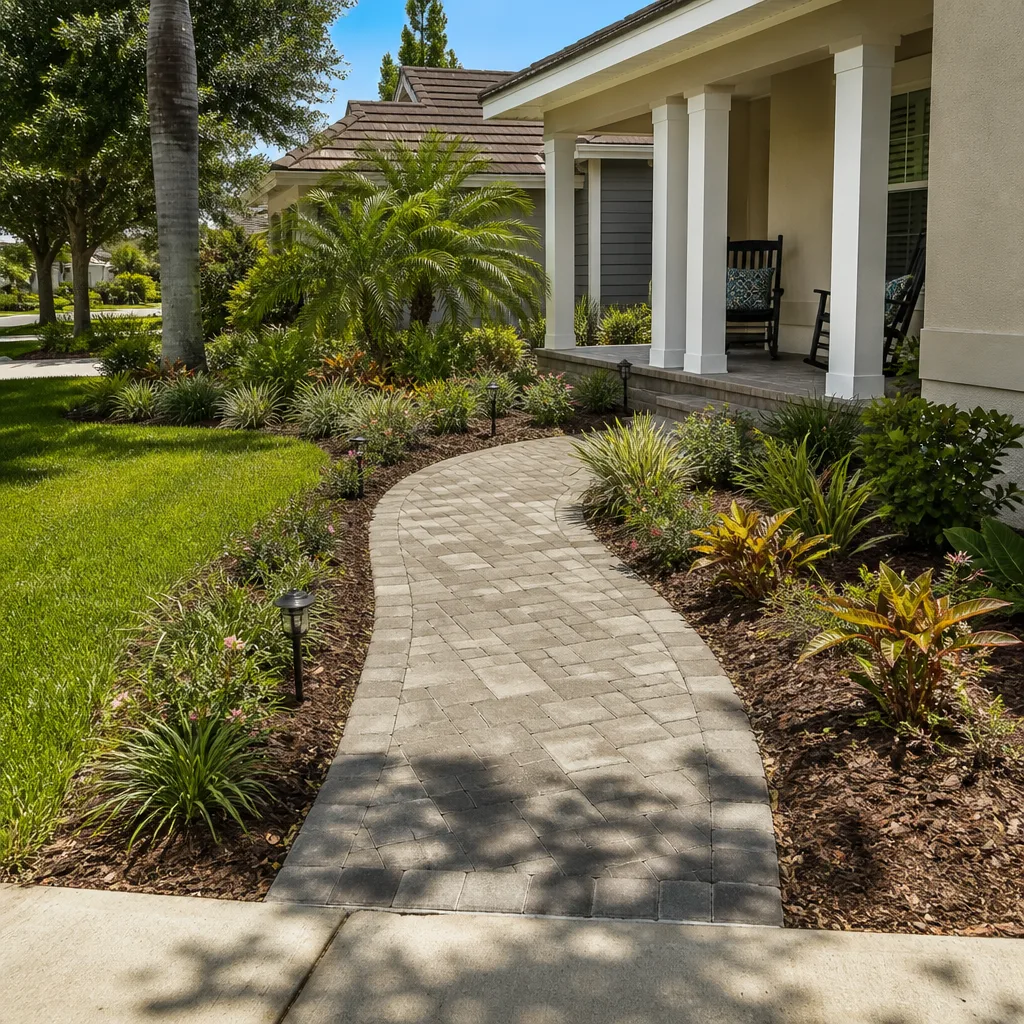
The hybrid also applies to accessories around a window or door project. If you’re replacing a back door and want a new paver patio under it, you might take on the patio prep yourself while a professional handles the Driveway & Pavers in Inglewood scope. Same with privacy fencing near a new slider: a new gate is a good hybrid addition to a door replacement, and the Fence Installation in Inglewood team can coordinate with the door crew on timing. Larger projects, like converting a garage to a guest suite with new windows and an exterior door, cross into full-scope work and belong with the crew handling your Home Additions & ADU in Inglewood project.
Common Mistakes to Avoid
- Assuming like-for-like window replacement is a “lesser” project. Every exterior window replacement opens the wall to weather and requires a permit and Title 24 documentation in Inglewood. If it touches the envelope, it’s a compliance project.
- Skip the permit because the work is small. Unpermitted window and door work in Inglewood becomes a disclosure item at sale and sometimes a re-inspection cost. The permit is a fraction of the project cost and often the cheapest part of the job.
- Trust the window’s NFRC label as the whole Title 24 story. The label describes the product. The compliance document describes the project. Only one of those is what the inspector actually checks.
- Reflash a leaking window without diagnosing the wall. By the time you see peeling paint near a window, the sheathing behind it may already be saturated. Re-flashing a wet wall seals moisture in.
- Buy the door before you measure rough openings in three places. Entry doors and pre-hung units often fail at install because the rough opening sags or racks out on an older home. Measure the top, middle, and bottom of the opening, and don’t order until they agree.
- Paint over the interior casing before the installer signs off. A good crew will touch up casing after install. Painting first means any shim adjustment or trim adjustment shows.
- Dismiss the voided warranty until you need it. A warranty is only as valuable as the day you file a claim. Read the installation section before you buy a single window.
When to Call a Professional
Call a professional the moment your project involves removing or opening any exterior wall, adding a new window or exterior door, hitting a Title 24 compliance question, or dealing with a wall that’s already showing signs of moisture intrusion. Also call if you’re within five years of selling, planning to refinance, or dealing with an older Inglewood home whose weather barrier is uncertain – replacing a window over a compromised barrier is how a small job becomes a structural repair. Groundwork Construction Co. of Inglewood offers free estimates in Inglewood. Call (833) 842-7204, and a live person will take your call and set up the estimate at your convenience.
See the difference
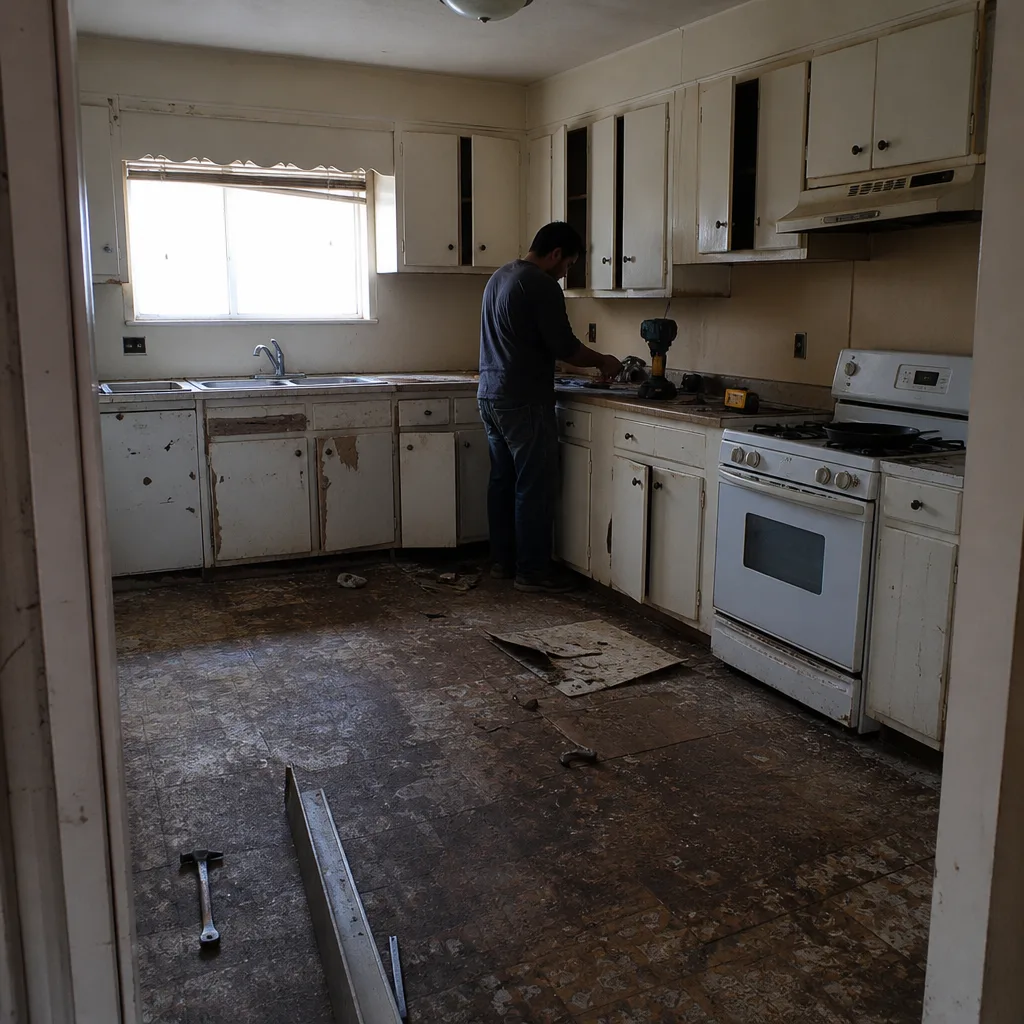 Before
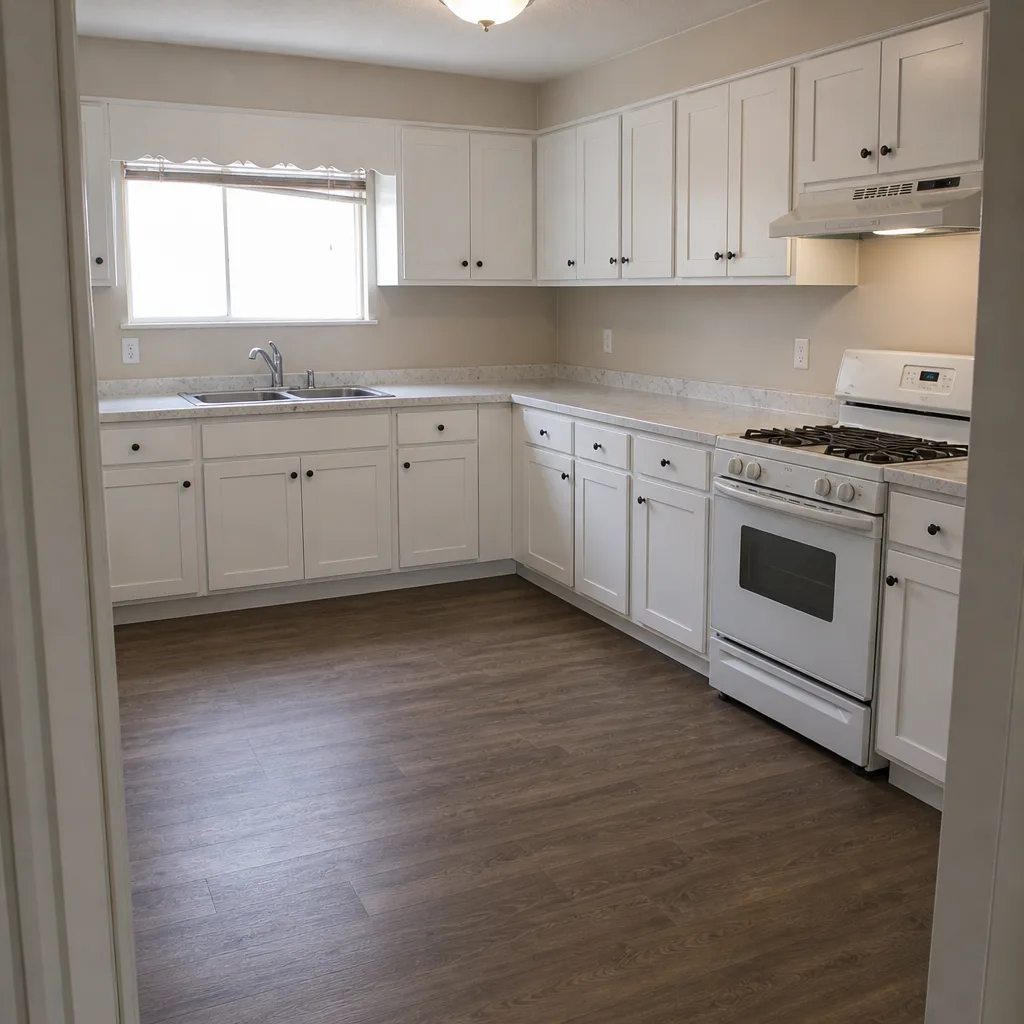 After
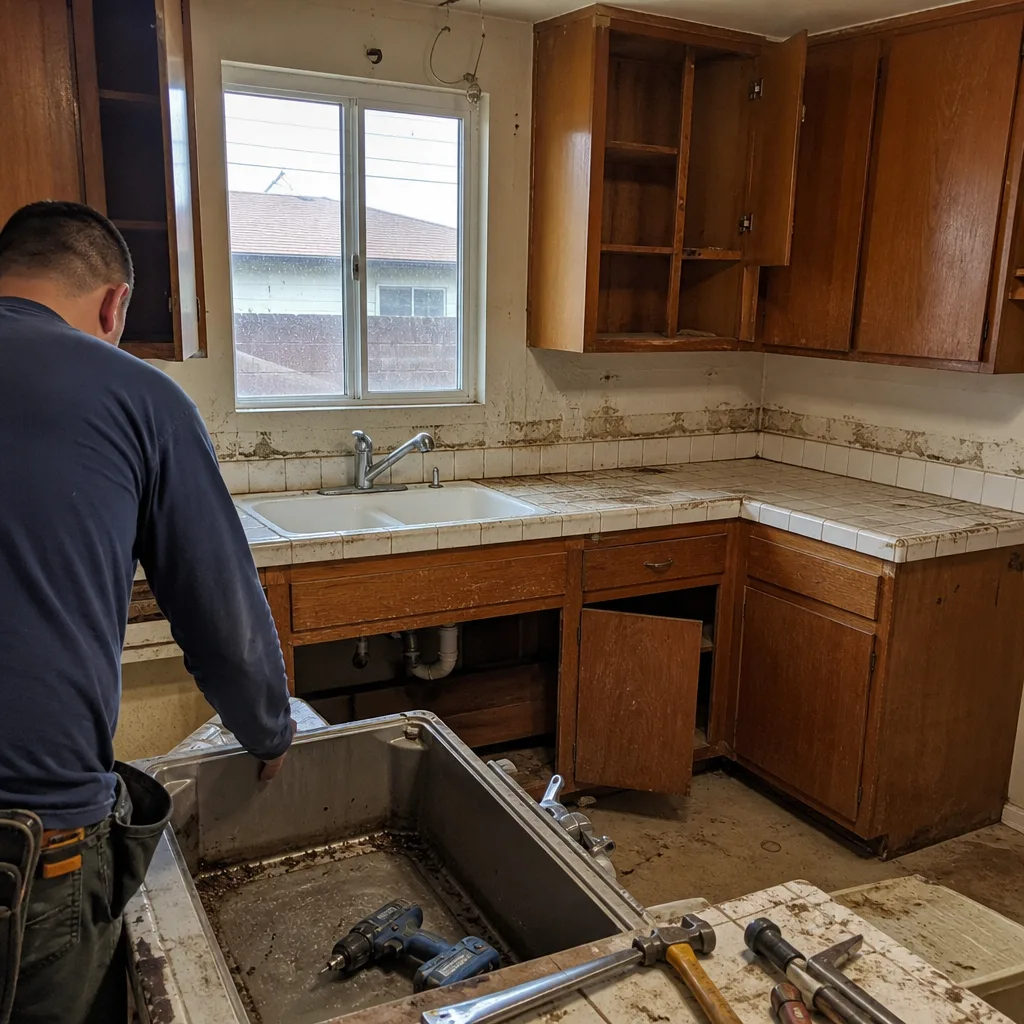 Before
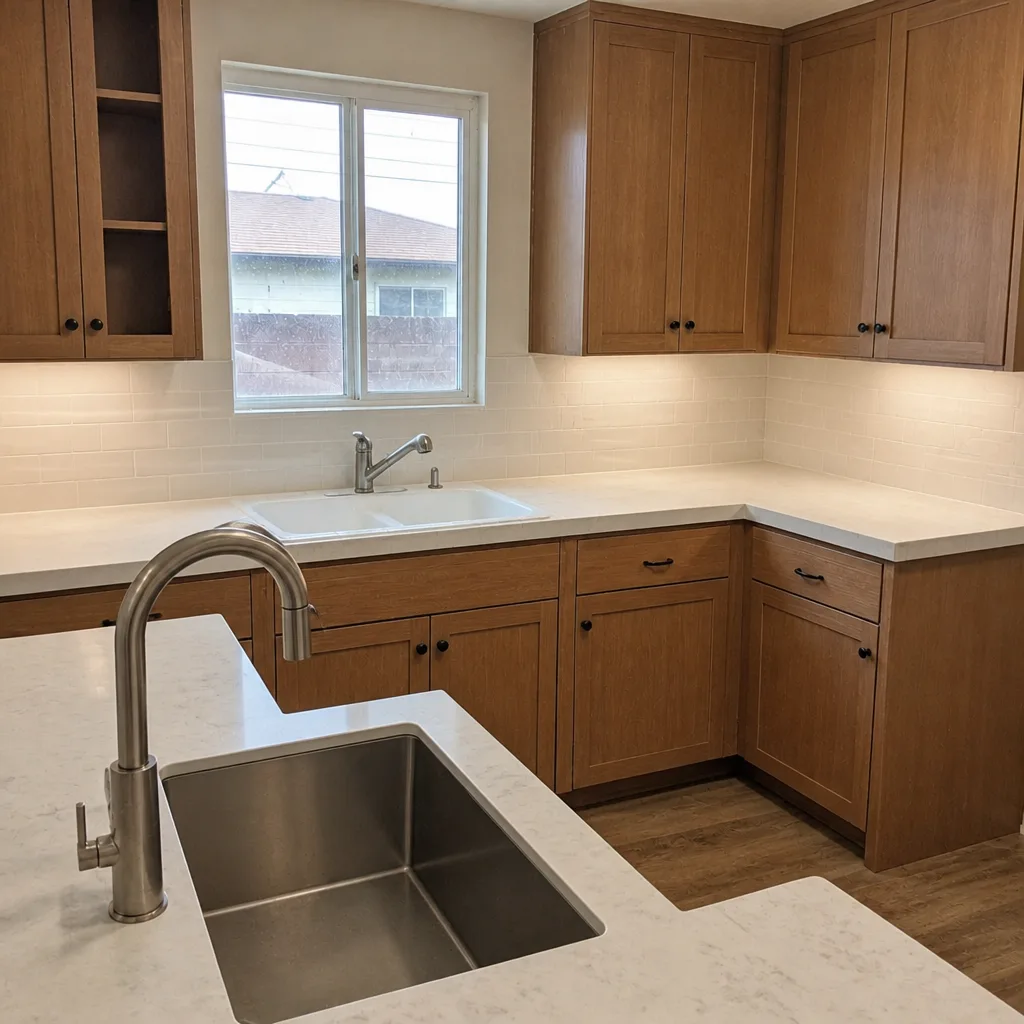 After
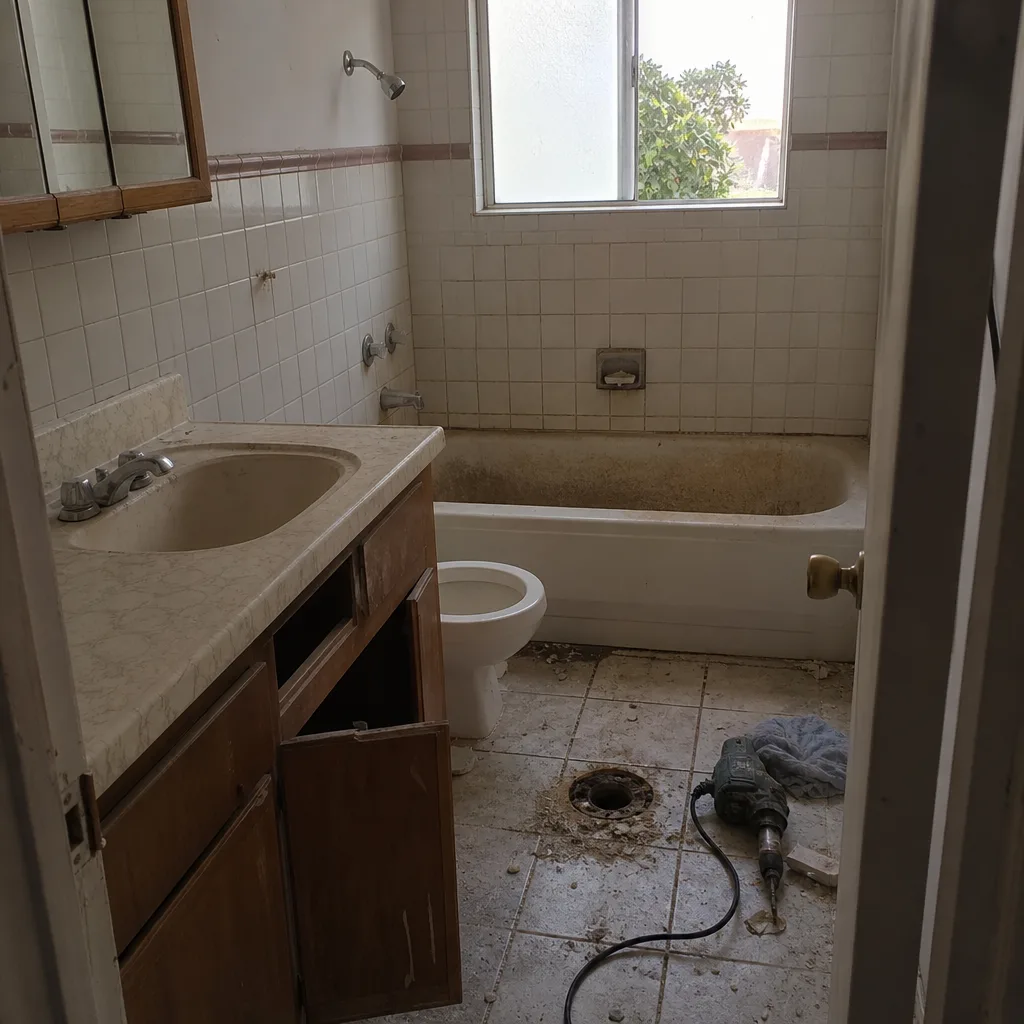 Before
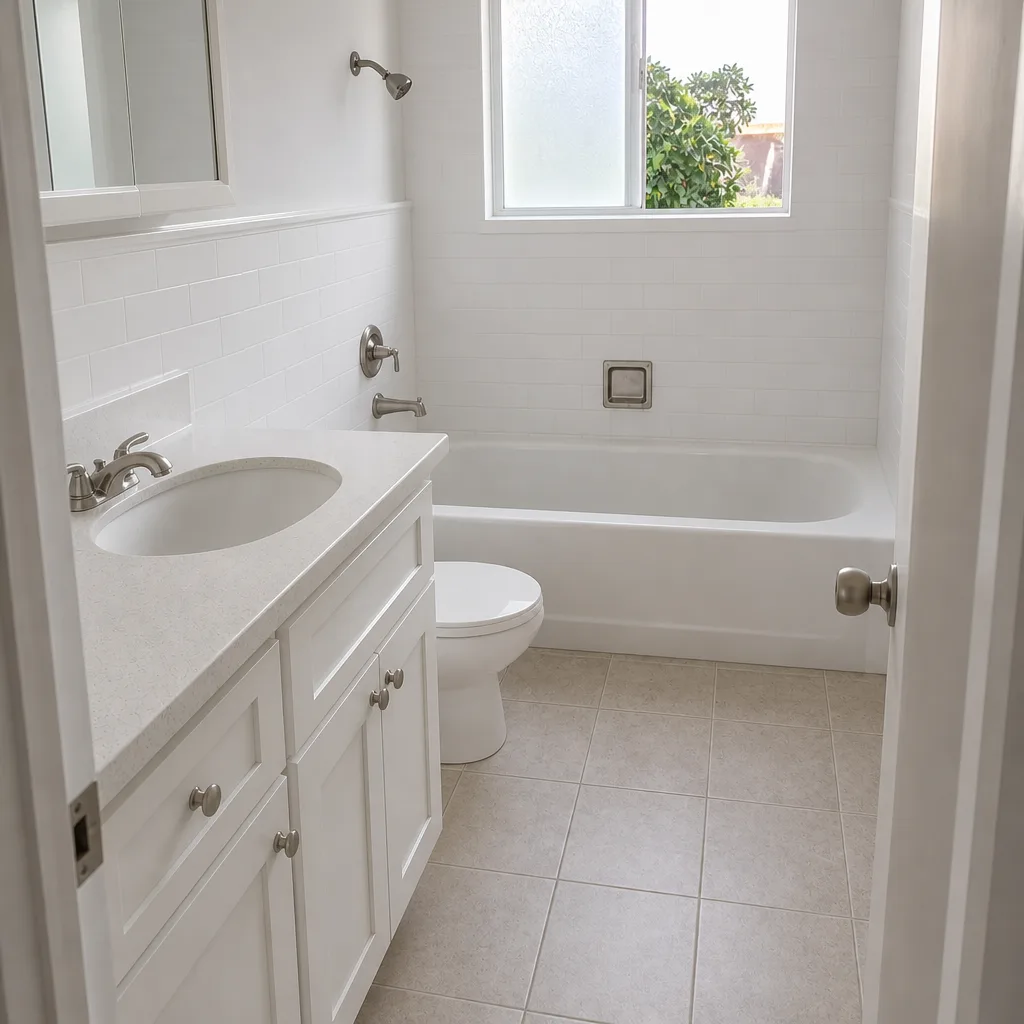 After
Frequently Asked Questions

Yes. Interior door replacement in Inglewood is a safe DIY project for a careful homeowner, as long as the rough opening already exists and you’re not moving the door’s location on the wall. Measure the opening at the top, middle, and bottom for width and height, buy a pre-hung slab, and set it with shims. Call (833) 842-7204 if you’d rather have it done and warrantied instead – estimates are free.
No. Window replacement in Inglewood requires a permit and title 24 compliance documentation, even when the replacement is the same size and location as the original window. The permit and compliance path are separate from the product rating, and skipping them creates a disclosure problem at sale. Call (833) 842-7204 to schedule a free estimate on a permitted installation.
Window installation pricing in Inglewood depends on the size, glazing package, brand, and existing wall condition, with most single-window projects falling in a few-hundred-to-low-four-figure range per opening depending on scope. The quote should be itemized and fixed before work begins – our numbers are upfront and written. Call (833) 842-7204 for an exact quote on your specific windows.
Usually not the product warranty, but almost always the installation and envelope warranties. The removal and reinstall costs after a leak, and any wall repair the moisture causes, are void from day one when installation falls outside manufacturer-approved installer requirements. That damage typically runs into the thousands after two or three wet seasons. Call (833) 842-7204 to keep the full warranty intact.
Most single-window replacements take a half day, and whole-home replacement on a typical Inglewood home runs several days depending on the number of openings and whether exterior stucco blending is involved. The permit timeline depends on the local jurisdiction, not the crew. Call (833) 842-7204 and we’ll walk through a schedule matched to your project.
Yes. Groundwork Construction Co. of Inglewood offers 0% financing for 18 months and a $1,000 discount on projects over $10,000, alongside a free project estimate and design consult. That makes a full window replacement on an older Inglewood home easier to plan without raiding savings. Call (833) 842-7204 and we’ll include the financing options in your written estimate.
The Bottom Line
The DIY-safe zone for windows and doors is narrower than the internet makes it look. Interior doors, hardware, and trim: yes. Exterior doors, window replacement, flashing, and anything that opens the building envelope: no, and Inglewood’s Title 24 requirements make the “no” sharper because the compliance path is a documentation exercise as much as an installation one. The real cost of crossing the line isn’t the labor savings you gave up – it’s the voided installation warranty and the wall cavity damage that shows up two or three years later. The smart play is the hybrid: you prep, clear, and finish; a licensed professional handles the envelope, the permit, and the inspection. That’s how you get a window you can actually trust ten winters from now. Groundwork Construction Co. of Inglewood home outlines the full scope if you want to see how window and door work fits into a larger project on the same property.
Ready to price it out without the guesswork? Call Groundwork Construction Co. of Inglewood at (833) 842-7204 for a free estimate. Calls are answered by a live person, 24/7, pricing is upfront with no surprises, and every installation is covered by the 730-Day Done Right Promise – if it’s not done right, we make it right. Our technicians have up to 12 years of experience, work with trusted brands like Andersen and Marvin, and every project is built to last and backed in writing.
Written by the team at Groundwork Construction Co. of Inglewood.