Last updated November 18, 2026



Free written scope consultation - allowances, timeline, and change-order rules on paper before a single trade is scheduled
Home Additions & ADU Maintenance Schedule: What to Do and When
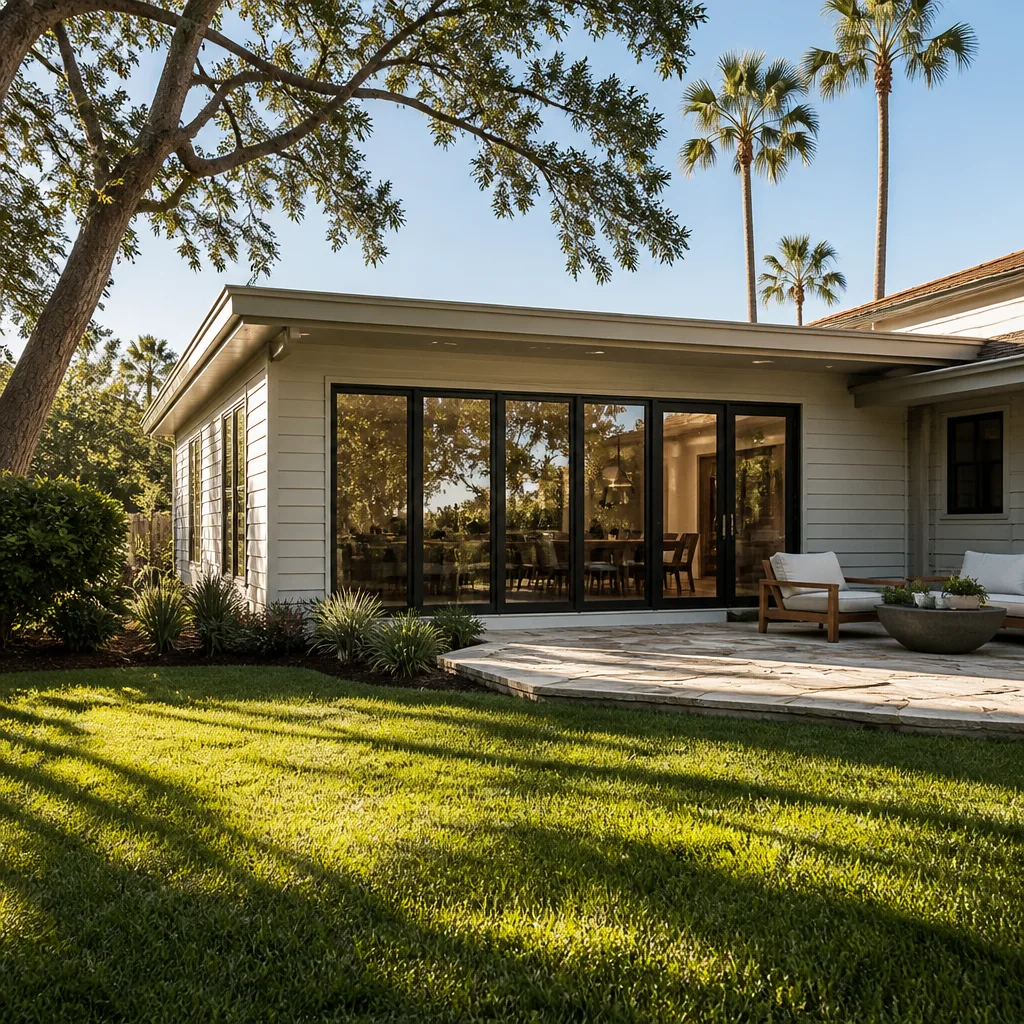
The junction between your new addition and your original house is the highest-maintenance square foot on your entire property, and almost nobody tells you that at the final walkthrough. Every builder walks you through the paint, the outlets, the fixtures. Almost nobody hands you a calendar. But a new addition and an ADU age on a different clock than the house they’re attached to or the lot they sit on. Caulk shrinks, grading shifts, expansion joints open, and small HVAC systems work harder than they should. What follows is the maintenance schedule we’d hand a homeowner if the walkthrough were the only chance we got. It’s what we’ve learned finishing additions across Inglewood.
Quick Answer
Run a first-year calendar: inspect caulk and expansion joints at 1, 6, and 12 months; check roof valley flashing at tie-ins twice yearly; re-grade drainage after the first rainy season; service mini-split and HVAC filters quarterly and professionally once a year; and keep a written maintenance log for any renter-occupied ADU. After year one, move to a spring-and-fall inspection routine focused on the addition’s connection points, not the whole house.
Styles & brands we work with
- Kitchen remodeling
- Bathroom remodeling
- Home additions & ADU
- Roofing
- Windows & doors
- Driveway & pavers
- Fence
Table of Contents
- Why a New Addition Maintains Differently Than Your House
- The First 12 Months: A Month-by-Month Calendar
- The Three Connection Points That Fail First
- Roof Valley Flashing at Tie-Ins
- Foundation Transition Monitoring
- Mini-Split and HVAC Care for ADU Units
- Exterior Drainage After the First Rainy Season
- Maintaining a Renter-Occupied ADU
- The Annual Routine After Year One
Why a New Addition Maintains Differently Than Your House
Your original house has had decades to settle. It’s done most of the moving it’s going to do. A new addition hasn’t. It carries fresh lumber, fresh concrete, and fresh connections to a structure that has been sitting in the same spot for a long time. Those two halves move at different rates for the first year or two, and that differential shows up in very specific places: the caulk line where the walls meet, the joint where the foundation transitions, the flashing at the roof tie-in.
There’s also a climate factor here. Inglewood sits close enough to the coast that marine-layer humidity swings are gentle compared to inland neighborhoods, but we still get warm, dry Santa Ana stretches and cool, damp stretches in the same year. That’s exactly the cycle that opens caulk joints and drives small movement at expansion seals. Structures two miles inland in Westchester or further east in the Crenshaw corridor can behave a little differently than one near the Inglewood border at Ladera Heights, and it matters when you’re deciding how often to inspect.
And an ADU has its own maintenance profile on top of that. It’s a smaller structure with its own mini-split, its own drainage, its own grading, and often its own resident. If you don’t live in it, you won’t notice a slow leak or a filter that needs changing until it’s an expensive problem. We’ve seen additions and ADUs across Inglewood where a skipped year of caulk and filter checks turned into a repair bill that should have been a fifteen-minute inspection.
The First 12 Months: A Month-by-Month Calendar
The first year is when the addition is most active. It’s still settling, the caulk is still shrinking into its final position, the grading hasn’t locked in, and the mechanical systems have just been commissioned. Here’s the calendar we recommend, and it’s the one we work from on every Home Additions & ADU in Inglewood project.
- Month 1: Walk the exterior after the first heavy rain. Note anywhere water pools against the addition footprint. Check the expansion joint caulk at the wall-wall and wall-foundation connections. Change the mini-split filter.
- Month 2: Re-check caulk lines at the tie-in for shrinkage. Look at the roof valley flashing at the tie-in for any lifting or gaps. Confirm the ADU’s downspouts are discharging away from the foundation.
- Month 3: Second filter change on the mini-split. Inspect the interior for any new hairline cracking at drywall seams adjacent to the connection. These are usually normal settling, but document them.
- Month 4-5: Check the transition joint at the foundation where the addition meets the original slab or perimeter. Look for widening gaps or new movement indicators. Re-grade any low spots before summer heat bakes the soil in place.
- Month 6: Full inspection. Caulk, flashing, foundation transition, filter, drainage. This is the midpoint check where the addition has typically done most of its settling.
- Month 7-8: Summer heat cycle. Watch for expansion joint movement and any silicone or polyurethane caulk cracking. Re-caulk any failed joints before fall rains.
- Month 9-10: Pre-rainy-season grade inspection. Make sure soil around the addition is sloped away from the foundation. Clear any debris from drainage paths.
- Month 11: Filter check, second-to-last of the year. Confirm the ADU’s mini-split is draining condensate correctly.
- Month 12: One-year anniversary inspection. Full re-caulk of any joints that have opened. Roof and flashing review. Foundation transition review. Drainage review after the first full wet season. This is where you know what your structure is actually doing.
One detail that gets skipped: document each of these checks with a photo and a few notes. If a warranty issue ever comes up, a photo from month 1 next to a photo from month 12 tells the whole story. It also tells you when a small caulk gap was normal settling versus something more.
The Three Connection Points That Fail First
Nearly every maintenance issue on a new addition traces back to one of three places. If you track these three and nothing else, you’ll catch most problems.
1. The expansion joint caulking
Where the addition meets the original house, there’s a controlled gap that’s supposed to be filled with flexible sealant. That sealant shrinks as it cures, then expands and contracts with temperature changes. It’s designed to allow movement, and that movement is what eventually opens the sealant. We tell homeowners to expect to re-caulk this joint at least once in the first year, then every two to three years after that depending on sun exposure. A joint on the sunny south side of an Inglewood addition will break down faster than one in shade.
2. The roof valley flashing at the tie-in
Where the addition’s roof meets the original roofline, water from both planes concentrates into a valley. The flashing in that valley is doing more work than any other flashing on the structure. If it lifts slightly from movement, or if debris builds up behind it, water has an opening. We check that valley twice a year, always in late fall before the rainy season and again in spring.
3. The foundation transition
Where the addition’s slab or perimeter meets the original foundation, there’s a transition joint. It’s designed to move slightly and shouldn’t crack, but it’s worth watching. A widening gap, a visible offset, or a change in how the joint looks after the first wet season means it’s worth a closer look. In Inglewood’s older neighborhoods, where original foundations date from a wide range of eras, the behavior of that transition depends on what the original house was built on. That’s why monitoring rather than assuming is the answer.
Roof Valley Flashing at Tie-Ins
Of all the trouble spots on an addition, roof valley flashing at the tie-in is the one where a small failure gets big fast. Water concentrating from two roof planes finds any opening and drives it against the deck. Left alone through a wet season, you’ll find it as a ceiling stain inside the addition, and by then the repair is more than a flashing check.
Here’s the practical routine we recommend to an Inglewood homeowner. Two inspections a year, one in October before the rains and one in April after them. At each one:
- Look up into the valley from the ground with binoculars. Confirm the flashing sits flush against both roof planes with no visible lift.
- Look for debris buildup behind the flashing. Leaves and grit from street trees are common in Inglewood and lodge in valleys quickly.
- Check for rust spots, dents, or any visible nail heads popping through. Nail heads backing out is one of the earliest signs of movement.
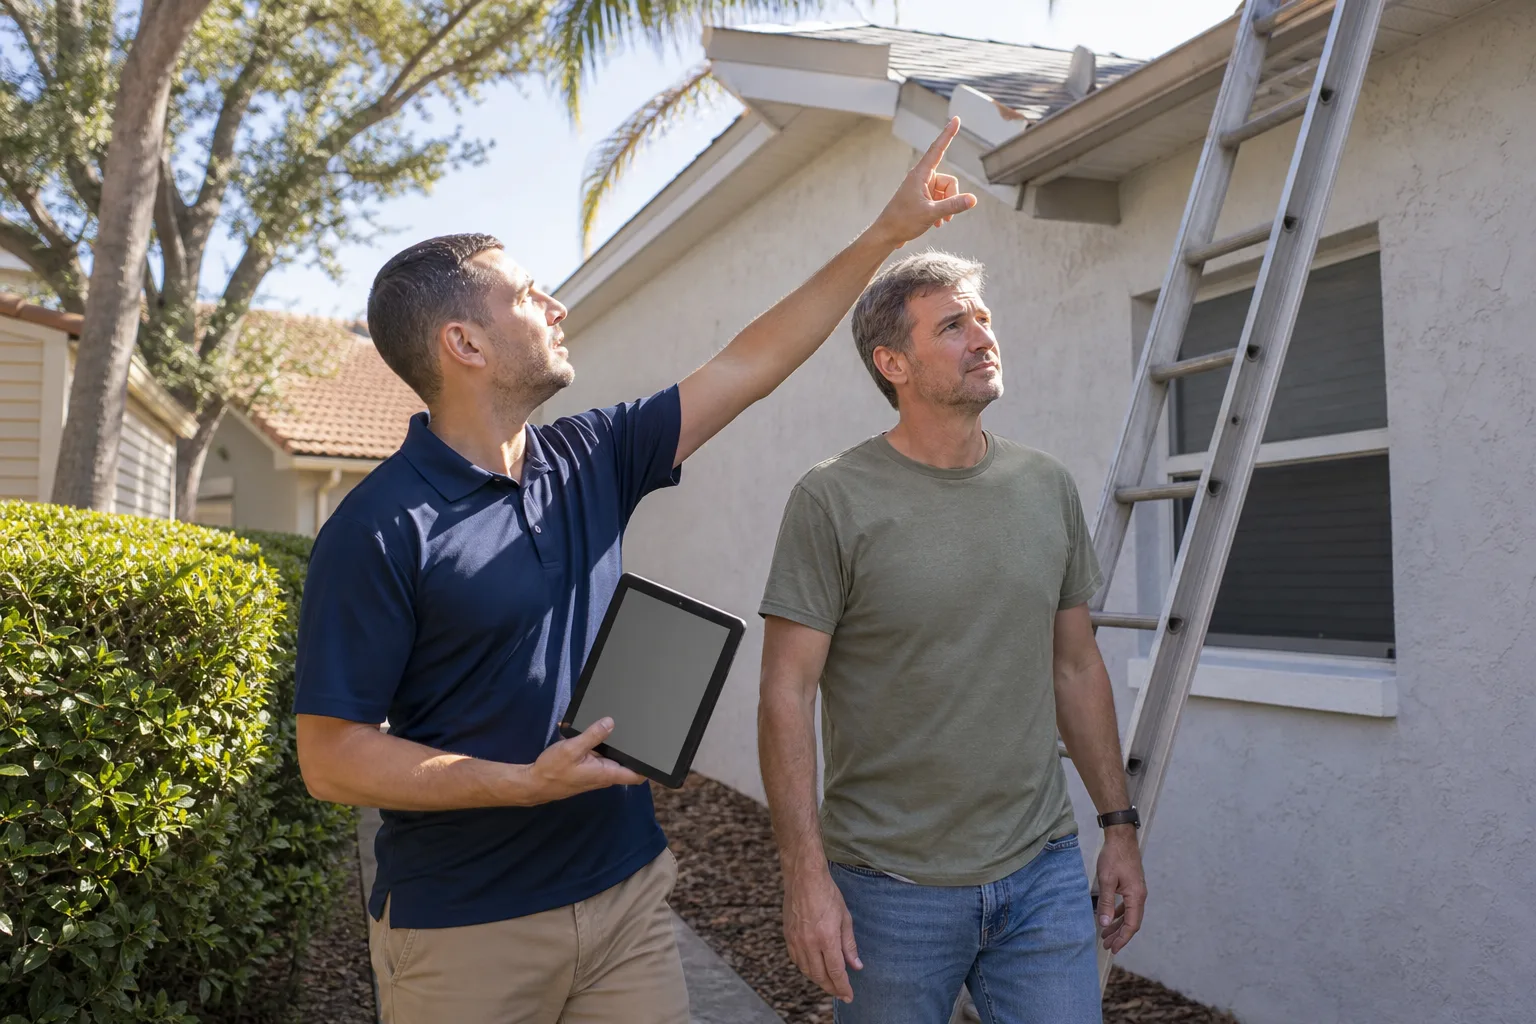
- Have a roofer or qualified professional do a proper roof-level inspection if you see anything concerning. Valleys and tie-ins are not the place for a homeowner climb.
Roofs are a job for trained professionals, not a homeowner on a ladder. If something looks off, get someone up there who knows what they’re looking at. That’s a safety point we don’t soften. Our technicians handle roof-related inspections routinely on Groundwork Construction Co. of Inglewood home projects, and we’ll tell you the truth about what we find.
Foundation Transition Monitoring
You don’t need to do anything to a foundation in normal circumstances. Monitoring is the job. The transition joint between a new addition and an existing structure is where you watch for change.
What to look for:
- Gap width: Note the width of the caulk line or visible gap at the transition. Photograph it. If it widens significantly over six months, that’s worth a call.
- Vertical offset: If the addition’s slab edge or perimeter visibly steps up or down relative to the original, that’s a movement signal.
- Interior evidence: Hairline drywall cracks near the connection are almost always normal settling. Cracks wider than a credit card, doors that stop latching, or cracks that reappear after being patched are not normal and warrant a professional look.
- Exterior water: Water pooling against the addition’s foundation is the single biggest avoidable cause of movement. Fix the grading and drainage before anything else.
Inglewood’s older housing stock means original foundations run the gamut: raised wood, slab-on-grade from multiple eras, and pier-and-beam in some blocks. When we design and build an ADU or home addition, we look closely at what the original structure is doing before we tie into it, because the transition joint has to accommodate both sides. Once it’s built, monitoring tells you what your specific structure is doing, and no two are identical.
Mini-Split and HVAC Care for ADU Units
An ADU’s mini-split is usually a smaller system relative to what’s in your main house, and it runs a similar amount of work. Smaller system, similar demand: that’s a harder-working unit. Add Inglewood’s mild-but-variable climate (cool marine nights, warm inland afternoons) and the system cycles more than a house system that stays closer to a set temperature.
The maintenance routine:
- Filters every 60-90 days. Monthly if a renter is running the unit hard in summer. Clogged filters are the number one cause of poor performance and early compressor wear.
- Coil cleaning twice a year. Inglewood’s tree canopy means pollen and grit, and an outdoor condenser coil that’s dirty runs hot and inefficiently.
- Condensate line check quarterly. The mini-split drains condensation, and a blocked drain line means water where it shouldn’t be. Usually inside the ADU. Check it as part of the filter change.
- Professional service once a year. A proper HVAC technician should check refrigerant charge, electrical connections, and overall system health. This is a small annual cost against a large system replacement.
If the ADU shares a system with the main house (some additions use extended ductwork instead of a separate unit), the filter schedule applies to the whole system. If it’s a separate mini-split, it has its own schedule that runs on its own clock. It’s easy to forget the ADU entirely when you’re the one paying the bill but not living in the space.
Exterior Drainage After the First Rainy Season
Grading around a new addition looks done when it’s finished, but it doesn’t fully stabilize until after at least one wet season. The soil needs to settle, compact, and get tested by actual runoff. That’s why we build in a drainage re-inspection at the twelve-month mark and often at the six-month mark.
What to check:
- Positive slope away from the foundation. Walk the perimeter after a heavy rain. If water stands within a foot or two of the addition’s foundation for more than a few hours, that’s a grade correction.
- Downspout discharge. Every downspout should move water at least a few feet away from the foundation. Splash blocks, flexible extensions, or buried drainage. Not into a low spot six inches from the wall.
- Soil settlement. If you see a dip or depression along the addition’s perimeter, fill it and re-grade. Soil settles, especially in newer fill areas.
- Drainage swales. If you have a graded swale carrying water around the addition, confirm it’s still doing its job. Vegetation and debris can block it.
- Pavers and hardscape. If the addition includes a patio, walkway, or pavers, check them for settlement after the first wet season. This is where working with Driveway & Pavers in Inglewood pays off, because proper base prep is what keeps pavers stable through seasonal moisture swings. We work with Belgard, Unilock, and Tremron for exactly this reason.
Fence lines along the addition perimeter are worth a look too. A fence post set in soil that’s still settling can shift; check and adjust as needed. If you’re planning Fence Installation in Inglewood around a new addition, bring the grading question up at the estimate stage.
Maintaining a Renter-Occupied ADU
Here’s the problem with a renter-occupied ADU: nobody in that unit owns the structure. Renters report what affects their day-to-day, not what affects the building envelope. A renter will call about a broken heater. They usually won’t call because the caulk line on the outside south wall is opening up. So the maintenance has to run on a schedule you control, not a schedule set by complaints.
Use a written log. It’s the simplest thing that separates a well-maintained ADU from a slowly-degrading one.
ADU maintenance log template
Create a simple document (a shared spreadsheet works) with these columns:
- Date of the check
- Area checked (exterior caulk, roof flashing, foundation transition, mini-split filter, condensate drain, grading, downspouts, interior seams)
- Condition (OK, watch, needs repair)
- Action taken (re-caulked, cleaned, replaced, scheduled pro)
- Photo reference (file name or a link to photos taken)
- Next due date
Schedule yourself a reminder for the quarterly filter checks and the two roof/flashing inspections. Ask the renter to photograph anything they notice, but don’t rely on them for the structural inspections. The pattern we see is that renter-occupied ADUs in Inglewood and across the region accumulate deferred maintenance faster than owner-occupied ones simply because no one’s looking. A log fixes that.
Also, at each tenant changeover, do a walkthrough with the log open. Verify that nothing has been covered up or damage report missed. It takes an hour and protects the asset.
The Annual Routine After Year One
After the first year, the addition has done most of its settling. The routine simplifies. What you’re watching for now is deterioration from weather and wear, not active movement. Two full inspections a year do the job.
Spring inspection (April-May)
- Inspect roof valley flashing at the tie-in for debris, lifting, or wear after the wet season.
- Walk the caulk joints at the expansion joint. Re-caulk any that have cracked.
- Check the grading and drainage after the last rain. Correct any low spots.
- Service the mini-split and change filters.
- Look at interior drywall seams for any newly appearing cracks.
Fall inspection (October)
- Clear any debris from the valley flashing and downspouts before the rainy season.
- Re-check the expansion joint caulk as the material contracts in the cooling weather.
- Confirm the grading slopes away from the foundation and downspouts discharge properly.
- Change the mini-split filter and check the condensate line.
- Update the maintenance log.
That’s it. Two hours twice a year, plus a quarterly filter change, is most of what a new addition needs. We use 730-Day Done Right Promise timing on our additions, which means year one and year two are covered on workmanship. Documentation of these routine inspections is what makes that promise meaningful, because it separates a warranty issue from maintenance.
Common Mistakes to Avoid
- Skipping the first-rain inspection. The first heavy rain after finishing an addition is the single best diagnostic you’ll get. If you miss it, you miss information about drainage and flashing that you won’t get again until the next wet season.
- Treating the addition like the main house. A homeowner will service the main house HVAC religiously and forget the ADU’s mini-split entirely. The smaller system is working harder, not less.
- Ignoring the connection points. Most maintenance budget goes into the wrong places. The wall-wall joint, roof valley, and foundation transition are where nearly all real problems live. Look there first.
- Assuming caulk cracks mean structural movement. In Inglewood, sun exposure on the south side opens caulk quickly. A cracked joint in the caulk is normal and easy to fix. It’s the joint underneath that matters, and that’s what a professional inspection confirms.
- Letting soil settle without re-grading. Grading looks done at handoff, but after one wet season it needs a look. Left alone, a low spot against the foundation becomes a moisture problem.
- Relying on renters to report issues. Renters report what affects comfort, not structure. A renter-occupied ADU needs a written schedule, not a hope that they’ll notice.
- Climbing on the roof to check the flashing yourself. Roof valleys and tie-ins are not a homeowner inspection job. Get a trained professional up there. The risk of a fall isn’t worth the fifteen-dollar savings.
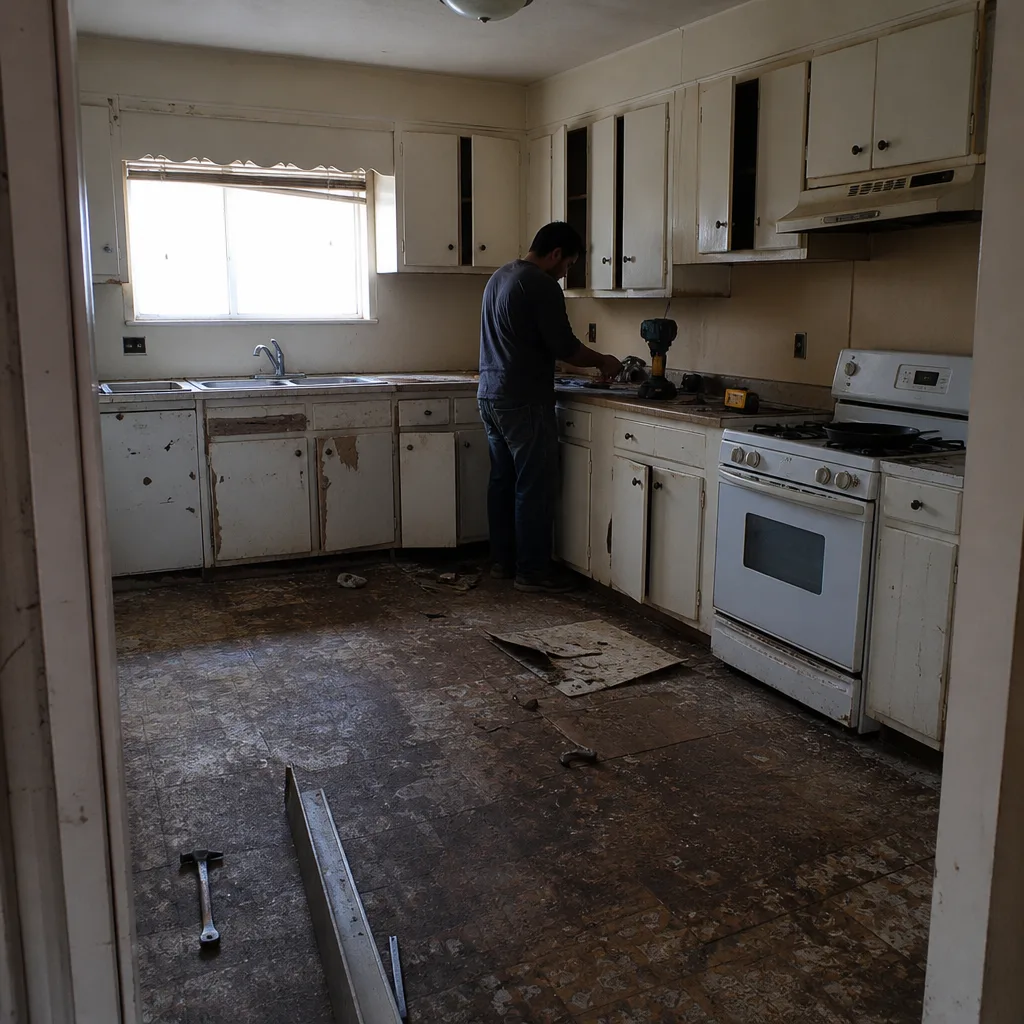
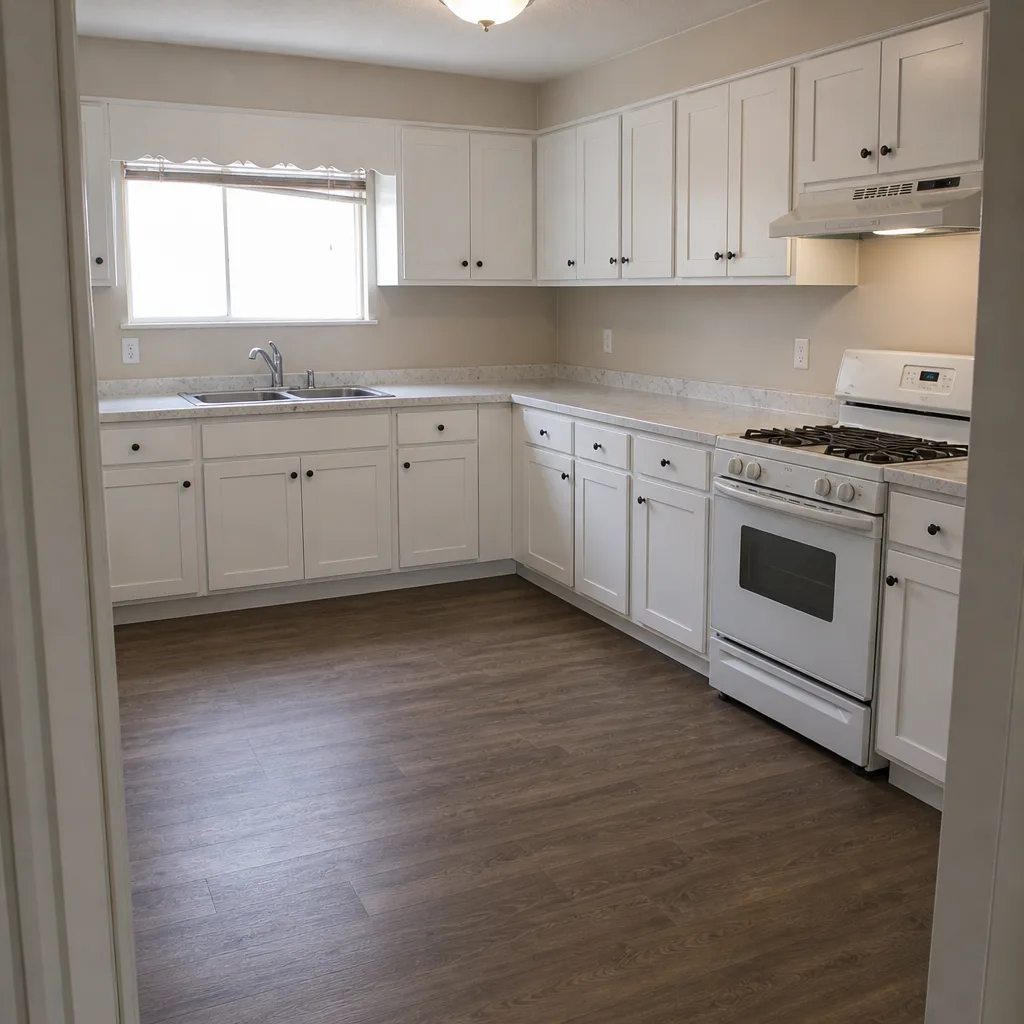
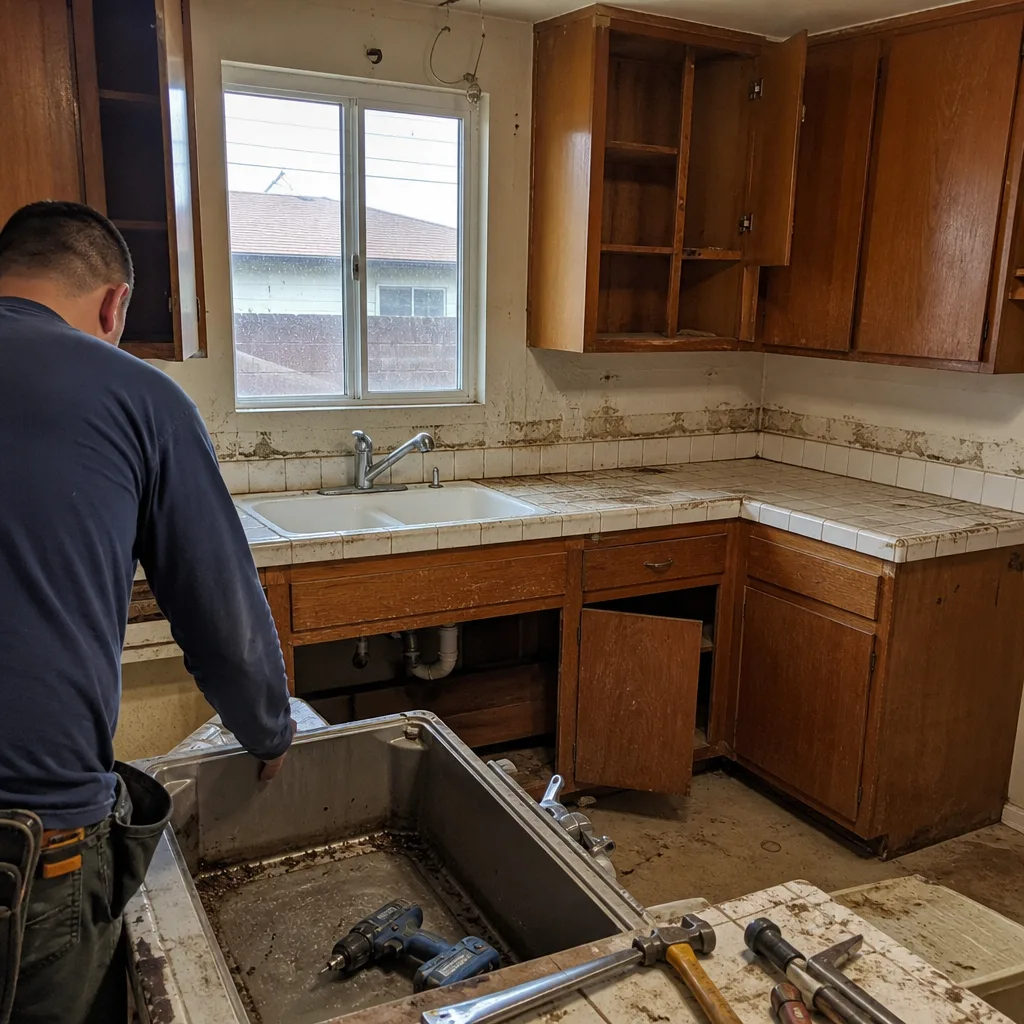
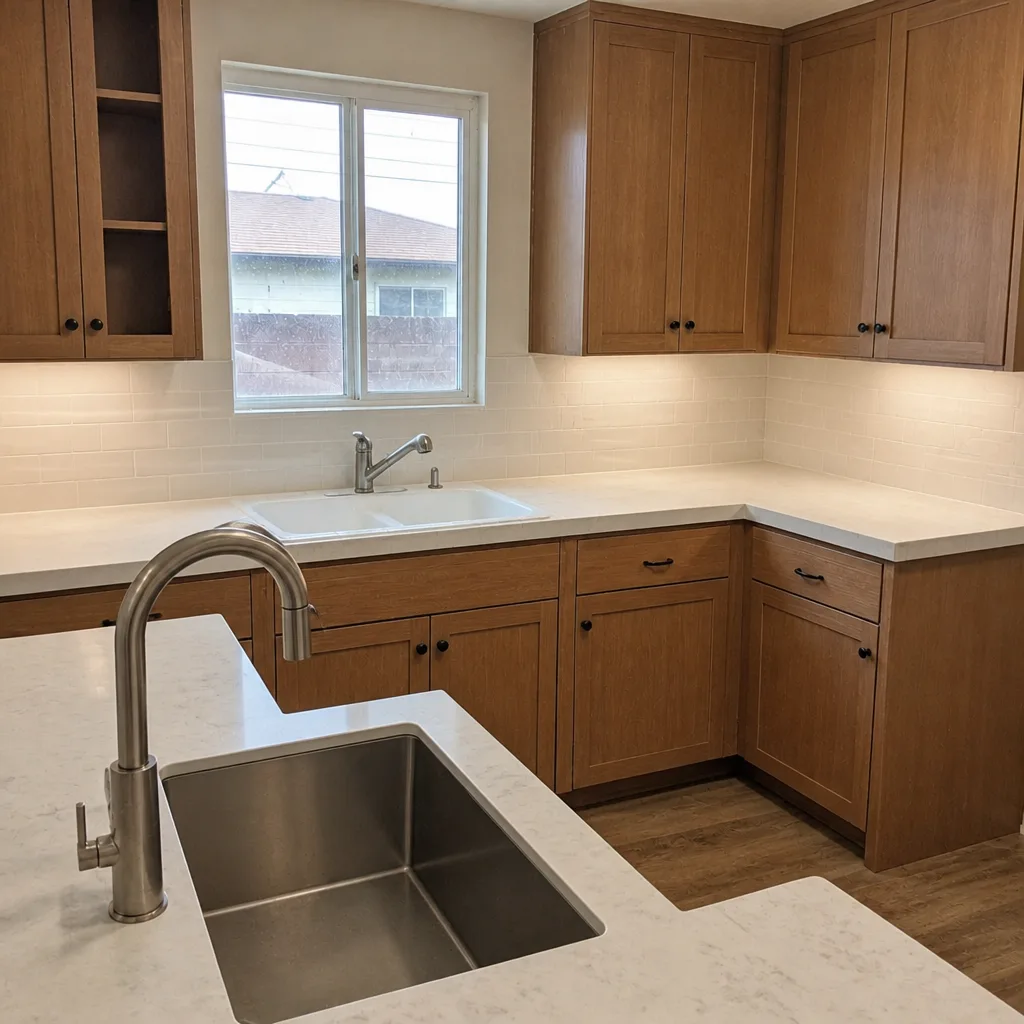
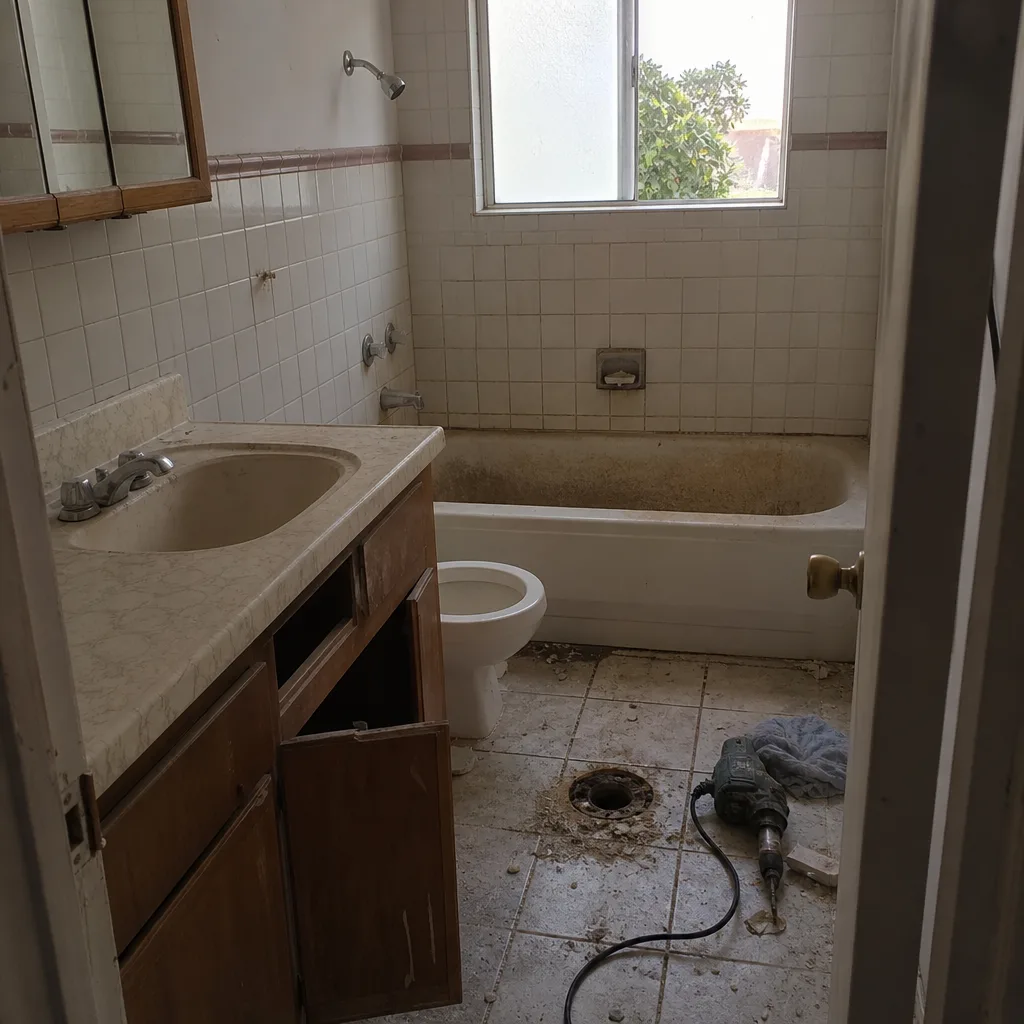
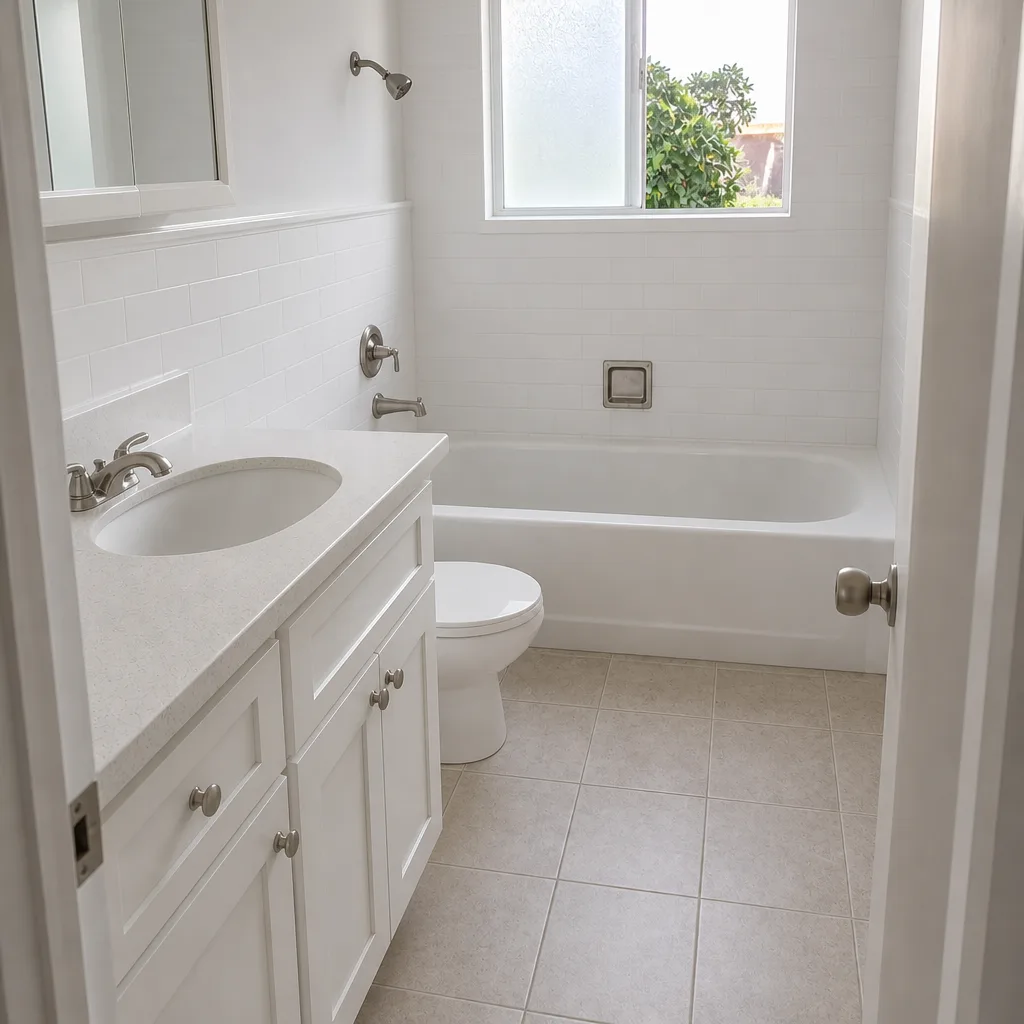
See the difference
 Before
 After
 Before
 After
 Before
 After
When to Call a Professional
Some of this you can do yourself: filter changes, caulk inspection, grading walks, drainage checks. Some of it you shouldn’t. Call a professional when you see any of the following: roof valley flashing that has lifted, cracked, or shows movement; water staining inside the addition; cracks at drywall seams wider than a credit card or that reappear after patching; a foundation transition that’s clearly widened; a mini-split that’s not cooling or heating as it should; or grading that leaves standing water against the addition after a rain. And call before the problem gets bigger. Small inspection findings are cheap. Small inspection findings ignored are not. If you’re in Inglewood and want a professional eye on your addition or ADU, Groundwork Construction Co. of Inglewood offers free estimates in Inglewood. Call (833) 842-7204.
Frequently Asked Questions
Every two to three months is the right cadence for hands-on checks of the connection points, with full professional-style inspections at month 6 and month 12. Photos from each check give you a baseline that a professional can look at when something changes. The first-rain inspection is the most important single date and shouldn’t be skipped.
Routine maintenance for an ADU in Inglewood typically runs $400 to $800 a year when you’re doing the filter changes, caulk touch-ups, and drainage checks yourself and paying for one professional HVAC service and one roof/flashing inspection. The cost is mostly in the professional visits, not the DIY checks. Skipping the professional visits doesn’t save money; it shifts cost to repairs, which are more expensive. Call (833) 842-7204 for an exact quote on a maintenance plan or a first-time inspection – estimates are free.
An attached addition shares climate and systems with the main house, while an ADU is a fully separate structure with its own HVAC, drainage, and often a different resident. That makes the ADU’s maintenance both more self-contained and easier to forget. If a renter occupies the ADU, you’ll need a written schedule, not a memory-based one.
Plan on re-caulking that joint in the first year, then every two to three years after that. Sun exposure drives the schedule. Joints on the south side of an Inglewood addition typically need it faster. Inspect at the spring and fall checks and re-caulk any joint that shows cracking or separation.
Often yes. The soil around a new addition settles after its first wet season, and the grading that looked perfect at handoff can develop low spots. Walk the perimeter after the first heavy rain and correct any spot where water stands. This is the single most common reason new additions see moisture issues in year two.
The Promise covers workmanship and stands for two years on our additions. Maintenance is separate: it’s the routine care a structure needs to perform its best over a lifetime. That said, a documented maintenance log makes it easier to tell the difference between a warranty issue and a maintenance finding, which is good for everyone. If something during your first-year checks doesn’t look right, call. Our team answers live, 24/7, and we’ll tell you honestly which category your issue falls into.
The Bottom Line
A new addition or ADU is a stable, durable structure, but it lives through a busier first year than the house around it. The connection points are the ones to watch: expansion joint caulk, roof valley flashing at the tie-in, foundation transition, and drainage. Run a first-year calendar with full inspections at month 6 and month 12, then simplify to a spring and fall routine. Service the mini-split quarterly and professionally once a year, re-grade after the first wet season, and keep a written maintenance log if a renter is in the space. The whole routine is a few hours a year, and it’s the difference between a structure that quietly gets older and one that quietly gets better.
If you’re in Inglewood and want a professional eye on your addition or ADU, or you’re planning one and want a real maintenance plan from the start, call (833) 842-7204 to schedule your free estimate. Our technicians handle everything from the foundation to finish line, and the 730-Day Done Right Promise stands behind the work in writing.
Written by the team at Groundwork Construction Co. of Inglewood.