Last updated November 18, 2026

Free written scope consultation - allowances, timeline, and change-order rules on paper before a single trade is scheduled
Home Additions & ADU Troubleshooting: Common Problems and How to Fix Them
That crack in your new addition’s drywall probably isn’t a drywall problem. It’s a foundation settling problem, a framing shrinkage problem, or a flashing problem wearing drywall as a disguise. The tricky part is that addition and ADU defects rarely announce themselves during the build. They show up a year or two after move-in, when the milestone checks are long past and the final payment has cleared. In Inglewood, where clay-heavy soil, decades-old original homes, and a wet winter season all push on a new structure at once, we’ve watched minor framing shortcuts turn into recurring callbacks that could have been caught and corrected at rough-in. This guide gives you a symptom-to-cause diagnostic framework, the ADU-specific failure points most guides skip, and a clear line between the fixes you can make yourself and the jobs that need a permit and a licensed trade.
Quick Answer
Most post-move-in addition and ADU problems fall into four buckets: foundation settlement, framing shrinkage, thermal movement, or water intrusion. Diagnose which one you’re looking at before you call anyone – the location and behavior of cracks, stains, and sticking doors will tell you which. Cosmetic fixes (caulk, paint, weatherstrip) you can handle yourself. Anything that touches structure, electrical, plumbing, or waterproofing needs a licensed pro and usually a permit.
Styles & brands we work with
- Kitchen remodeling
- Bathroom remodeling
- Home additions & ADU
- Roofing
- Windows & doors
- Driveway & pavers
- Fence
Table of Contents
- The Symptom-to-Cause Diagnostic Framework
- Reading Your Cracks: Settlement vs. Shrinkage vs. Thermal vs. Water
- ADU Transition Failures: Where New Meets Old
- Garage Conversion Moisture: The Slab-on-Grade Trap
- What You Can Fix vs. What Needs a Permit and a Pro
- The Triage Sequence: Document Before You Call
- Inglewood-Specific Considerations: Climate, Code, and Soil
- When to Call a Professional
The Symptom-to-Cause Diagnostic Framework
Before you pick up the phone, run this diagnostic sequence. It’s the same one we use on the first walkthrough, and it saves homeowners from calling a structural engineer when the answer was a plugged gutter. The framework asks four questions in order: Where is the problem? Is it growing? Does it change with weather? What does it sound like? Answer those and you’re already 80% of the way to a working diagnosis.
- Locate. Is the symptom at an exterior wall, an interior partition, a ceiling, or a floor? Exterior walls are structural or moisture. Interior partitions are almost always cosmetic or thermal. Ceilings and floors are structural or plumbing.
- Measure and re-measure. Use a pencil to mark the crack ends. Check the gap with a feeler gauge or a piece of paper. Re-check in 30 days. A crack that hasn’t moved in a month is dormant; one that has is active.
- Watch the weather. Cracks that widen in summer and close in winter are thermal. Cracks that grew right after a rain event are moisture-related. Cracks that grew steadily across seasons without weather correlation are settlement.
- Note the sound and feel. A soft spot in the floor, a hollow sound behind drywall, or a door that sticks in one season and swings free in another tells you more than the crack itself.
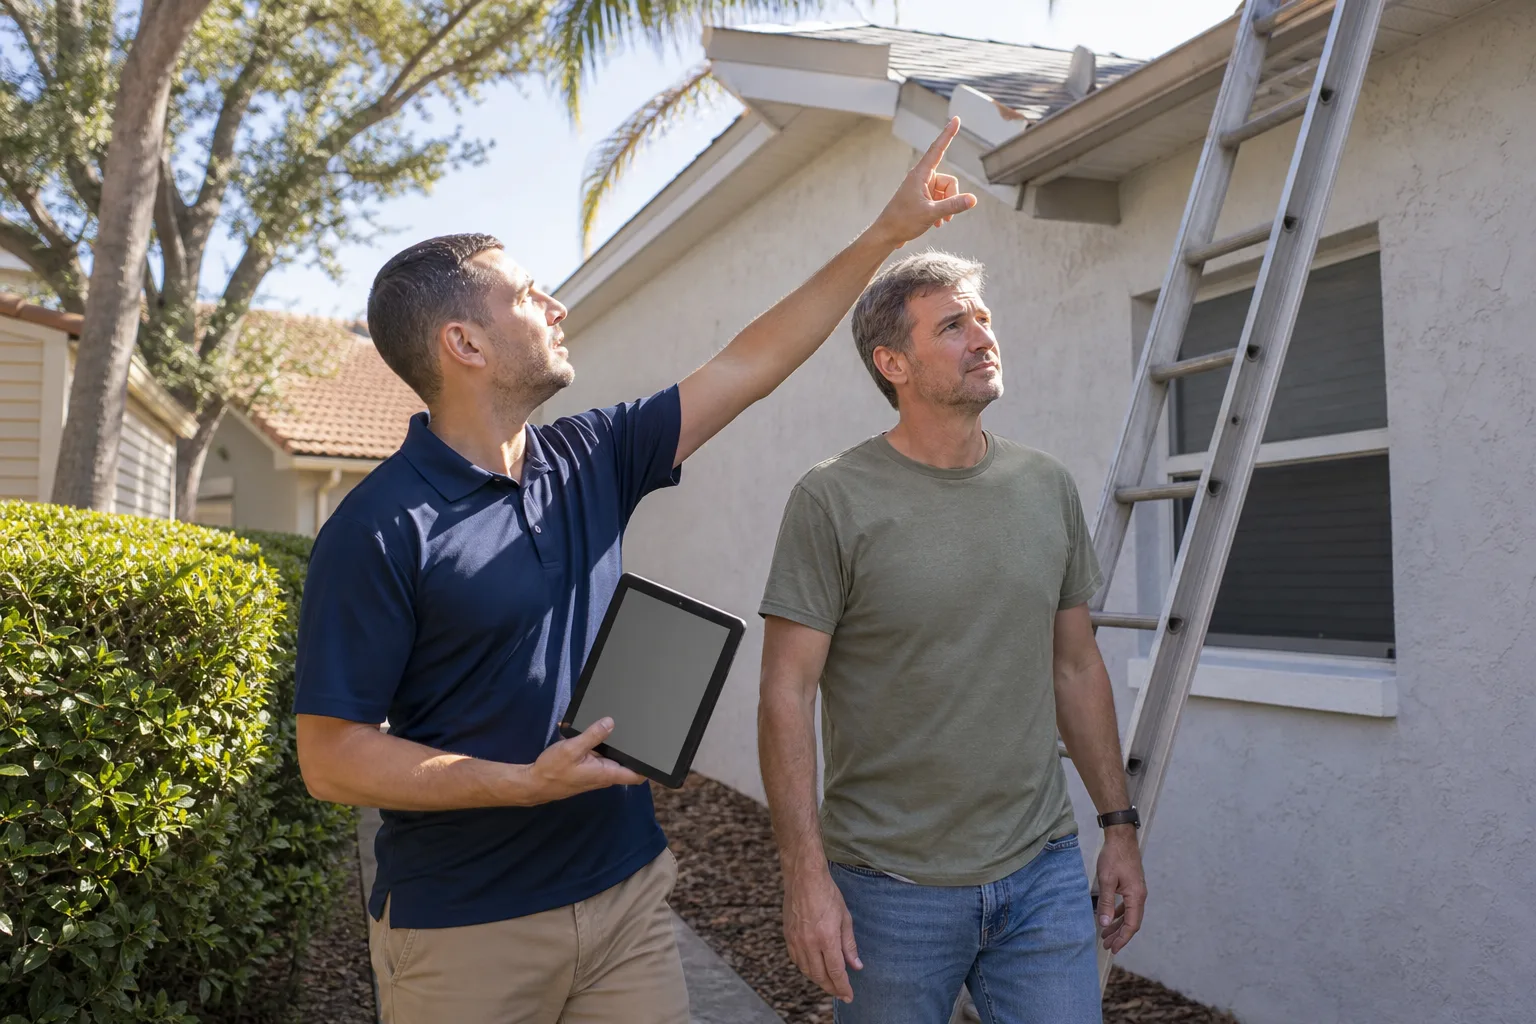
Do this exercise in a new addition office, a converted garage ADU, and a second-story bump-out, and the four questions resolve in completely different ways. That’s exactly why the framework exists – addition problems don’t generalize, and the fastest way to fix a problem is to isolate what it’s actually doing first. If you’d rather have a trained eye walk the space with you, a free estimate from a team that handles Groundwork Construction Co. of Inglewood home projects across the region usually takes about an hour.
Reading Your Cracks: Settlement vs. Shrinkage vs. Thermal vs. Water
Cracks are the most misdiagnosed thing in any addition. Homeowners assume “crack” means “structural,” but most cracks are cosmetic, and the ones that do matter follow patterns. Here’s the mapping that lets you sort one from the other.
Foundation settlement
Settlement cracks are usually diagonal (stair-step in brick or CMU, angled in drywall) and originate at the corners of door and window openings. They widen over time, don’t close in one season, and often appear alongside doors that no longer latch and floors that slope or bounce. In older Inglewood stock where the original house sits on a pier-and-beam or shallow footing, the new addition’s thicker foundation often drops 1/4-inch to 3/4-inch over the first three years as the clay soil compresses under the extra weight. Settlement that stabilizes after a couple of years is normal. Settlement that keeps moving past year three is not.
Framing shrinkage
New lumber shrinks as it dries, and a 2×6 that measured 5-1/2 inches when it was milled can pull the entire frame in by a quarter to half an inch across a long wall. Shrinkage cracks are typically hairline, near the ceiling-wall joint or the corner where two walls meet, and they show up 6-18 months after drywall. They’re tight, don’t grow much after the first year, and don’t affect doors or floors.
Thermal movement
Every material expands and contracts with temperature, and different materials do it at different rates. Aluminum expands about three times as fast as steel; wood moves with humidity more than with heat. Thermal cracks open and close with the seasons, they show up at joints between dissimilar materials (frame-to-drywall, header-to-wall), and they’re the ones Inglewood homeowners notice most during the hot-dry Santa Ana wind spells in fall.
Water intrusion
Water cracks aren’t really cracks – they’re water pathways. They show up as stains with a defined edge, efflorescence (white powdery residue), rust bleeding, or bubbling and peeling paint. They tend to grow right after rain, they smell musty in enclosed spaces, and they’re often accompanied by soft drywall or a cup of water sitting in the wall cavity. Get a moisture meter on the spot before you assume anything else.
Match your symptom to the right bucket, and the fix usually follows. A few of the same failure patterns we see in Inglewood additions also apply to exterior hardscape and outbuildings – if your flatwork has the same cracking, check our notes on Driveway & Pavers in Inglewood for the parallel diagnostic.
ADU Transition Failures: Where New Meets Old
The single most common ADU failure point isn’t the new structure – it’s the seam where the new structure attaches to the old one. This affects detached and attached ADUs, but it hits hardest on attached garage conversions and second-story additions. Two structural systems, built years apart, expand and contract at different rates, and if the transition isn’t detailed to allow for that movement, something has to give – and it usually gives at the roof or the foundation line.
Here’s what to check in the transition zone.
- Roof-to-roof transition. A new roof meeting an old roof needs a proper step-flashing detail, a cricket behind the chimney or wall mass, and a continuous ice-and-water membrane up the pitch. Missing any of these turns every rain event into a leak that manifests at the far end of the new ceiling. Look for stains on the ceiling within 8-10 feet of the transition line.
- Foundation-to-foundation. New footings should sit at or below the original footing depth, with a proper cold joint. A new footing sitting higher on the same soil causes differential movement – and a differential movement of 1/2-inch is enough to crack a finished wall.
- Wall-to-wall. Where the new wall frames into the old, a slip joint or a properly detailed tie prevents the new frame’s shrinkage from pulling on the old plaster. Old Inglewood stucco and lath doesn’t stretch; it cracks.
- Ridge alignment. A new roofline that doesn’t align with the existing ridge causes ponding on the new low-slope section. Look for standing water 24 hours after rain or a soft spot you can feel underfoot.
If any of those sounds like your ADU, the work needs to be evaluated while it’s still open to inspection, not later. Our Home Additions & ADU in Inglewood team handles these transition corrections as a standard scope item because we’ve seen the callback pattern often enough to price it in from the start.
Garage Conversion Moisture: The Slab-on-Grade Trap
Garage conversions are the most popular ADU format in Inglewood because they’re the cheapest way to add a rentable unit. They’re also the most common source of moisture problems we get called out on. The reason is simple: a garage slab was never built to be lived on. It sits directly on grade with no vapor barrier under the concrete (or a degraded one), no thermal break at the perimeter, and no conditioned air moving through the space. The moment you turn that slab into a bedroom floor, you’re asking the concrete to perform a job it wasn’t designed for.
The failures tend to show up in three predictable ways.
- Slab moisture vapor. Concrete wicks groundwater from below. Without a vapor barrier, that moisture drives into the flooring, the bottom plate of the new walls, and the baseboards. Visible signs: cupped or peeling luxury vinyl plank, dark staining at the wall base, musty smell in summer. In older Inglewood garages, the slab can push out enough vapor to fail a laminate floor within a single wet season.
- Missing thermal break. The garage slab is in direct contact with the exterior grade. Without a thermal break at the perimeter, that slab stays at ground temperature year-round – cool in winter, cool in summer – and condensation forms on the finish floor. Any hard floor finish will sweat. The fix is either an insulated subfloor assembly or injected foam at the perimeter, which requires pulling a permit for the assembly change.
- Inadequate ventilation. A converted garage without a properly balanced HVAC system or a dedicated ERV (energy recovery ventilator) traps moisture in the unit. Kitchens and bathrooms push out humidity that a garage conversion’s minimal envelope can’t shed. Fogged windows, mold at the ceiling line, and a persistent damp-drywall smell are the tell.
Radon is a separate concern worth mentioning here – Inglewood doesn’t sit in the highest radon zone in Southern California, but a garage conversion that seals a slab without a sub-slab depressurization membrane can concentrate whatever radon is present. If you’re converting, ask the contractor what they’re doing about sub-slab vapor; a layered approach (vapor barrier, capillary break, thermal break, ventilation) is the standard we build to.
What You Can Fix vs. What Needs a Permit and a Pro
The line between DIY and pro work on an addition or ADU isn’t arbitrary – it’s defined by what touches structure, electrical, plumbing, or the building envelope. Cross that line with a tape-and-mud repair and you’re fine. Cross it with a soffit opening and you’ve voided your warranty, your permit, and possibly your insurance.
Fixes you can legitimately handle yourself
- Caulking and sealing hairline cracks. Cosmetic cracks under 1/16-inch wide, on interior drywall, that haven’t moved in 30 days. Use a paintable elastomeric caulk, not spackle – spackle will crack again on the first thermal cycle.
- Repainting water-stained drywall. Only after the leak is confirmed fixed and the drywall is dry to a moisture meter (below 15%). Stain-blocking primer first, then paint.
- Weatherstripping doors and windows. Swapping out worn weatherstrip, replacing a door sweep, adjusting a strike plate – all reasonable if you’re careful with the threshold.
- Replacing a failed exterior light fixture. Only at the fixture, only with the breaker off, and only if the box is already there and rated for the fixture weight. No new wiring, no new circuits.
- Regrouting and recaulking bathroom tile. Cosmetic only. If the substrate behind the tile is soft, stop and call a pro.
Fixes that require a permit and a licensed trade
- Anything structural. Beam, header, joist, footing, foundation, shear wall – no exceptions. Removing a wall “to open up the space” without an engineered plan has collapsed more additions than any other single mistake.
- Any electrical beyond a fixture swap. New circuits, relocated outlets, added receptacles, panel changes, EV chargers, sub-panels. The electrical panel is genuinely dangerous – one wrong move with the main breaker and you can be looking at a fatal shock. Licensed electricians only.
- Any plumbing beyond a fixture swap. Rerouting supply or drain lines, adding a bathroom, moving a water heater. Gas lines in particular are not a homeowner repair – a small leak is a serious safety issue, and a licensed plumber is the only person who should be touching the gas connection.
- Waterproofing and flashing. Roof transitions, window flashing, shower pans, exterior wall weather barriers. These are the details that fail quietly and cost $20,000 in repairs – a pro has the detailing experience you can’t fake.
- HVAC changes. Adding a mini-split, extending a duct run, balancing a system.
If you’re not sure which side of the line you’re on, that’s the answer: call for an estimate before you cut. A free walkthrough from a licensed team is cheaper than a corrected mistake every time.
The Triage Sequence: Document Before You Call
The most productive diagnostic call is one where the homeowner has already done the documentation. It turns a two-hour exploratory visit into a 45-minute confirmed diagnosis. Here’s the sequence we recommend to every homeowner before they pick up the phone.
- Photograph with a reference. Every crack or stain gets a photo with a ruler, coin, or tape measure next to it for scale. Every photo gets a wide shot too, so we can see the context.
- Map the location. Sketch the affected wall or floor, mark the problem spots, and label what’s on the other side. What’s above the crack? What’s below? Is there a window or door at the corner?
- Measure and date. Record the crack width (with a feeler gauge or folded paper), the length, and the date. Do this three times – once now, once in 30 days, once in 60 days. You’re building a movement trend, not a snapshot.
- Log the weather. Note temperature, humidity, and whether it rained in the 72 hours before each measurement. This is what separates thermal from settlement from moisture.
- Note symptoms around the crack. Doors that stick, floors that bounce, spots that smell musty, efflorescence, rust stains, peeling paint, mold at the baseboard.
- Gather the project file. Permits, plans, inspection cards, and the original contractor’s punch list and warranty. A good contractor will want to see these – and so should you, because the original build details often tell you exactly why a problem is happening.
- Make the call with the file in hand. When you reach a live person, you can lead with “there’s a 4-inch diagonal crack at the northeast corner, widening 1/16-inch over 30 days, no weather correlation, door below no longer latches” – and that’s a call that produces a real answer.
This sequence is the difference between a diagnostic visit and an exploratory one. Exploratory visits cost more and find less, because there’s no story to follow yet.
Inglewood-Specific Considerations: Climate, Code, and Soil
Inglewood sits in a specific corner of Southern California that shapes how additions and ADUs fail. The soil is predominantly clay-heavy expansive material, which means it swells in the wet season and shrinks in the dry – that’s the seasonal movement driver for almost every settlement problem we see. The climate is mild but not gentle: wet winters, hot dry falls, and the occasional Santa Ana wind event that spikes interior humidity swings. If your addition was framed with green lumber in a wet winter, expect more shrinkage cracking in the first 18 months than a home built in a drier window.
Code-wise, Inglewood ADU rules have shifted significantly in the past few years. The state-mandated allowances have loosened parking minimums and setback rules, and the city now processes many ADU permits over the counter with an approved plan set. What hasn’t loosened is the transition detailing requirement between new and existing structures – the building department wants to see a plan detail that handles differential movement, and if the original permit was pulled on a standard plan that skipped that detail, corrections on the back end can be expensive. It’s much cheaper to over-detail the transition during design than to retrofit it after the first wet season.
Neighborhood context matters too. In Morningside and Hyde Park, the older housing stock is a mix of pier-and-beam and slab-on-grade, and additions that tie into a pier-and-beam original must account for the fact that the original is still settling slowly on its own footing. In Inglewood’s newer infill pockets, the original structure is often 1990s-vintage slab-on-grade where the footing depth is well documented – larger additions still need a movement joint, but the differential is smaller.
Exterior hardscape and fencing around an addition should be checked at the same time as the addition itself – if the new foundation has shifted, the attached patio or fence line probably has too. Check our Fence Installation in Inglewood notes for the parallel diagnostic on fence posts that have moved.
Common Mistakes to Avoid
- Caulking over an active crack. If you seal a crack that’s still moving, the caulk will fail within a season and you’ll have hidden the movement instead of measuring it. Only caulk cracks that have been dormant for 30+ days.
- Repainting water stains without finding the leak. Stain-blocking primer will hide the visible stain, not the moisture behind the drywall. The mold grows back, and by then the damage is deeper. Find the source first, always.
- Skipping the permit for a “small” ADU change. Adding a closet, relocating a bathroom, upgrading the panel – all minor-sounding, all require a permit if they touch structure, plumbing, or electrical. Unpermitted work in Inglewood gets caught at resale and costs 2-3x the permit fee to remediate.
- Assuming the original contractor will come back for free. They might. Get the warranty in writing and read the workmanship clause before you accept a fix, because a warranty that excludes “settlement movement” won’t cover the exact crack you’re staring at.
- Treating a garage conversion like a finished room. The slab, the thermal break, and the ventilation are the three things most homeowners skip, and they’re the three things that cause the most expensive callbacks. Don’t skip them.
- Calling a structural engineer before a contractor. Engineers are great – and expensive. A good contractor can triage 80% of these calls before you spend $600-$1,200 on an engineering report. Get the contractor estimate first.
- Assuming vinyl plank is waterproof. It’s water-resistant, not waterproof. A garage-conversion vapor problem will lift and cup even the best luxury vinyl plank within one wet season if the subfloor moisture wasn’t addressed.
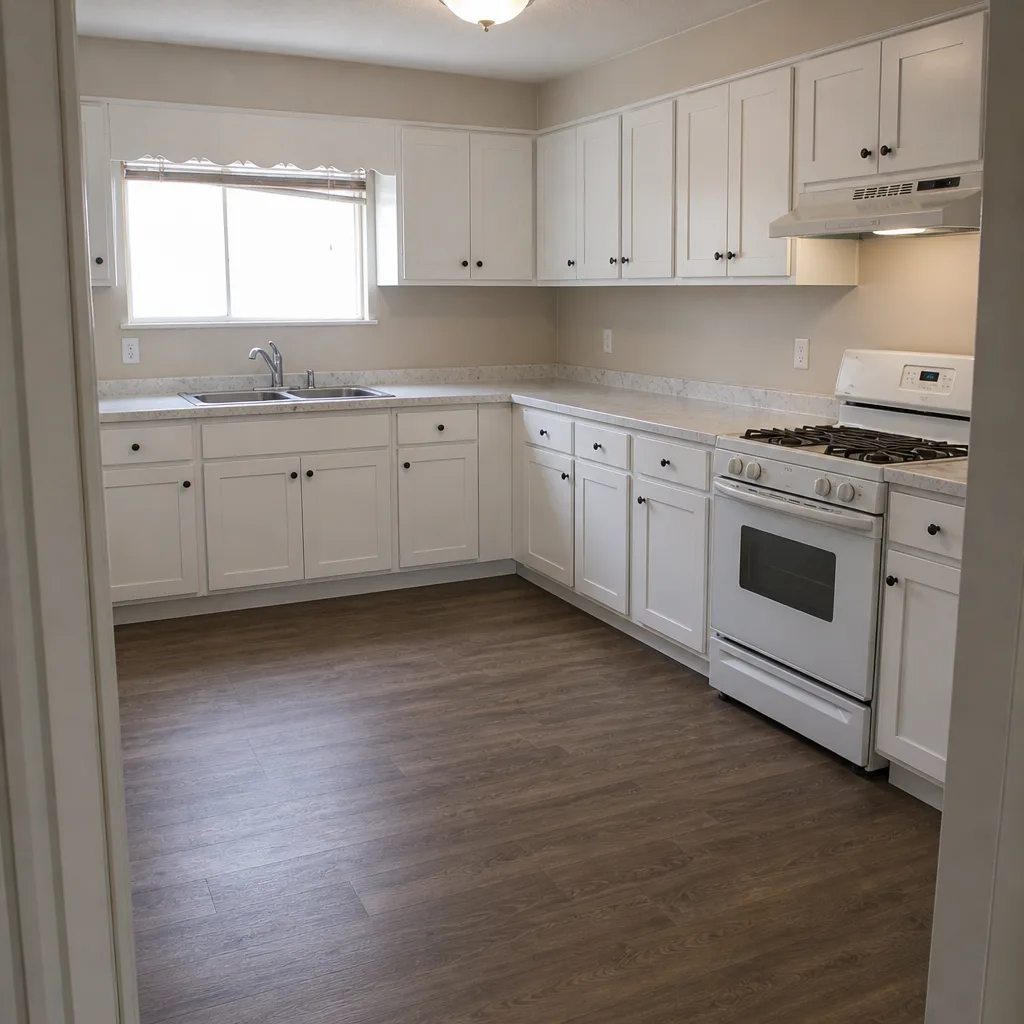
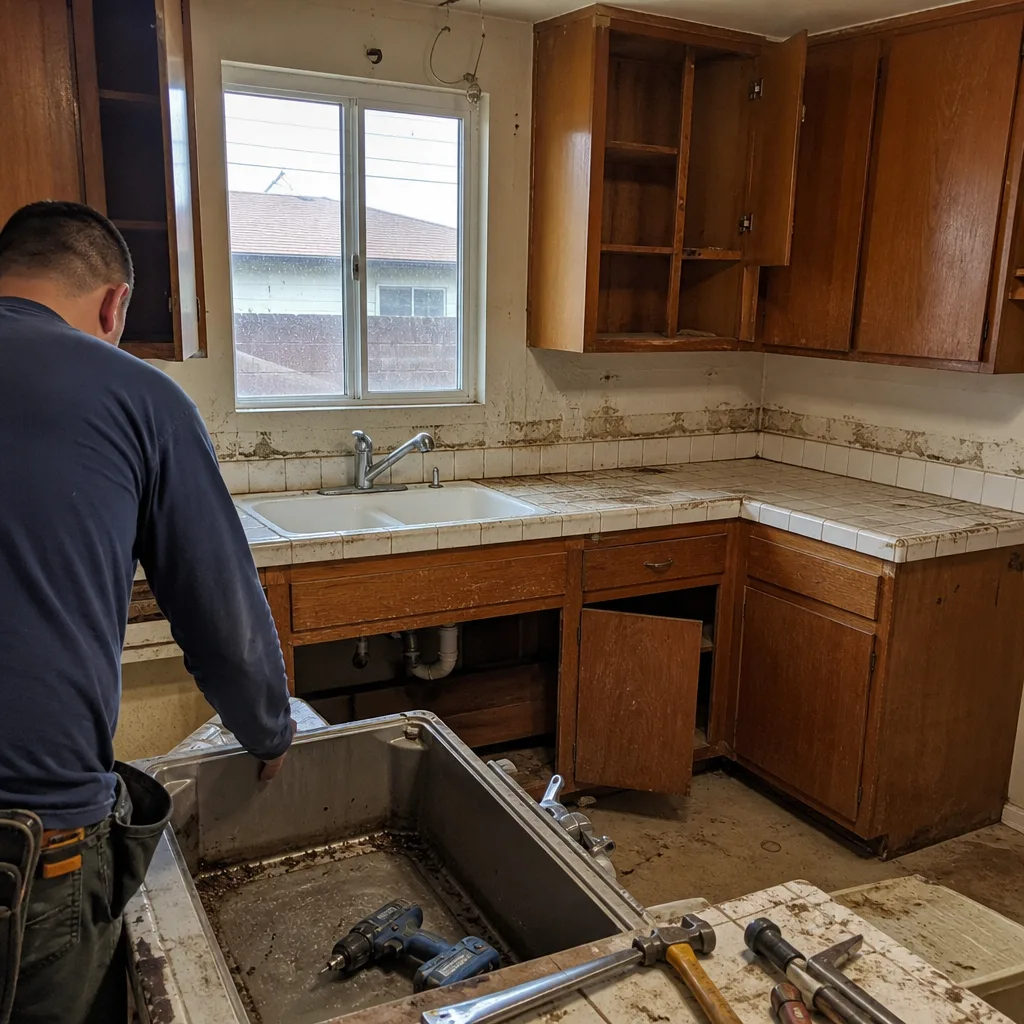
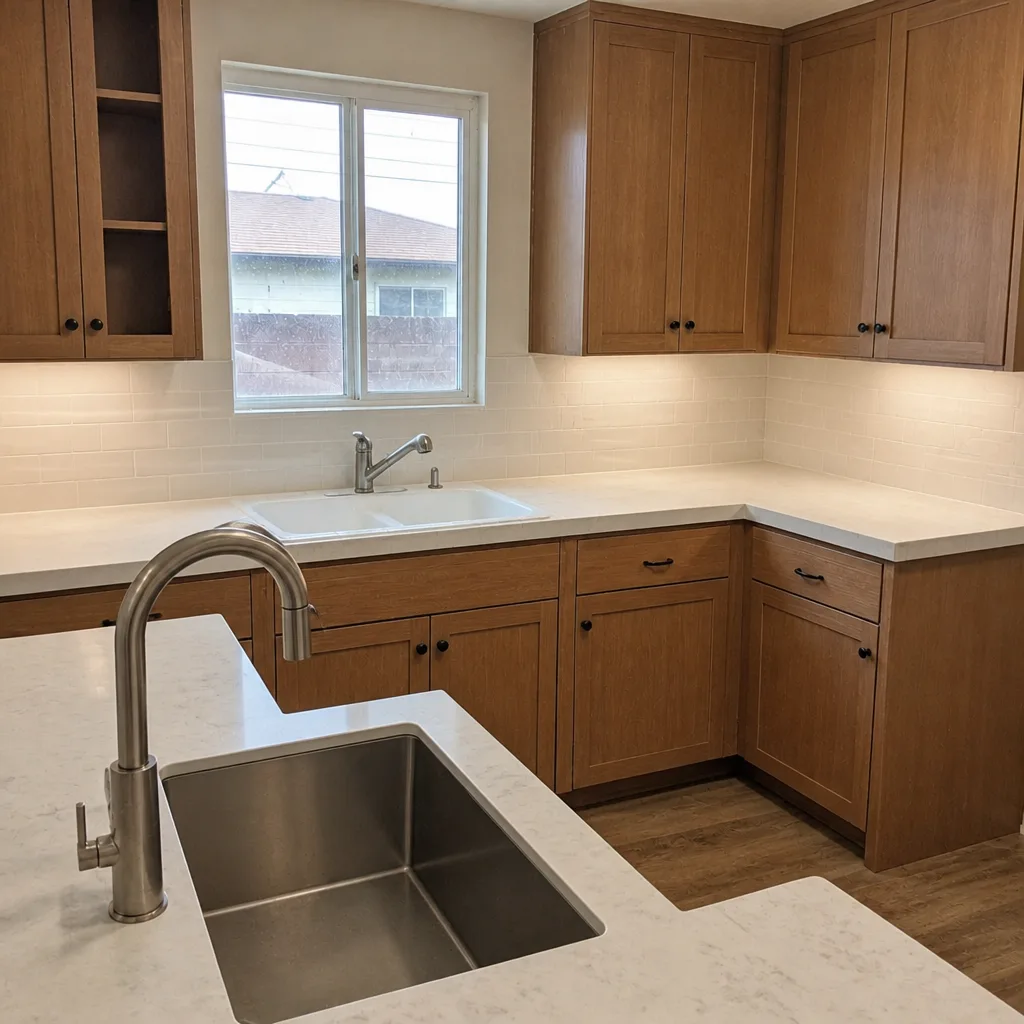
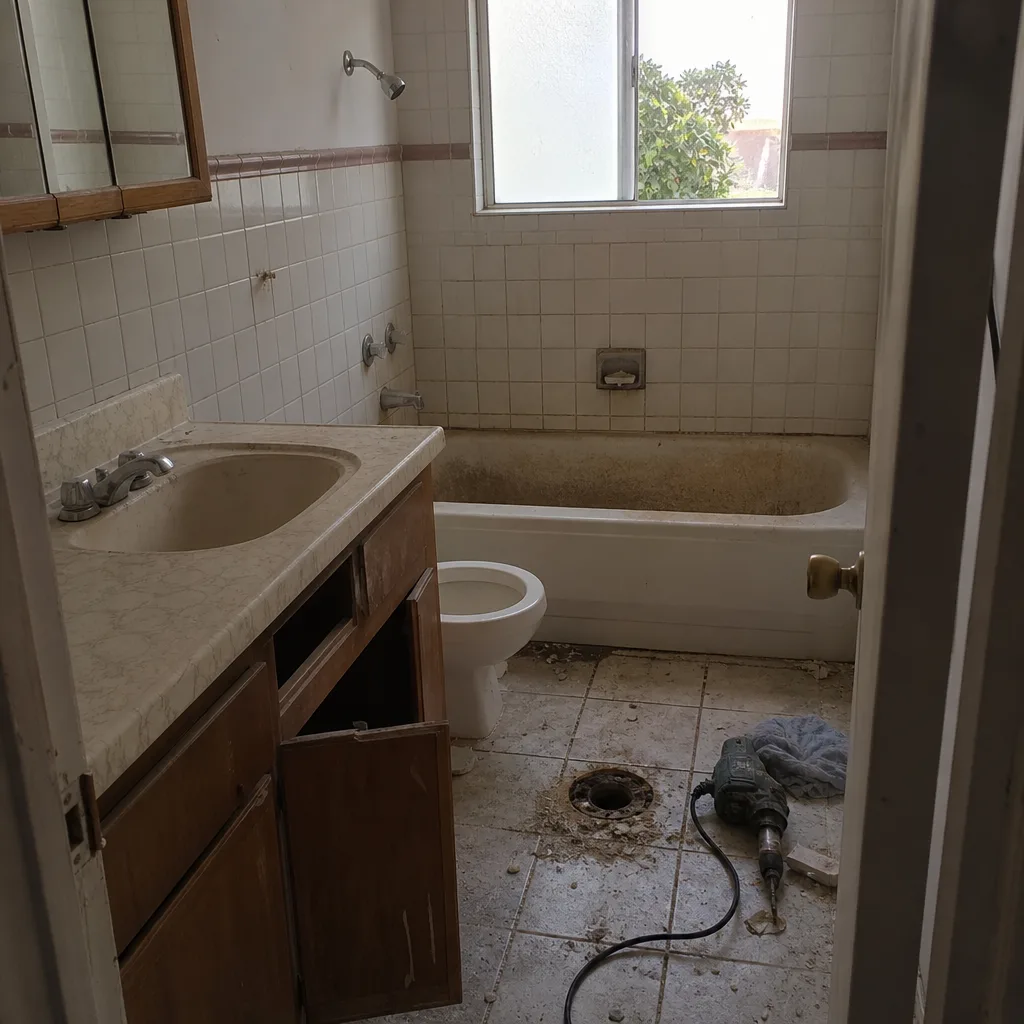
See the difference
 Before
 After
 Before
 After
 Before
 After
When to Call a Professional
Call a professional the moment any of these are true. A crack that’s wider than 1/8-inch, longer than 24 inches, or actively growing. A door or window that’s out of square. A ceiling or floor with visible sag or bounce. Any moisture that won’t dry out. Any smell of gas or any sign of an electrical fault (warm outlets, tripping breakers, buzzing). Any suspicion that the original addition or ADU was built without a permit. Any structural movement that could be a safety risk. And any time you’re not sure – the cost of a diagnostic call is far lower than the cost of a corrected mistake.
Groundwork Construction Co. of Inglewood offers free estimates in Inglewood – call (833) 842-7204 to schedule a walkthrough. Our technicians have up to 12 years of experience diagnosing exactly these patterns, and we bring our own documentation kit to every visit so you get a real diagnosis, not a guess.
Frequently Asked Questions
No – most cracks in new additions are not structural. Hairline cracks under 1/16-inch that appear along drywall seams 6-18 months after framing are almost always shrinkage and are cosmetic. Cracks become a structural concern when they’re wider than 1/8-inch, actively widening over 30 days, or accompanied by doors and windows that won’t close. If yours matches the second pattern, call for a diagnostic estimate before you spend money on cosmetic repair. (833) 842-7204.
Almost always slab-on-grade moisture vapor. A garage slab was never built with a vapor barrier under it, and when the concrete wicks groundwater up into the new flooring and baseboards, it creates the musty, damp smell. The fix is a moisture-blocking subfloor assembly plus perimeter ventilation and, on the worst cases, a sub-slab membrane. This is a permit-level fix, not a DIY one. Let us walk the space before rain season – estimates are free.
The transition zone where new construction meets the original structure – specifically the roof-to-roof seam and the foundation-to-foundation joint. These are the details that most often get under-detailed because they’re hard to see and easy to shortcut. Roof step-flashing, movement joints at the footing, and a proper slip joint at the wall tie are the three details that prevent the calls we see most. Ask exactly how these are being detailed before you sign the contract.
Yes – a full permit is required, and the transition detailing between the conversion and the original structure is what most often fails plan check. Inglewood has updated its ADU rules in the last few years to speed up over-the-counter processing, but the building department still wants a plan detail that handles differential movement between the new and existing structure. Pulling the permit upfront is far cheaper than remediating unpermitted work at resale.
Three tests. First, run a moisture meter on the drywall – anything above 15% is active. Second, put a piece of painter’s tape over the stain for two weeks and check whether it’s been disturbed by new moisture. Third, look for efflorescence (white powder) or rust stains, which only form when water is actively moving. If any test says active, the leak source has to be found and fixed before any cosmetic work happens. Call for a diagnostic estimate – this one doesn’t get better by waiting.
Call a contractor first. A good contractor can triage 80% of addition and ADU problems in a single free estimate visit, and they can tell you whether the case actually needs an engineer. Engineers charge $600-$1,200 for a report – worth the money when it’s needed, wasteful when it’s not. If the contractor does recommend an engineer, the report they hand you will be more specific and more useful because the contractor has already scoped the problem.
The Bottom Line
Most addition and ADU problems that surface after move-in were created during framing or rough-in – they just took time to show up. Diagnose them by type (settlement, shrinkage, thermal, or water), map them to the transition points where new meets old, and check any garage conversion specifically for slab moisture, thermal break, and ventilation. Handle the cosmetic fixes yourself, but call a pro for anything structural, electrical, plumbing, or waterproofing. Document before you call, so the diagnostic visit is productive. And pick a contractor who backs the work in writing – our 730-Day Done Right Promise, live answers 24/7, and upfront pricing are how we keep these calls from coming back. Call (833) 842-7204 to schedule your free estimate.
Written by the team at Groundwork Construction Co. of Inglewood.